
For those that do not know, I use raised beds as the foundation of my garden. We can get into why at a later date but it is just fact that I do. Because I use raised beds, I have several different kinds of beds. My favorite and the most expensive are the Frame It All beds. My dreams of building a second bed where dashed when I realized that I did not have enough of the boards and they had released a second version. Instead, I increased the size of my main beds height which solved one of the biggest issues with these boards.
Side-note: This was the reason, I got the boards originally. I got cheap and thought I could squeeze a second bed from it at a later date. Then I forgot that fact. I forgot the boards. Then they switched version that made some of my extra pieces worthless. Make sure to read your past years notes on the insane things you want to do or you’ll make mistakes like this too.
The Big issue of Frame It All
The biggest issue, I have run across is that they are just a little too short. They sit at about 5.5 inches tall, rather than a preferable 6 inches. Honestly, it is not that big of a deal so long as you don’t plant things that want more soil like carrots.
The boards fade but the main color stays. You will lose some of the accent wood coloration but the board remain their nice light brown color for years. I have used it in my main bed for 5 years and all the plastic joints have held. There is a little bit of warping that has occurred but overall they are a solid investment.


Assembly
While version 2 has fixed the most complicated part of this process, the reality is that it is pretty easy on version 1. You will need a screw driver, preferable one with a motor behind it.
First grab a board.
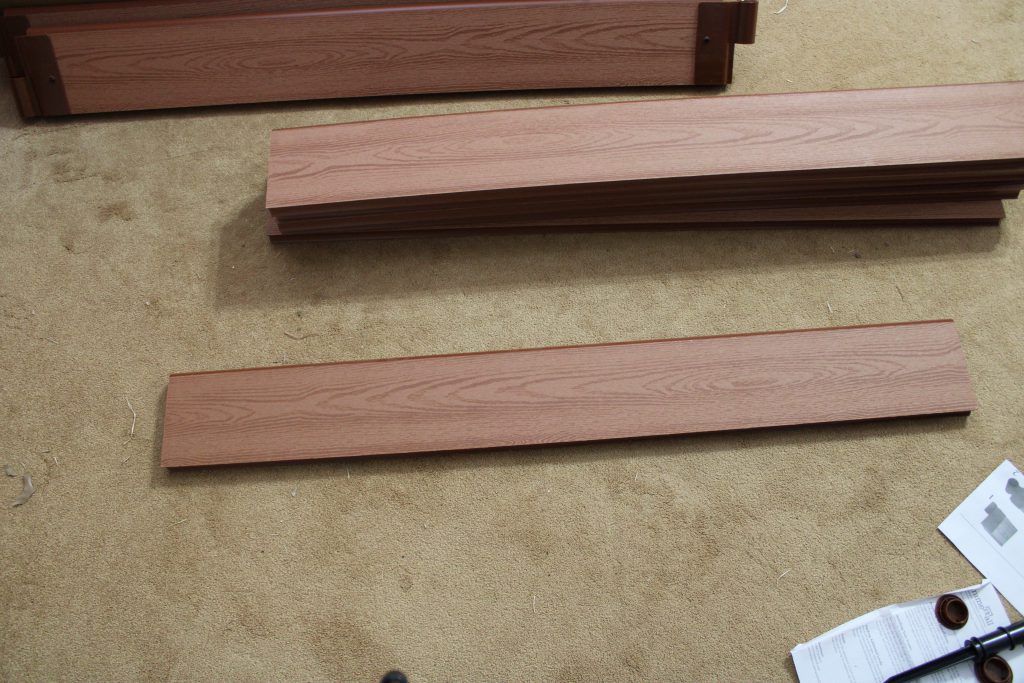
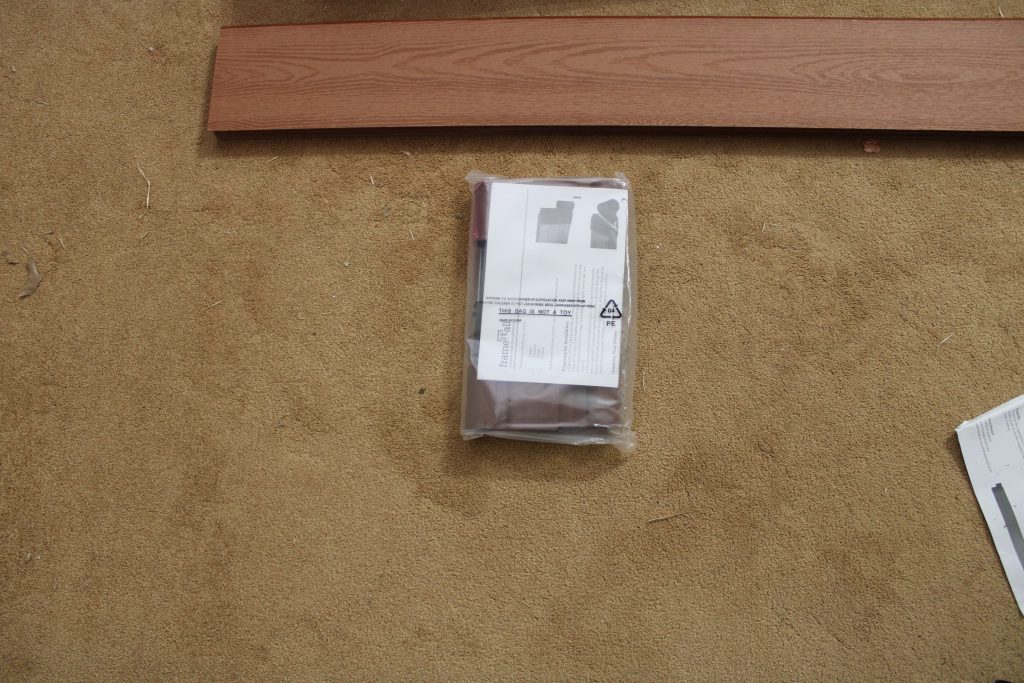
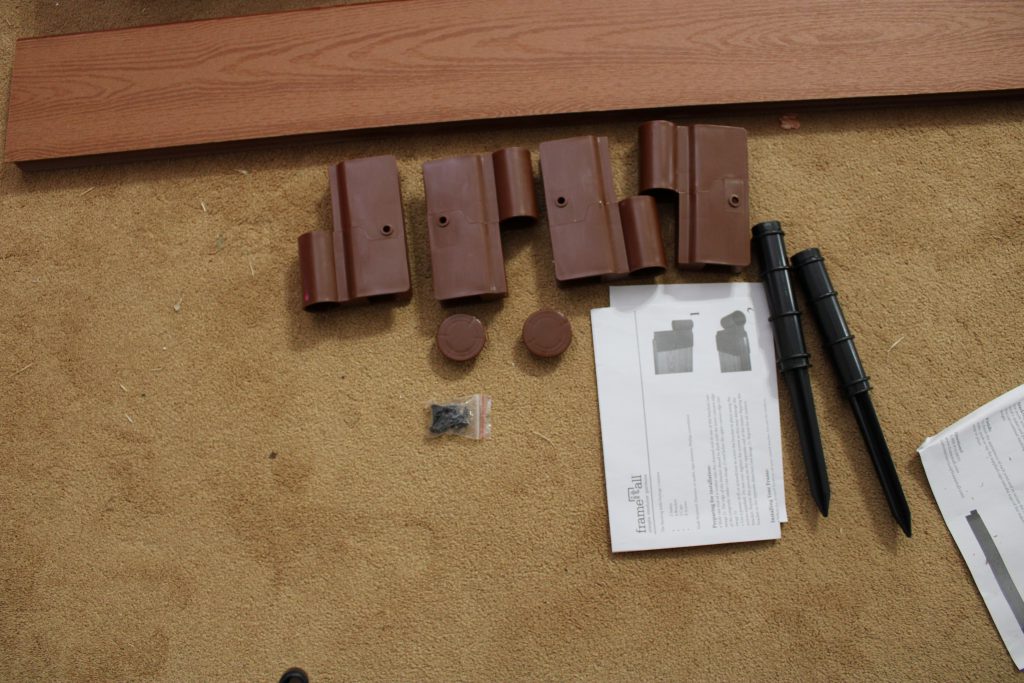
Next we need to grab the end cap packet. This will contain the instructions, steaks, ends, screws and top caps that you need for the process.
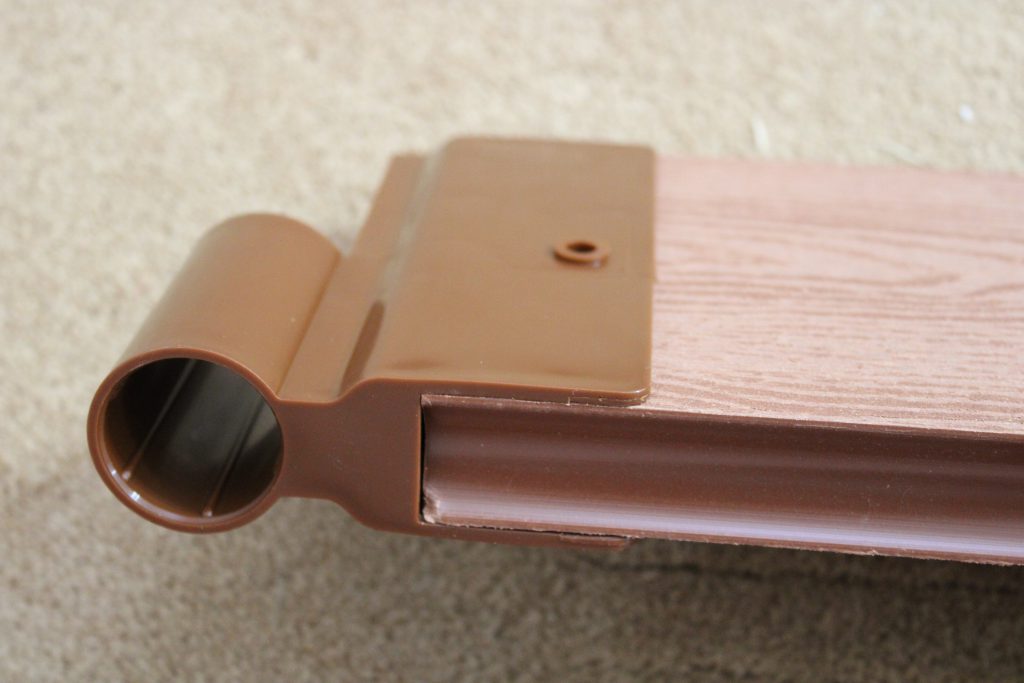
Lets take a closer look at the board so we know what we are dealing with in our material. You will notice that it is hollow. These boards are a kind of wood infused fiber glass. At least that is my understanding. Feel free to correct me in the comments, if I have it wrong.

This is a big reason that it is so easy to screw in the screws. You only have to get through the hard, outer shell.
First shove an end cap onto the board. We want to align the edges as close as we can. Each end needs to be assembled differently. Do not assemble them the exact same. The other side will need the end cap inverted to have the big hole at the top. Also, it is the concave side we are trying to match to the edge of the end cap.
Stick the screw into it. Then let the board have it with the screw driver.
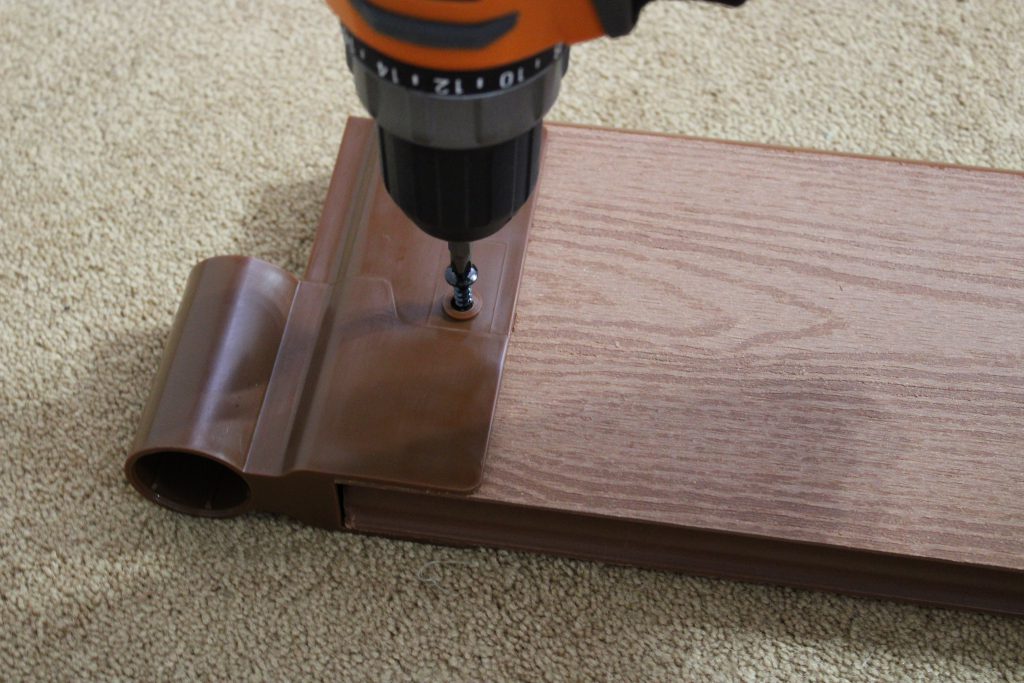
After that is good and nested. We have a completed side.

Lets do the other cap.
As a stated before this one needs to be flip so the big hole is at the top.

Make it flush with the convex side like we did with the other side.

Stuff the screw into the hole and BAM you have a completed end.

Lets take a look at the finished board.

Installation
Instillation is pretty easy. The hardest part is keeping it straight. I dodged that by using the patio edge for the first board. Because of the standard length, my boards are straight 12 feet later. To add another layer, use the stacking spikes, which are pictured above to insert into the main spikes or another set of stacking spikes. Don’t drive them too low or the caps won’t stay on. Place the boards concave side down onto the convex side of the board before it. Then cap it and you have a completed segment.


Conclusions about Frame It All Version 1
Wrapping this up, these are the most durable and easy to work with material, I have found for making raised beds. There is no gluing, no million and one screws, and generally headache-less material out there. The biggest issue is the price. I think I spent over $400 for a three stage tall, 4×12 foot bed. Compare that with my metals beds which cost less than $250 and it can add up fast.
While I say it is expensive. Understand that I expect to regret my metal bed purchases in 5 years. I suspect that I will wish I spent twice as much for the Frame it All for the durability of the beds. I guess ask me in 5 years if that is true and I am dealing with rusting nightmares.