In this off season, I started designing an idea for a new trellis. My old system used tomato cages that could turn to panels. This never worked perfectly as my tomatoes would start to outgrow them no matter what I did. Because I expanded my garden, I needed a better tomato trellis solution.
The Better Tomato Trellis
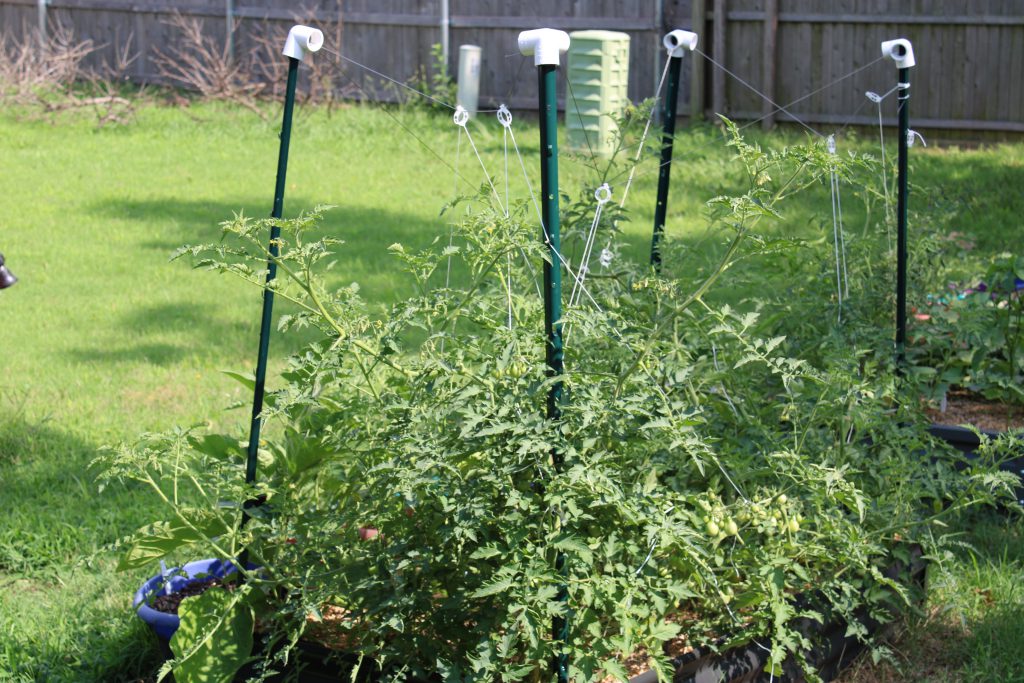
First, this is an ongoing solution. I need to fix my 3D printer before I can improve my connectors and clamps. The basic design are t-posts are driven into the ground. Connectors are placed on top and airline cable is run through the connectors. After that string attaches to the cable and dangles down to the plant. Tomato clamps are used to attach the string on both ends. Lets look closer at the install.
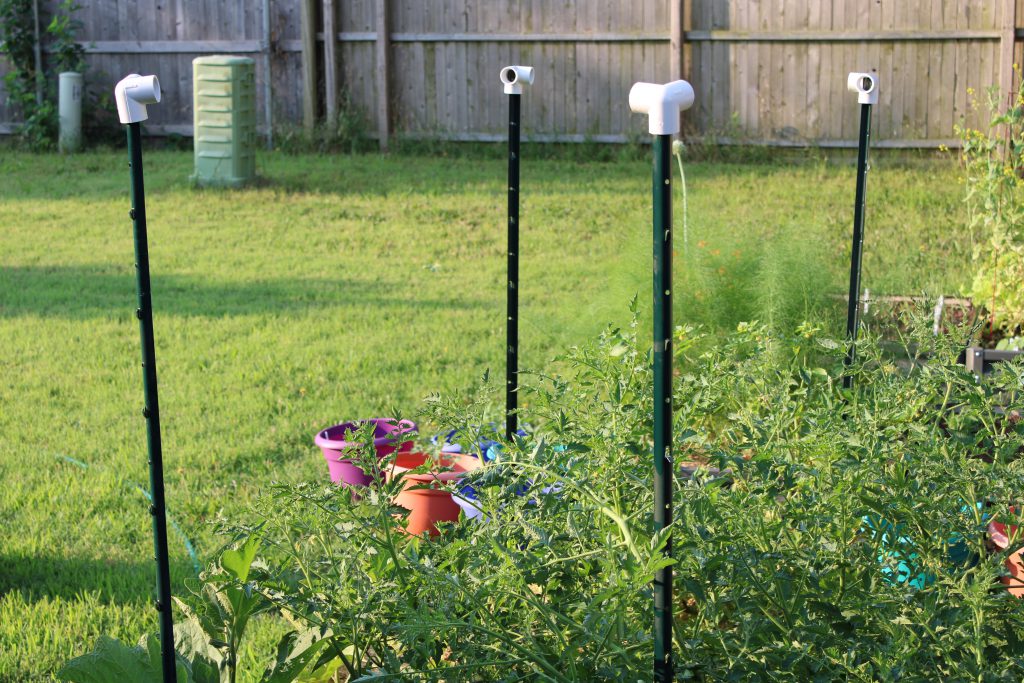
Trellis Posts
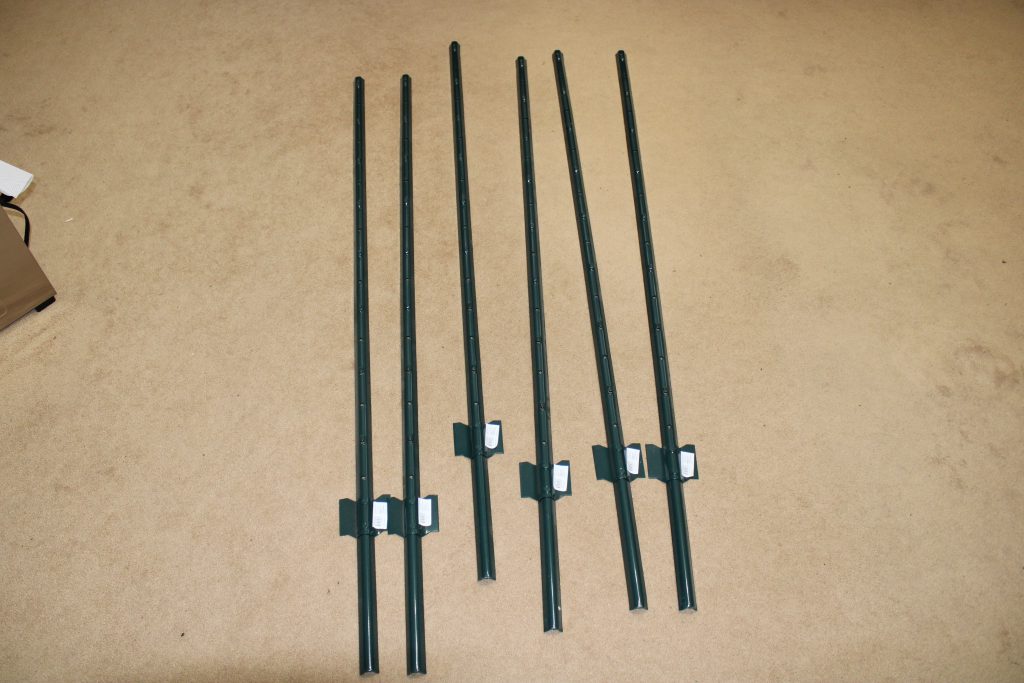
These are the four foot t-posts. I wanted to go bigger but there was no PVC pipe fittings that would fit. It came close but not big enough. When I get my printers, I can get a larger post as the connectors can be scaled up to something that will fit well.
First, I need to drive these into the ground in my raised bed.
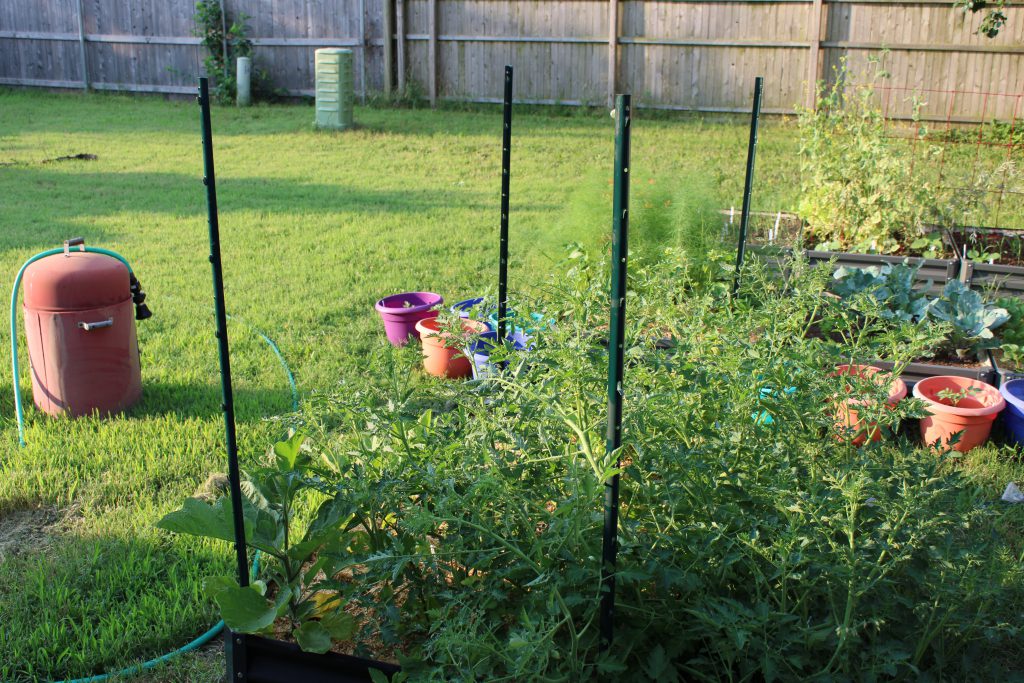
With the four posts in the ground, we can get to the connectors.
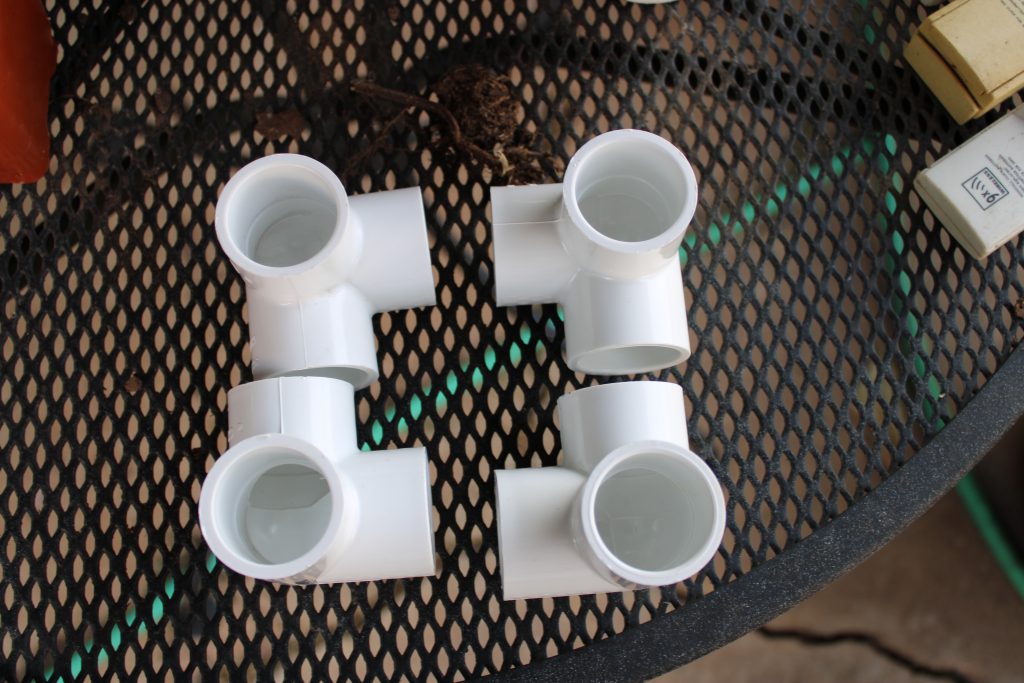
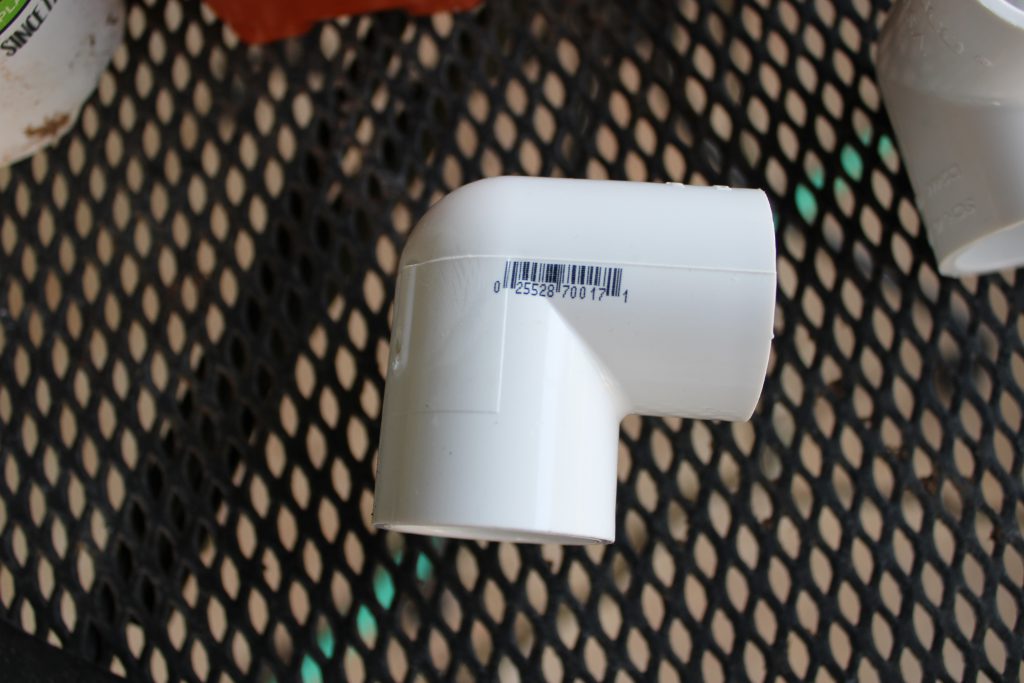
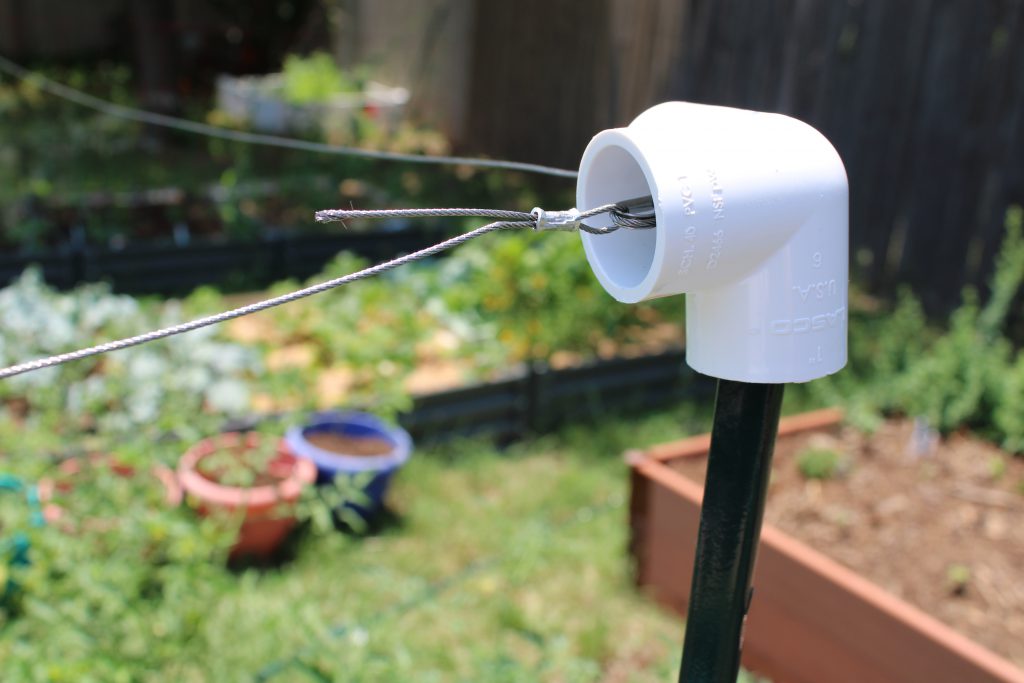
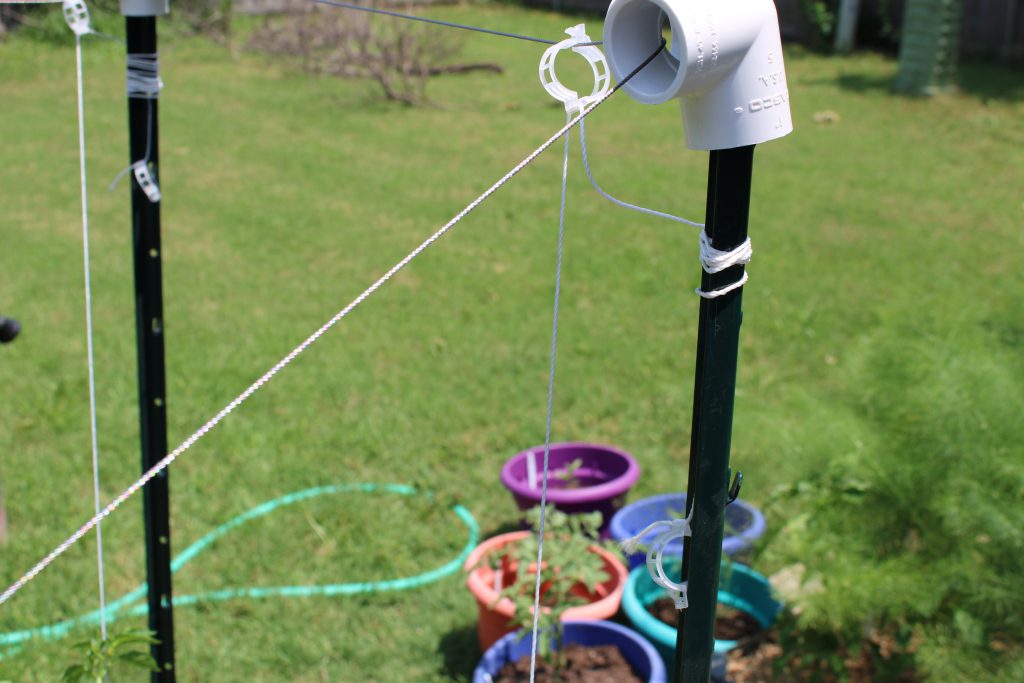
These are some PVC fittings. This is a 1″ elbow, side fitting. I will include a picture of its SKU for anyone that is interested. If you need a 5th and 6th post then use t connectors on the middle bits.
Stick one on each t-posts.
Now the real fun starts.
Swaging Time
Get your swaging tool out and get your airplane cable ready for action.
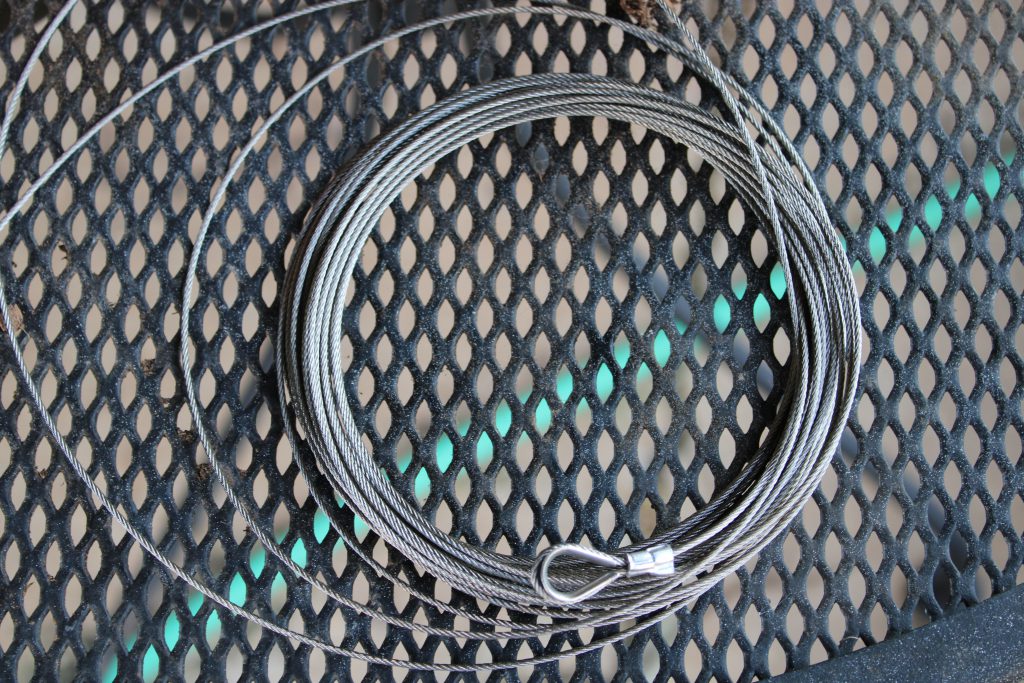
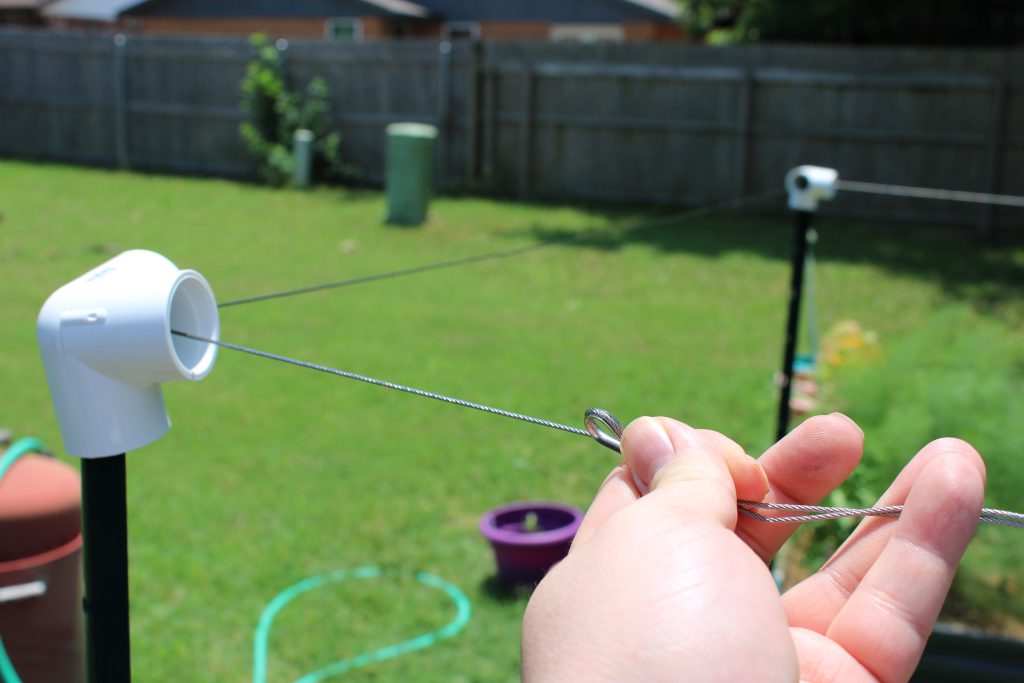
If your cable does not have a loop then make one. After getting your first loop done, Run the loop section through the fittings on all the posts.

Pull through the PVC fittings and overlap the other end with the loop.
Cut the cord with your tin snips.
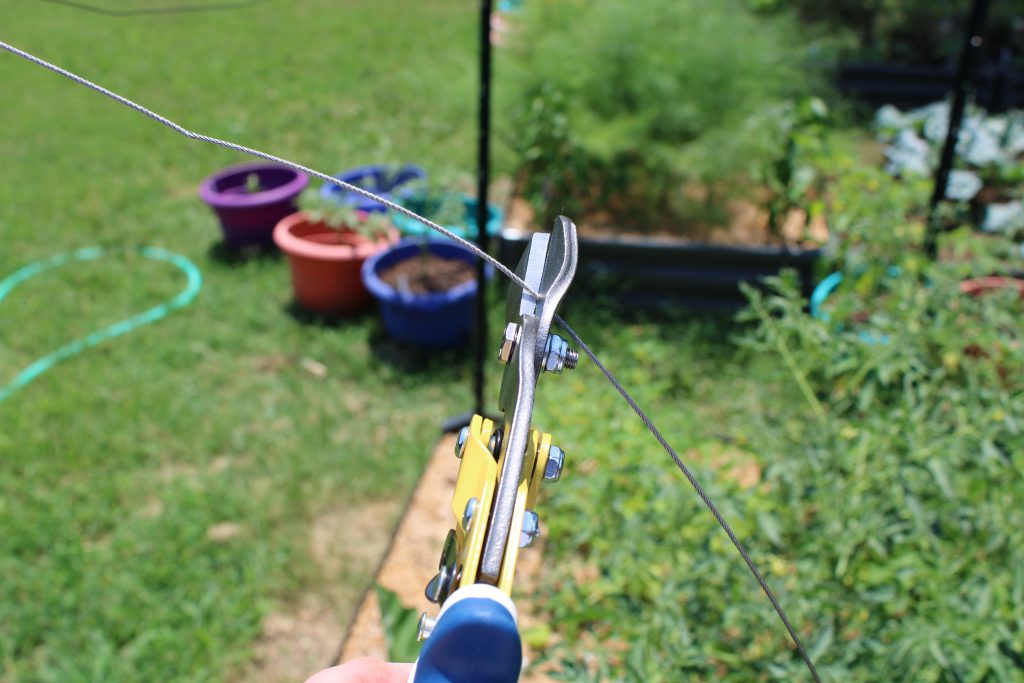
Run your fitting through the newly cut end.
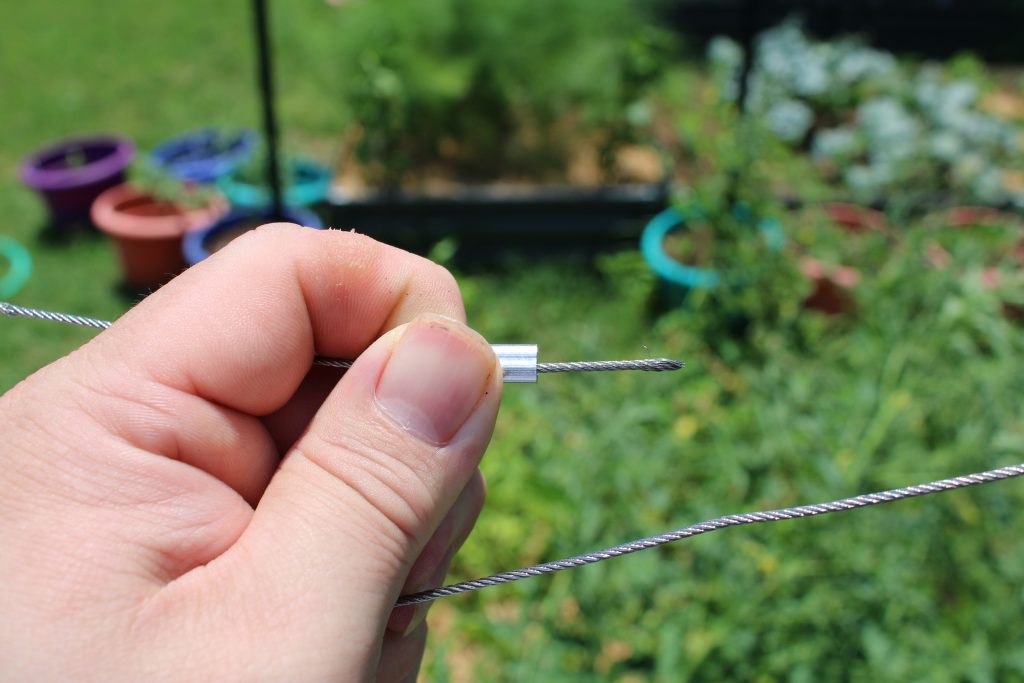
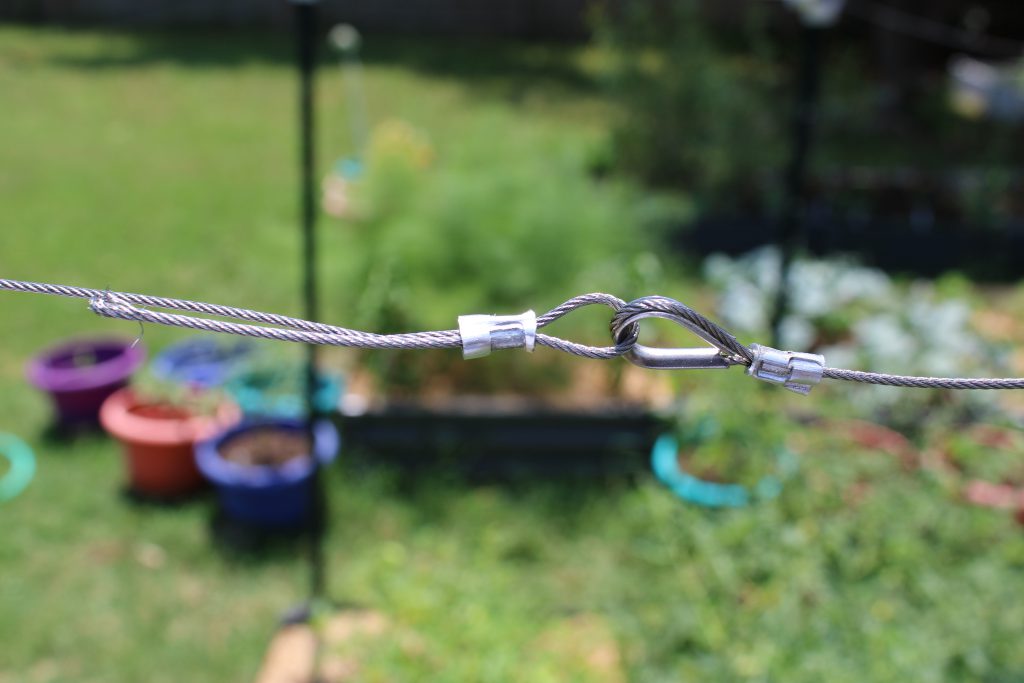
Loop it through the eye of the original loop.
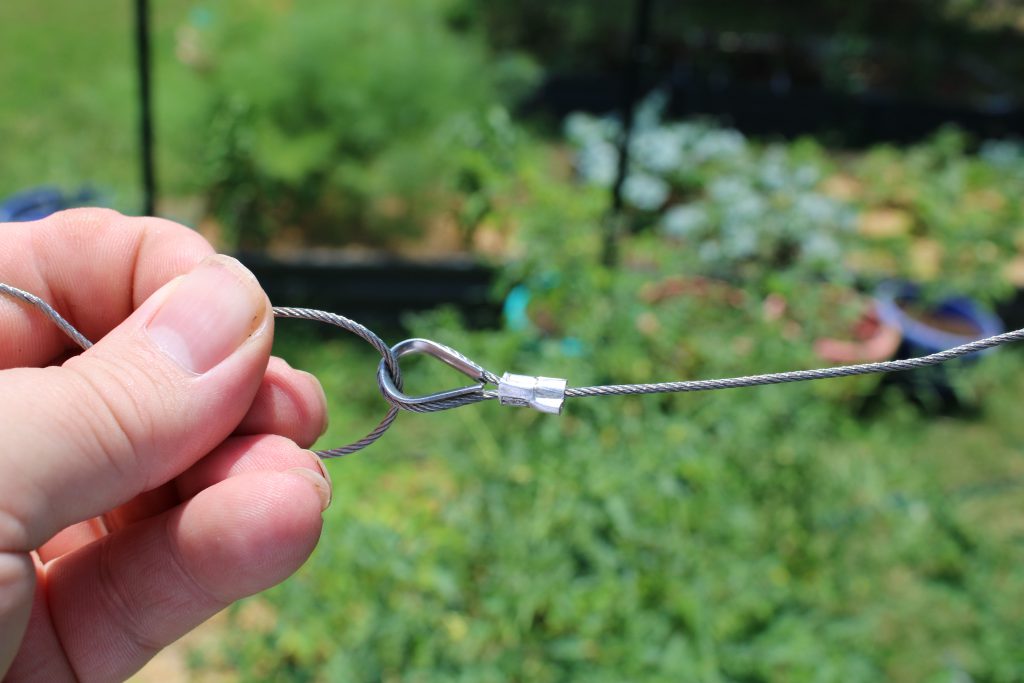
Run the end through the other end of the fitting.
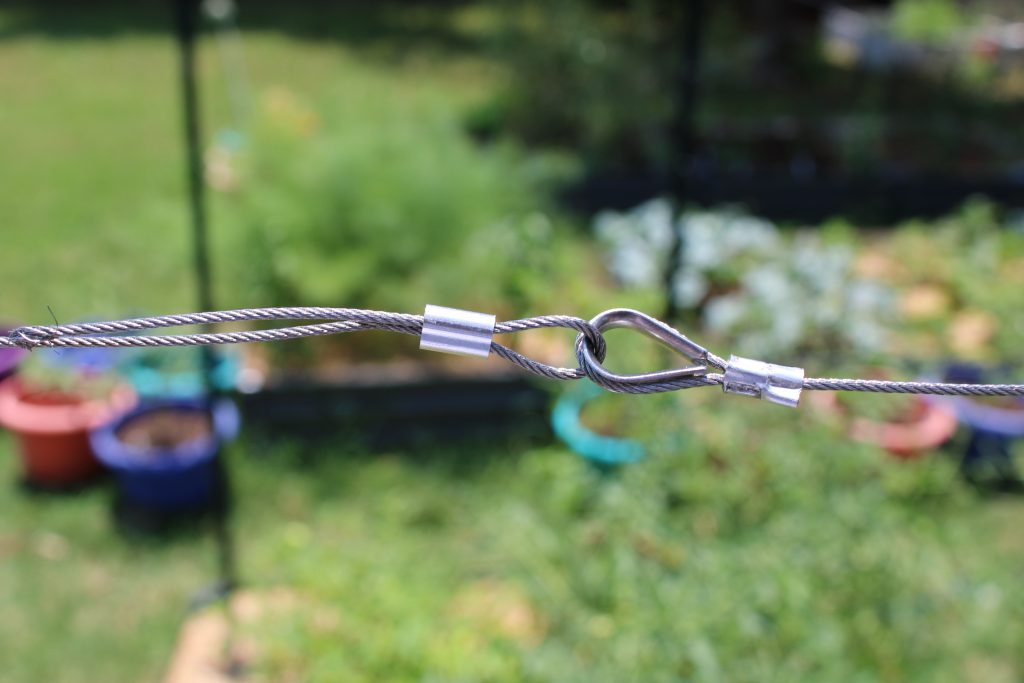
Get the swaging tool on the fitting and squeeze the ever loving crap out of it.
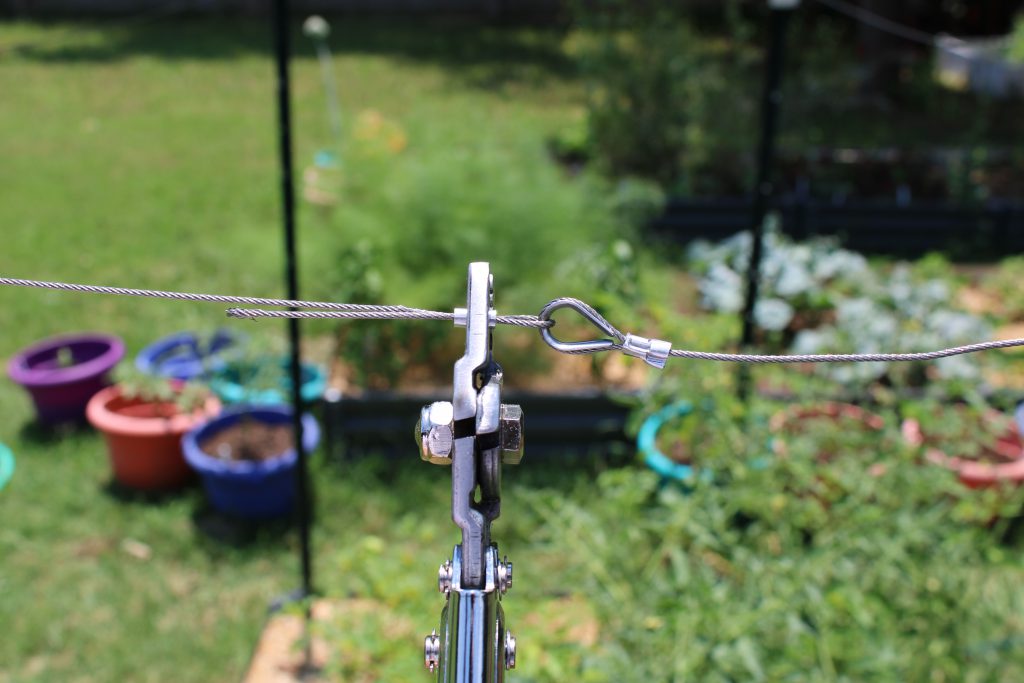
After finishing the swaging go and tuck the end into the PVC fitting to keep it out of sight.
Now it is time for the string.
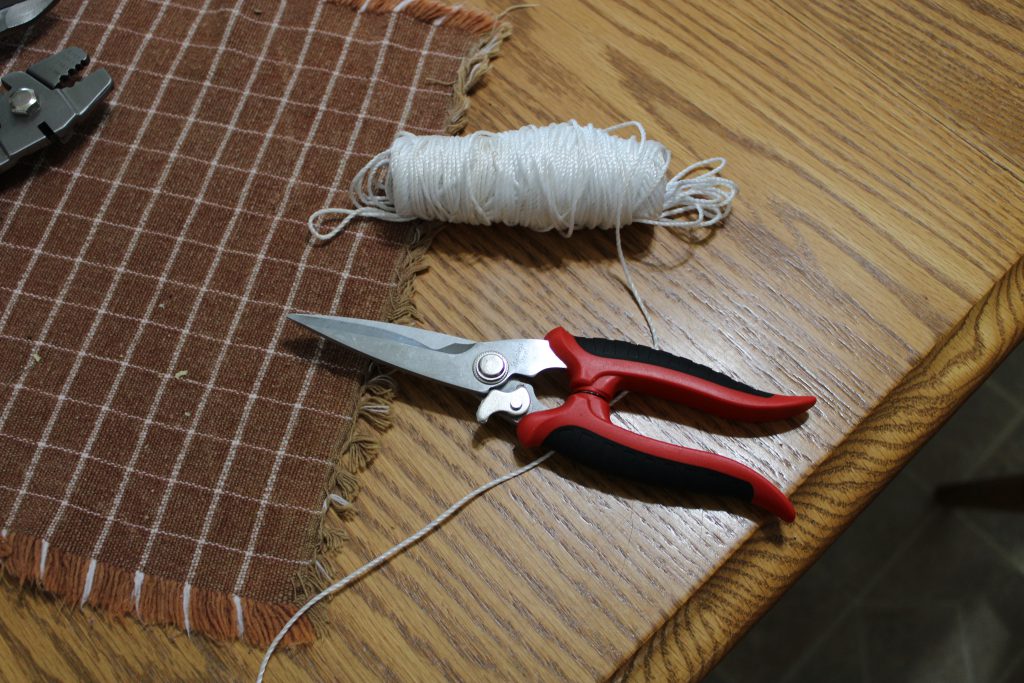
Make several lengths of the the string. Here is something that needs to be fixed. I need clamps that can wind up the string. It does not matter so I am going to do as well as I can. In lieu of the clamps, I want I will settle for some tomato clamps.
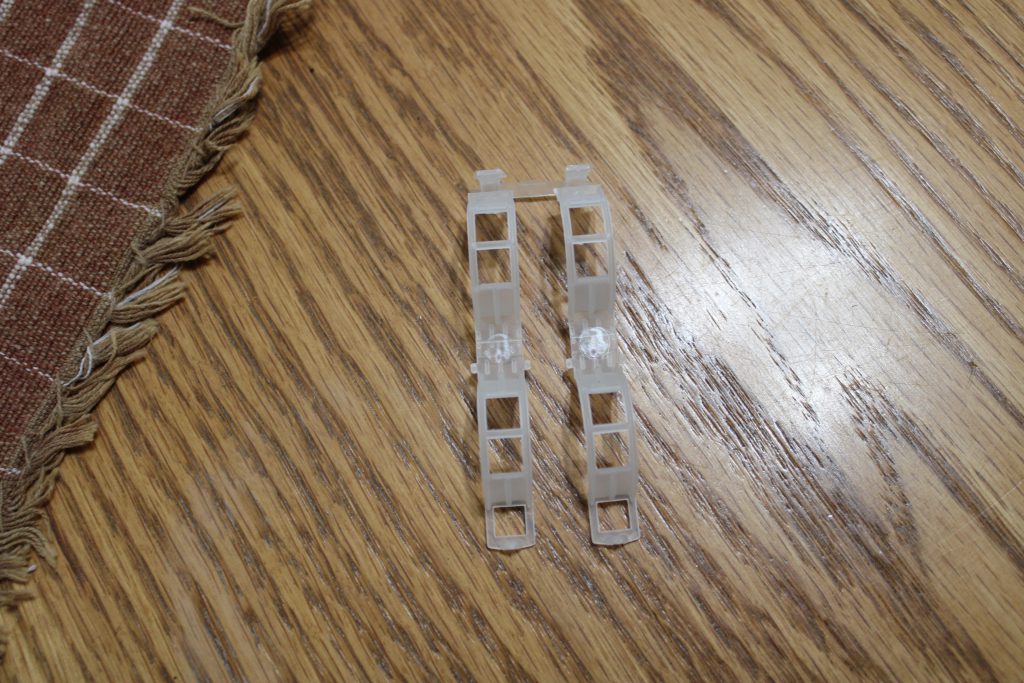
I used the clamp to attach the string to the cable.
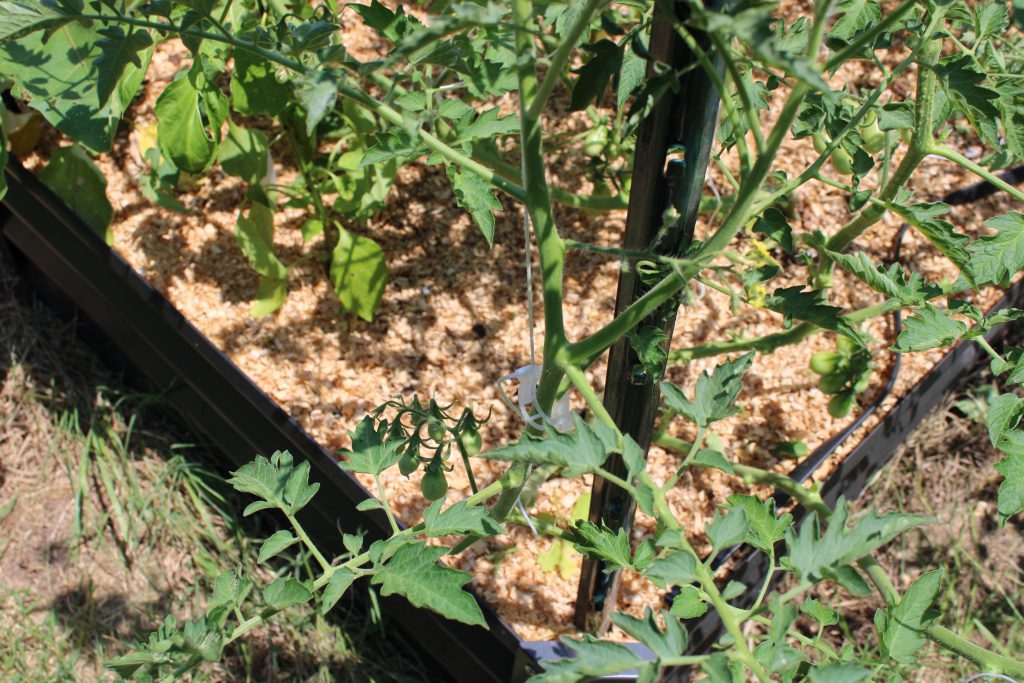
Next, clamp the other end on the tomatoes or the plant you want to use. This should work for most vine type plants.
Finally, success has been pried out of the jaws of failure and success has be achieved. No need to worry about anything, nothing to see here. Next time we are going to look at…
Ok, there were some issues. Lets talk about those.
Issues with my Tomato Trellis
First, there are some height issues. Because we are not using the tall posts, I did not gain much advantage on the my typical 4 foot tomato cage trellis that I have used the last few years. I have a design in mind for my 3D printer to fix this issue. I will replace the caps with a custom design and allow myself to use taller posts.
Because the first issue is not enough, we have a second issue, it’s the airline cable. My bright idea of using something strong that can withstand the wind of Oklahoma and the weight of fruit, did not quite work as intended. I need a way to add tension to the wire. Believe it or not, there is slack. Mounting the end of the loop to the hooks in the t-posts rather than themselves, should help this situation.
While the last one can be easily fix, this next issue is more insidious. Because of the airplane cable’s ability to move my posts’ alignment, tightening will be an issue. Tighten too much and I will have a pyramid as they all slant 45 degrees under the tension. The taller the post, the more aggressive the misalignment is likely to be. I think, I might be able to wrap and weave the cable lower on the posts to anchor it better and transfer the tension to the most material rather than the cable..
Lastly, I need to fix the completely unacceptable clips I am using to attach the string to the airplane cable. With my 3D printer on the workshop bench, I can solve this issue. I just need to fix it first. I have the concept finished but need to do the CAD work on it.
Verdict
This is my first version of the design. While I am committed to this design, I have a good list of things to fix in the off season. Getting my 3D printer up and running is going to be a major goal this off season. Regardless of the issues, this has so far worked reasonable well at trellising my tomato plants.
My biggest issue was waiting too long and allowing my tomato plants to run wild. Because I am going to keep the larger fruit vines mature before single stemming my tomato plants, this looks worse than it actually is.
I am excited for next year’s version two. I will leave you with this, a picture of the final product a couple of week after install.