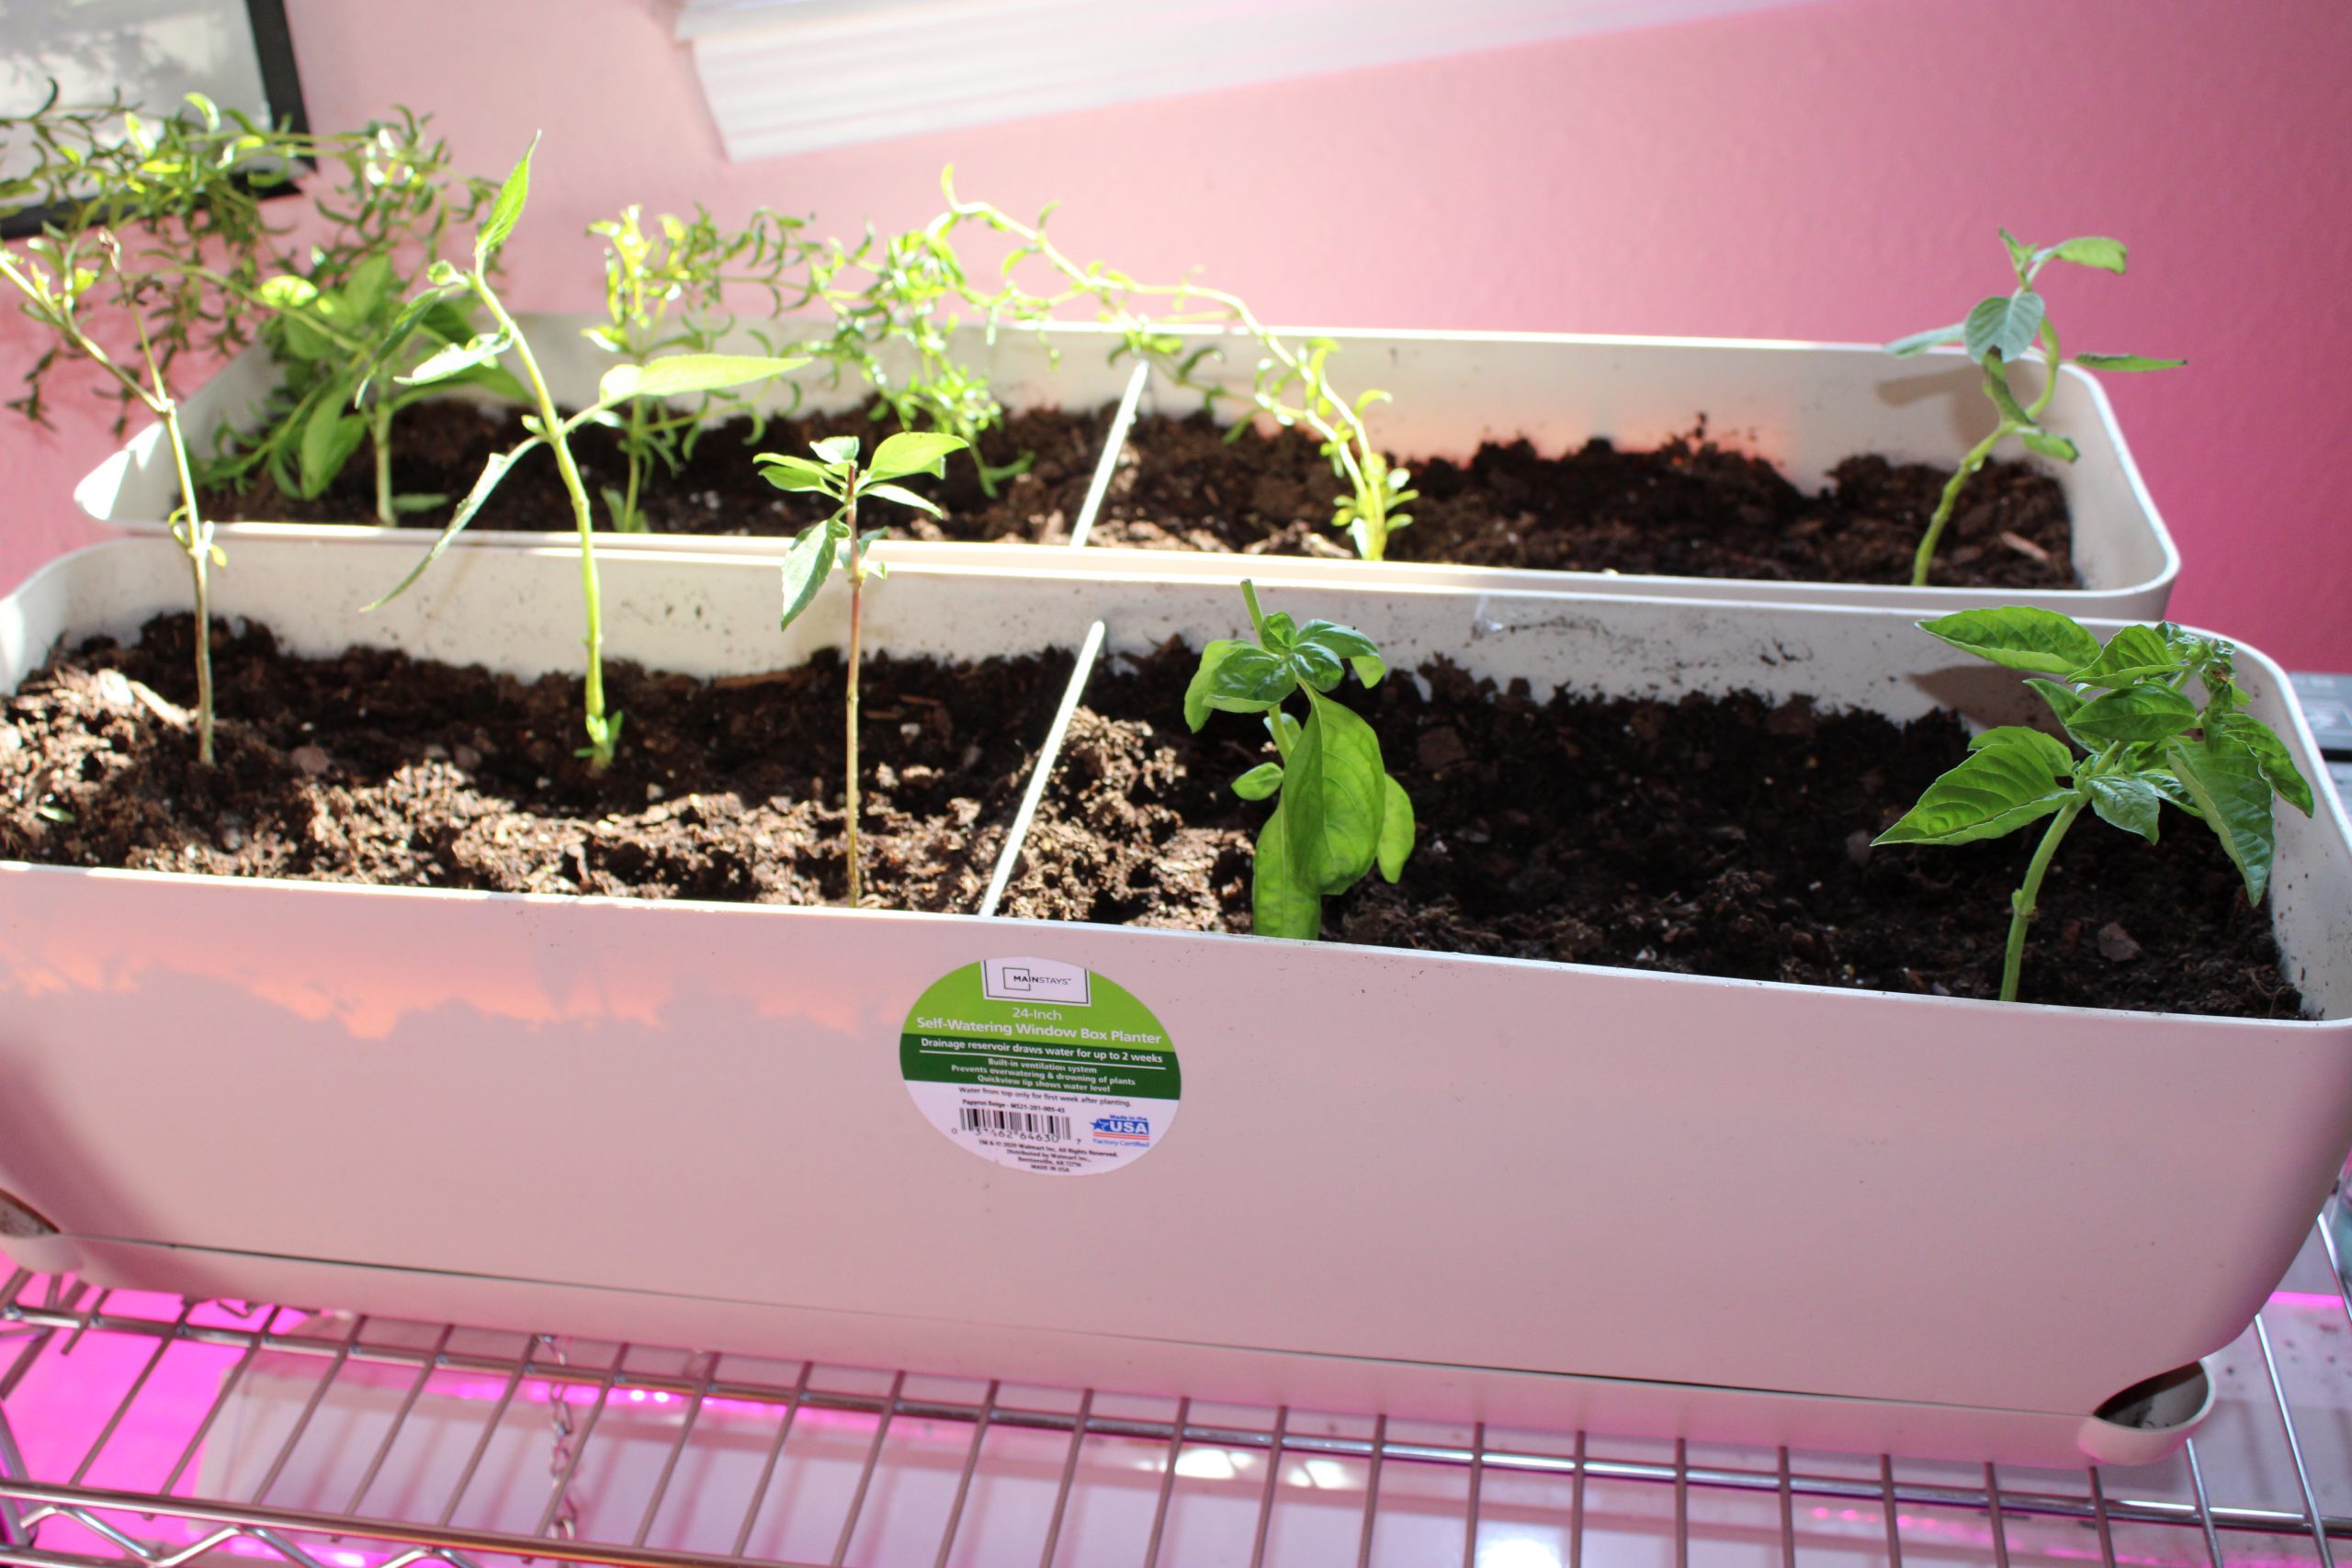
Every year, I attempt to preserve my more tender herbs. With the tender ones, I also try to keep around my more difficult to find herbs. This year that herb is my Texas Marigold Tarragon or Mexican Tarragon. It is the unrelated, heat tolerant, flavor cousin to tarragon. Tarragon does not grow well here so I will both try to seed save and keep a clipping. My main goal in overwintering my herbs is not to have a harvest but to keep them alive for the Spring. If you want to keep them for harvesting then that is a whole different process. This is basically herb propagating 101 but we are doing in context of overwintering the herbs. You can easily do this in season to increase the number of herb plants available to plant.
The Process of Overwintering My Herbs
First you need to have your herbs growing in the garden. They need to be healthy and strong. You want to find a suitably sturdy chunk of the plant.

For example my Thai Basil is a large and strong plant. This one is from seed I collected last year and was the one I thought I lost due to a March cold snap. In this example we have one that has gone to flower. It is an occupational hazard of Thai Basil. You turn your back and you get flowers. It is bad for flavor but good for an example.
We need to collect one sprig of the Thai Basil. We need it to be health and rather long.


That is all for the outside work. So grab your sprig and head into the kitchen.
The Inside Work

Along with your vicious snips, get your Joe’s cup with some water and a less vicious set of snips, so we can get to work on sprig.
First we need to remove the flowers. Sorry sprig, you don’t get to breed.

Next we want to make a cut on the bias at the bottom of the stem. You want to use the nastiest thing you have because you want the cut as clean as possible. No ratty edges are allowed. Now you might go, can I cut anywhere? The answer is yes but you need a leaf node to grow some roots. You want to cut just under a leaf node. To identify a leaf node, look at the leaf clusters each connect to a fat point on the stem. This is the leaf node. I also like to cut on the bias to increase the surface area of inner stem exposed.


What you want the cut to look like is soft tender plant flesh. If it looks like bark, you probably have a bad sprig. Try again with a different one. As you can see, though it is blurry, it is a tender looking plant on the cut.
With that cut handled, we need to deal with the leaves. The thing is we got rid of the plants roots when we cut it off the plant. All those leaves require some support and energy to run. We want this plant running on minimal power. Remove all the big leaves from the bottom to the next to last leaf node. Really small ones above what will be the water line are your own judgement.

Take the pointy end and stick it into a Joe. Trust me, he is ok with it.

What we want, is that cut to remain underwater. You want that first leaf node underwater too. If it is not it will grow leaves and not roots. What we want to do is inspire water roots. This will take some time but check on them everyday to keep the water level up.
Finally, you want to find a place where these will get a little bit of light. Not full sun, not mottled sun, no just a little bit of light. Right now, the plant is in complete unbalance. The leaves are strong and the roots are week. We run this thing with full sun and it will die.

This window was bit too much light so I moved it next to the big snake plant in the lower left corner, the next day.
You know you did right when you get roots.
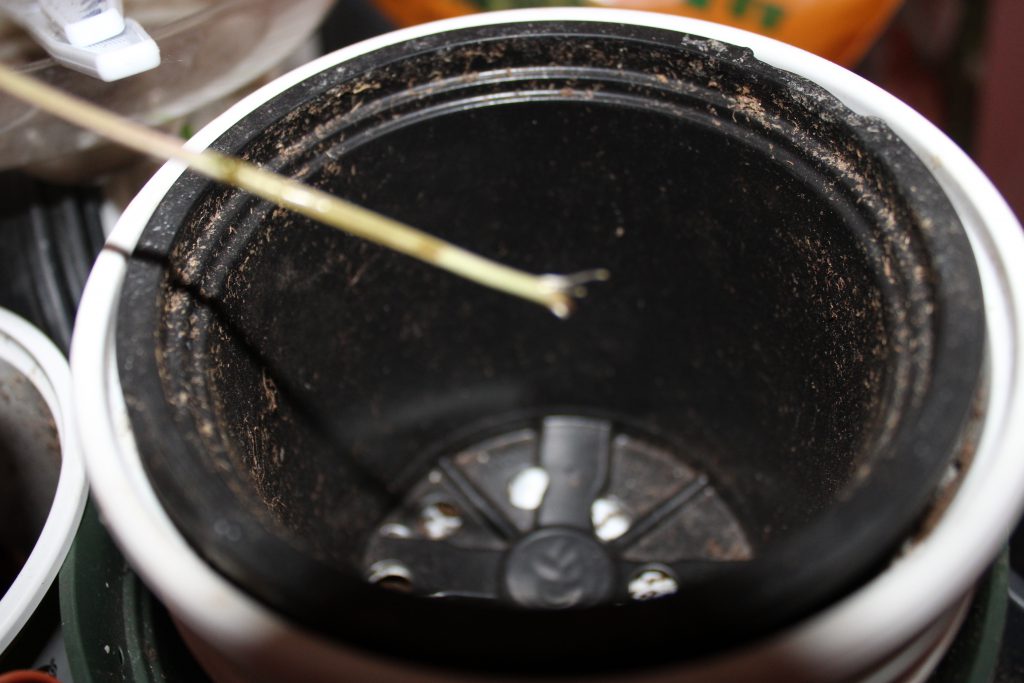
Allow those roots to form. Keep them wet. We want a solid inch maybe two before we transplant into the potting mix. Then water it, regularly to keep the soil moist for a few weeks until the plant starts to perk up. When you have done this, you have successfully propagated your plants. Now you need a grow light or a very sunny window so that your established plants can spend the winter in the house.
Moving to Soil
Eventually, you will need to transfer them to soil. I am using a window box planter but anything with some drainage works.
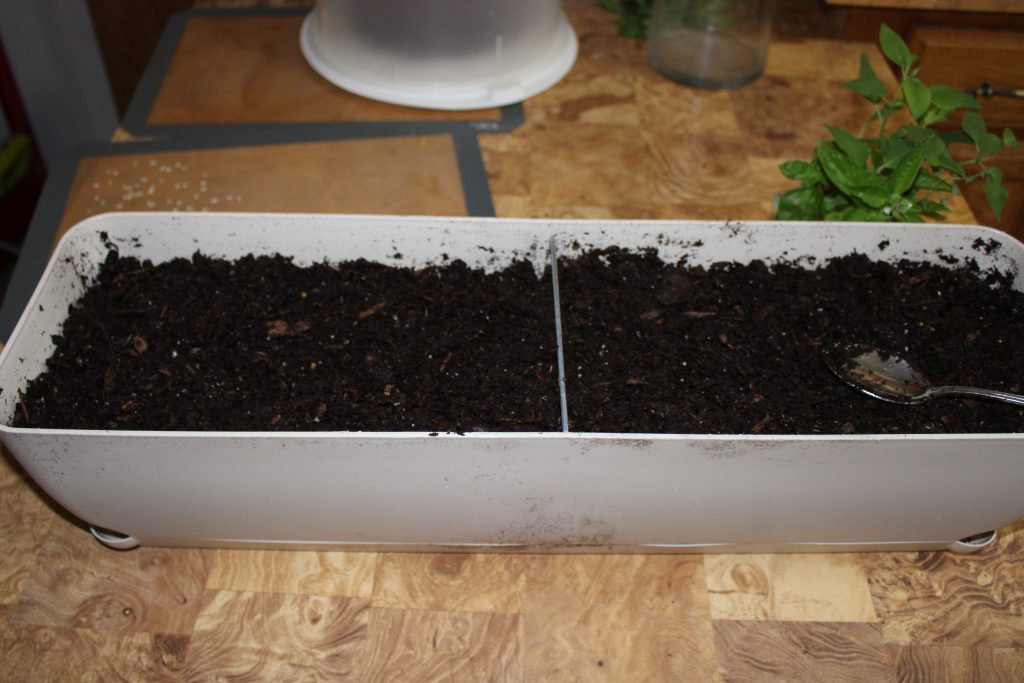
Let looks at our plants.
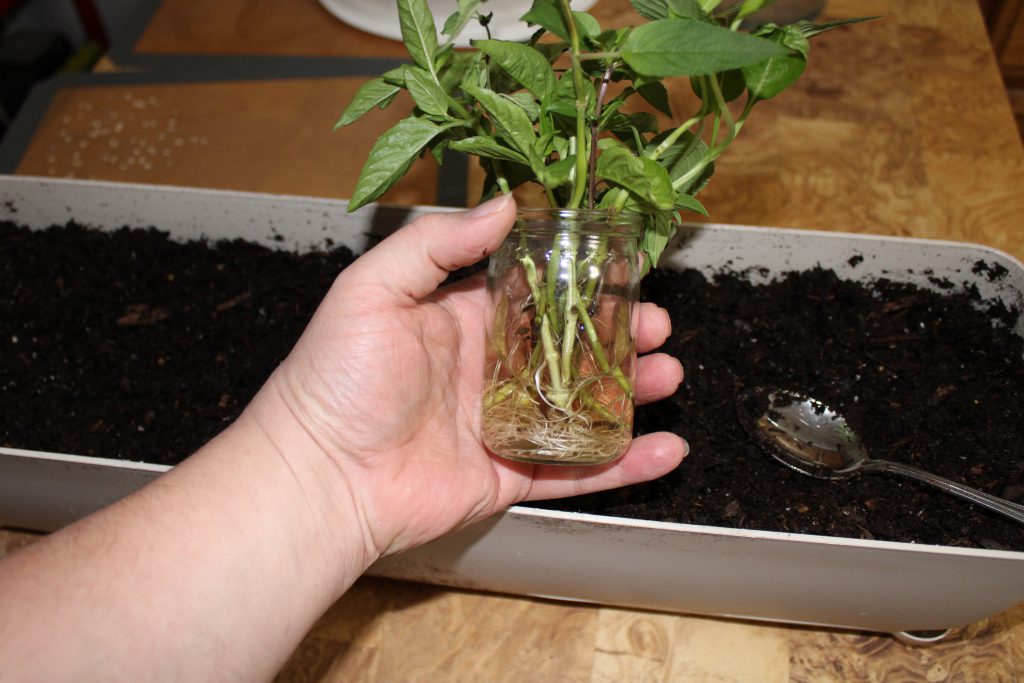
They have a nice root structure that is not too long so lets transplant them.
Here we have one of the Sweet Basil and its roots are getting to that one inch margin that is good.
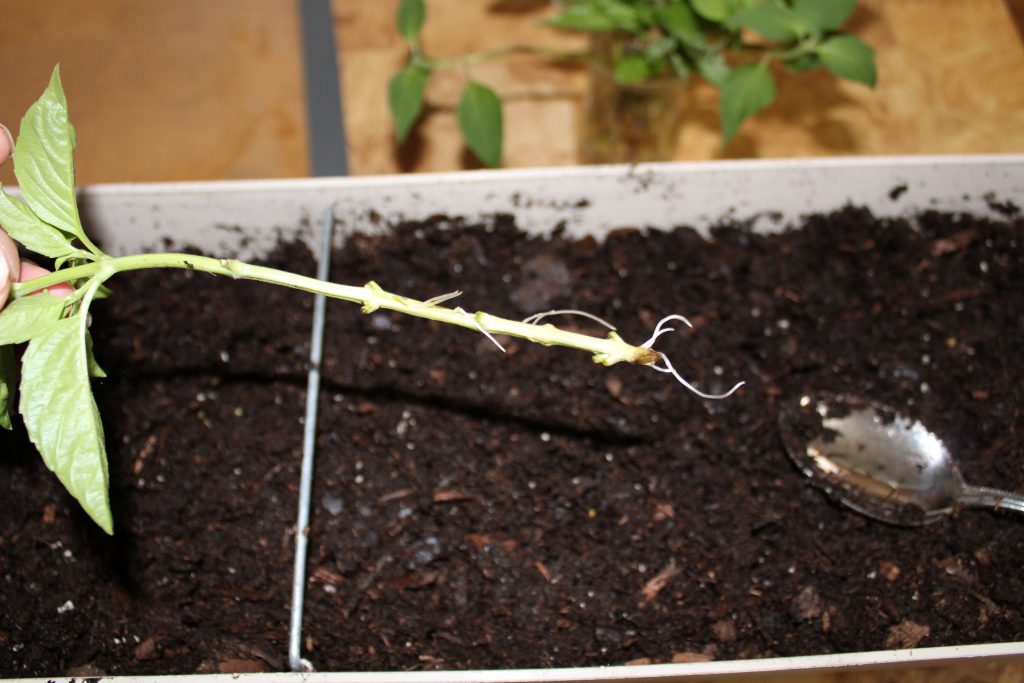
Next, we dig a hole.
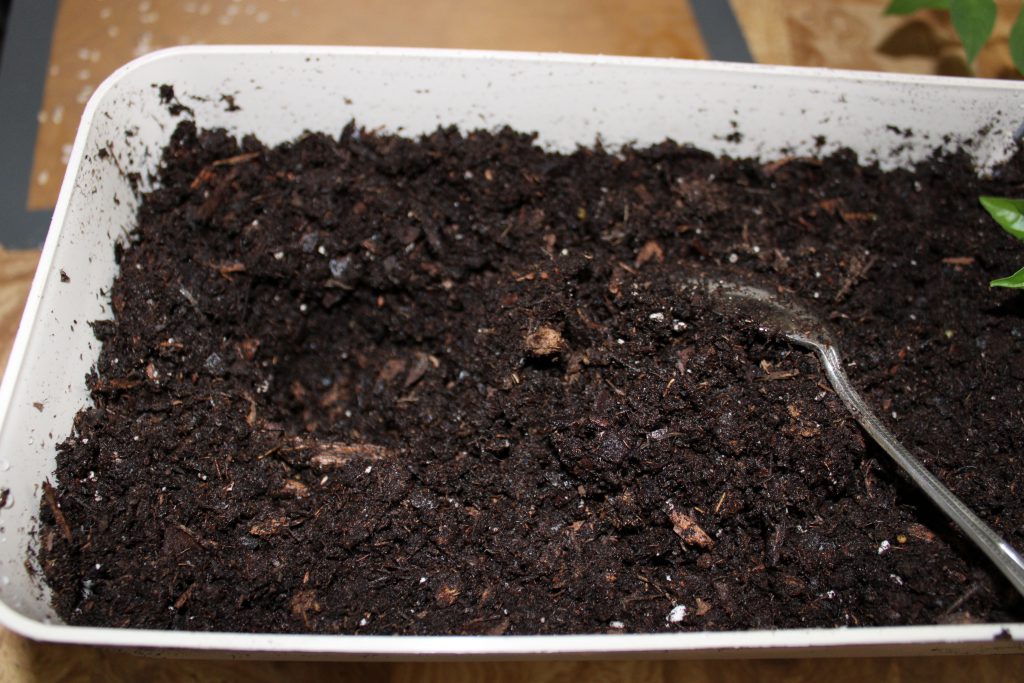
Put the plant in the hole.
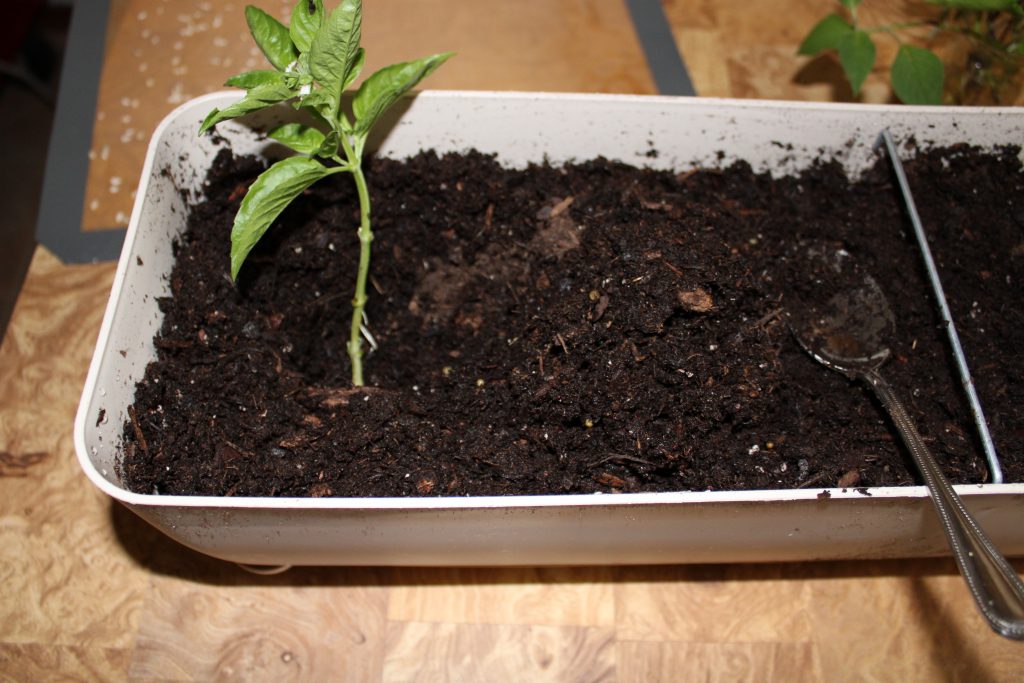
Give it a bit of a love pat and some water to get rid of any lingering air pockets.
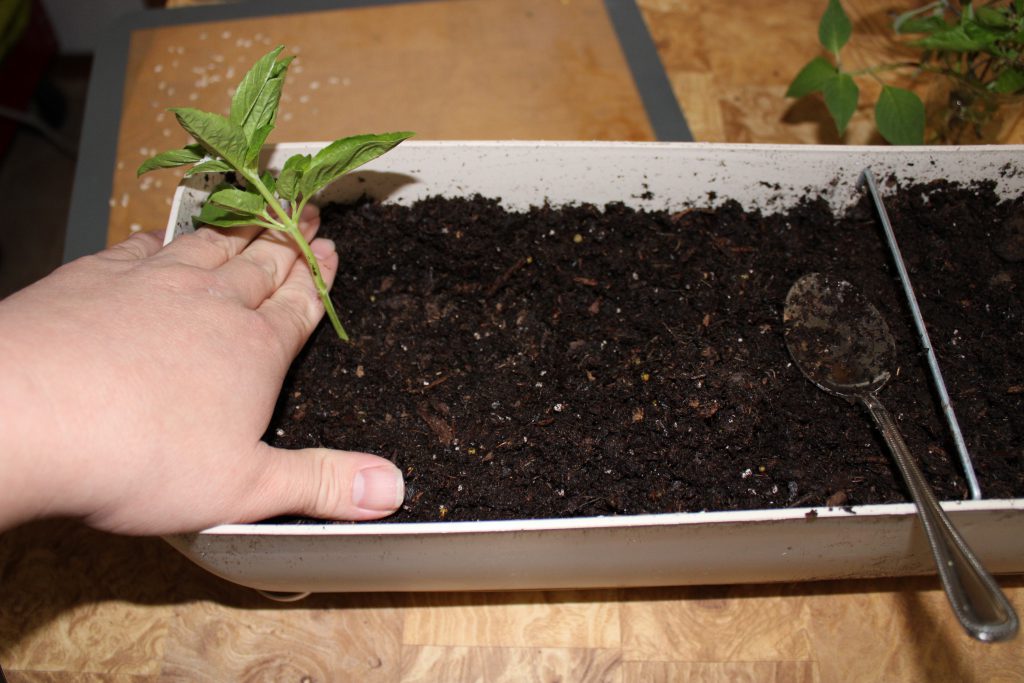
Now we can quit insulting your intelligence on how to plant a plant. While most of us know how this goes, there is always someone who this is their first time. Quite a scary concept now that I am thinking about it.
These are the basics for overwintering herbs. Some years I have better success than others. Too often they get forgotten about and die. Thanksgiving is a dangerous time for these guys. I’m hoping this year to keep them alive since I am planning to try a winter garden.
The Current Status
So, I started this process several weeks ago. I figured that I would do a status update. When doing this, there is often casualties at every step of the process. My main goal was keeping my Texas Tarragon and Pineapple Sage going.
The Pineapple Sage did great. The Mexican Tarragon welted and died. All of them. Every single time I attempted it.
So, I am trying a different propagation technique on it. Most likely, it will self seed itself next year as I think I am in its native climate. I don’t want to take that risk and I want to see if I can secure a regular supply. If this technique works than I will let you know and tell you how I did it.
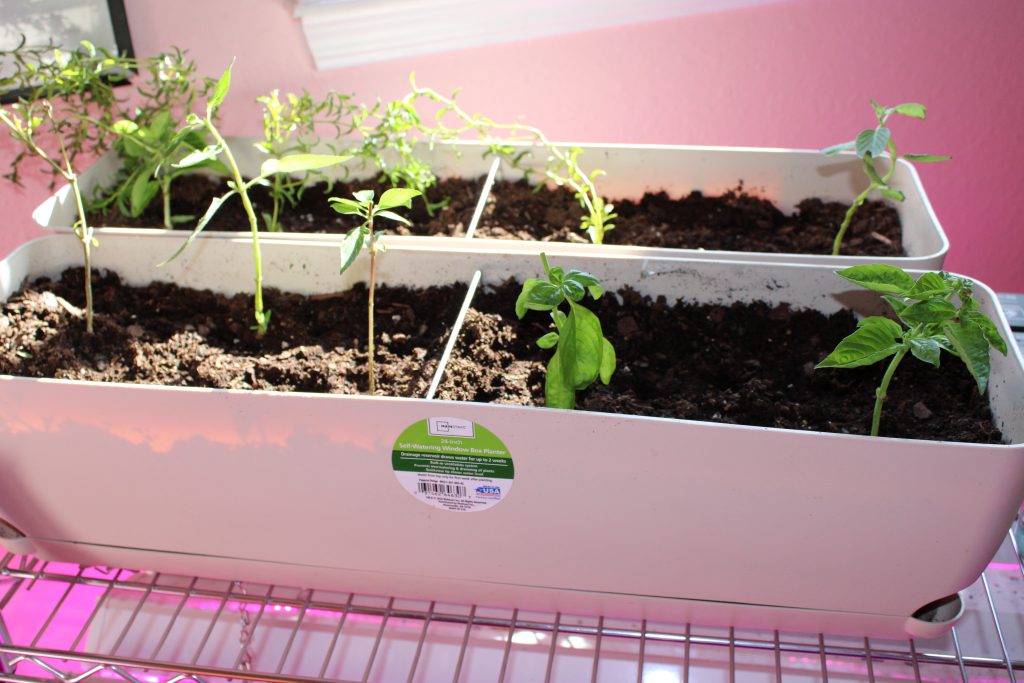
Here in my seeding station, I have my herbs that I have transferred from the water to the soil. So far, I have lost one Thai Basil and One Sweet Basil but everything else seems to have taken root. There is still a long way to go to see if they survive but we got through the most dangerous time. I have replacement preparing in case they fail.
One last thing before we run off to some of the questions, you will have a high attrition rate. This is not the natural way of propagating these plants. The majority of you plants will not likely survive this process. Take more cutting than you need.
Question About Overwintering Herbs
Do I need to have such a long sprig?
No, as long as you have a leafy leaf node and a non-leafy leaf node, this can work.
What herbs does this propagating trick work on and do I do all my herb overwintering this way?
Every herb that I have tried this on has worked. Some are more trouble to start than others. If you ever see something talking about infinite basil plants, this is almost certain what they are doing. Basil is extremely easy to do this with.
Other things like Rosemary are a royal pain. You can expect all the plants with woodier stems to require more attempts. They tend to rot rather than grow roots. I have heard of people using rooting hormones to help them though I personally have never tried.
Generally, I allow things like oregano, mint and rosemary to ride out the winter. In my climate, they generally stay alive.
Why do we want the roots be an inch or two long before potting for overwintering/propagating the herbs?
Because these are baby roots. In most plants, these roots have not decided what kind of roots they are going to be when they grow up. If you let them get to say 3 inches then the roots are water roots and it is actually more difficult to make the transition.
The reason you move them at 1 inch or so is because there is enough root to handle the shock of switching mediums. No matter how good your potting mix is, it is a desert to that plant and has spent its rooting life in pure water.
Are there additives that can be added to the water to improve success of propagating the herbs for overwintering?
There is almost always a powder or potion to improve something. This is America. Personally, I generally avoid them as most of these herbs grow natively and can overwinter.
If you are trying something with a woodier stem, I would consider some rooting hormone as the brute force method may require more attempts then your will power will allow.
Why no chipped beef jar?
If you have spent any time here, you know I use a chipped beef jar for almost everything. Today, I did not have a clean one, so I used the Joe’s cup. In time I will swap it over because glass is easier to see what is going on with the rooting herbs.
