
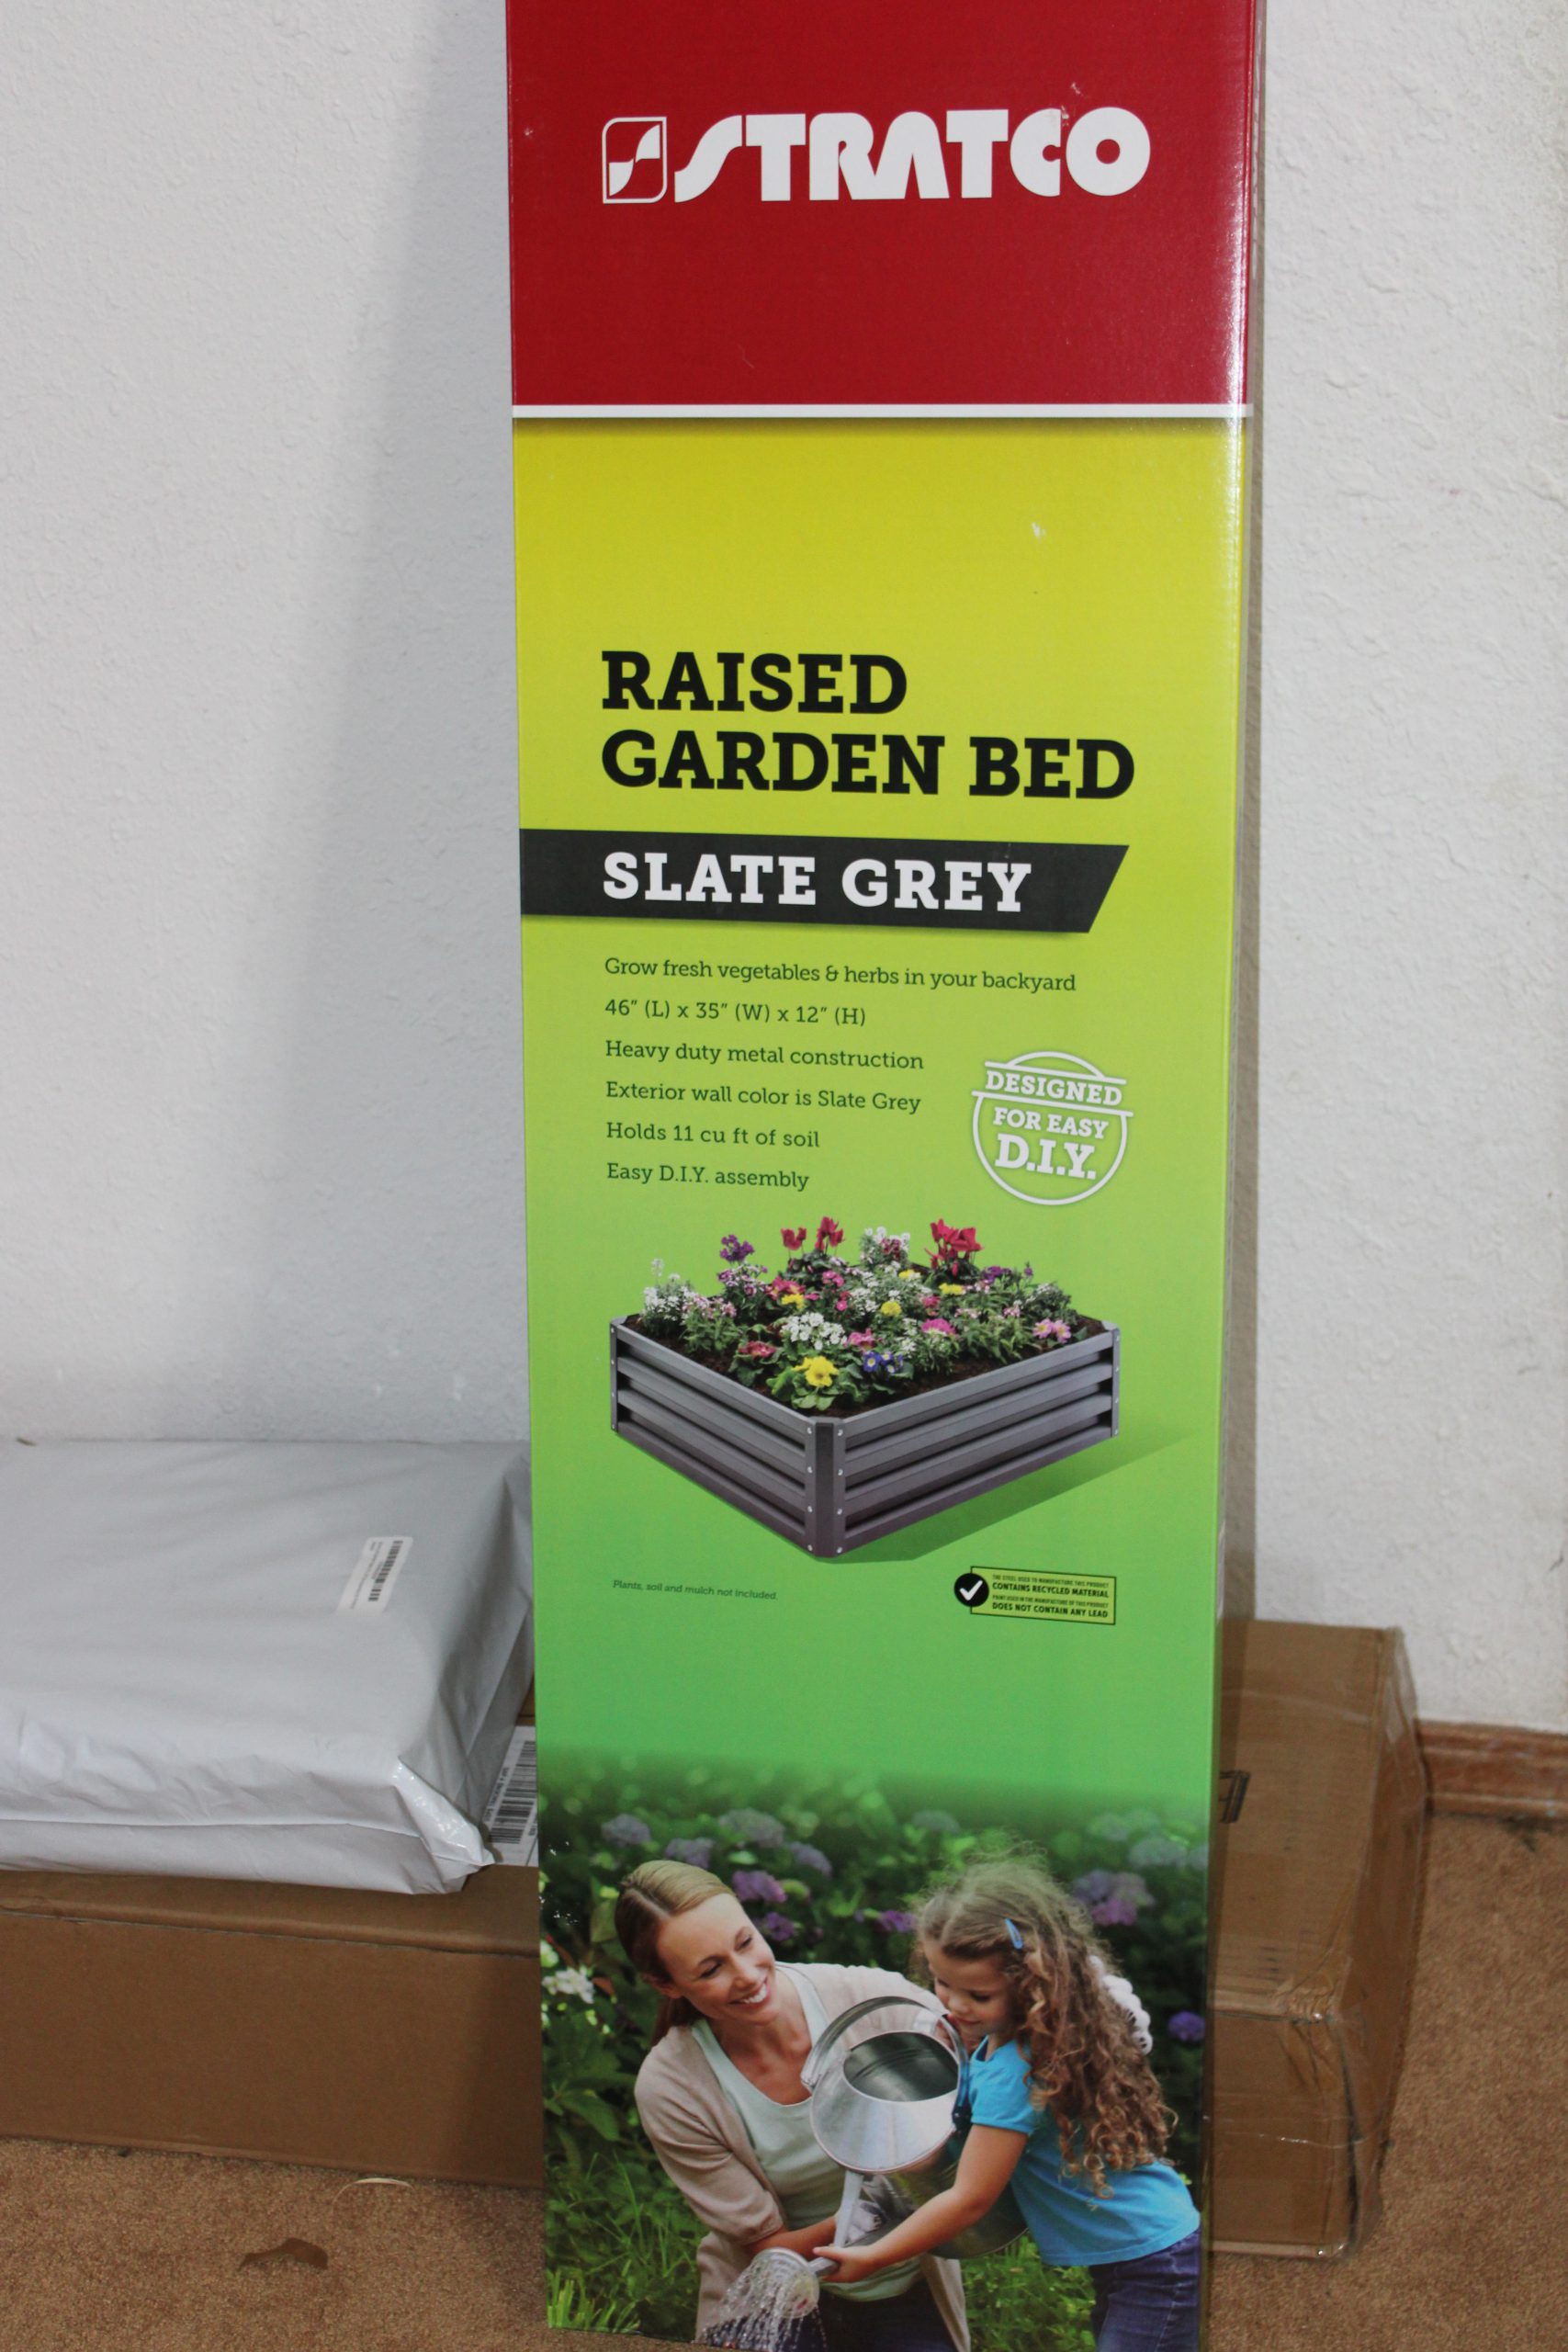
Like many people, I have expanded my bed this offseason. One of the issues with expansion is that I need new bed materials. While I may regret it, I decided to expand using metal raised beds. I have a couple of different raised bed models. Each are almost exactly the same in construction so this will serve as a guide for all them. All models I have dealt with are 3 feet wide. The Stratco Raised Garden Bed is no exception. It is 3′ x 4′. I used 4 of them to get a 4’x’12 bed.
Assembling Stratco Raised Garden Bed
First off, they come flat packed. Each box. which opens just a little too easily as many just pop open, are shipped in a more sturdy box.
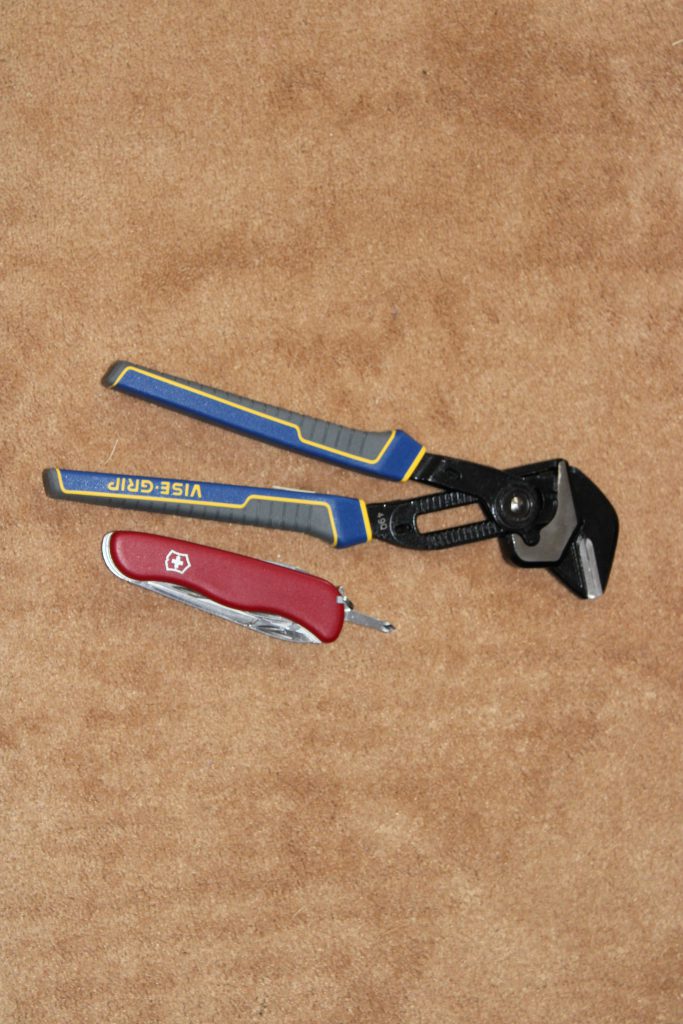
While most claim to be tool less, my experience with them is that you need a pair of pliers and a screwdriver to really put the thing together. One final thing. Build these indoors. While the edges are not particularly sharp the wind is likely to make you look and eye with these big metal kites.
With that out of the way lets open the box and see what we have.
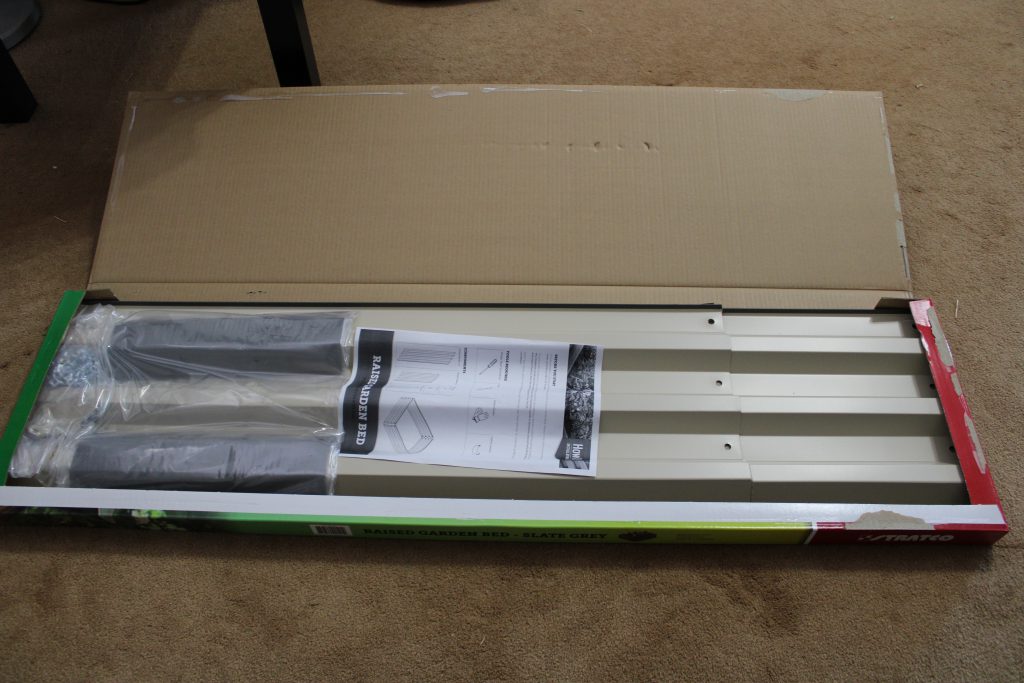
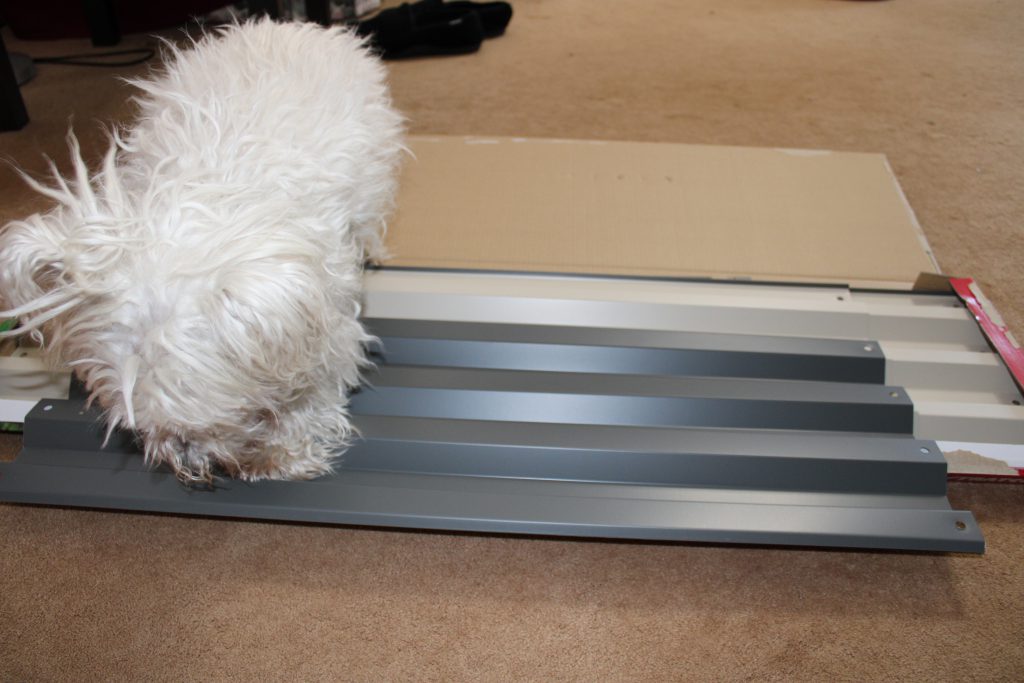
Because the bags are stapled into place, vacuuming after construction is not optional. First we have the 4′ sides on the bottom. Next are the 3′ side in the middle. Finally, there are the instructions, screws, wingnuts, corners and top caps. If you are like me then you will need to move your assistant out of the way before unboxing.
Lets look at the parts.
Parts
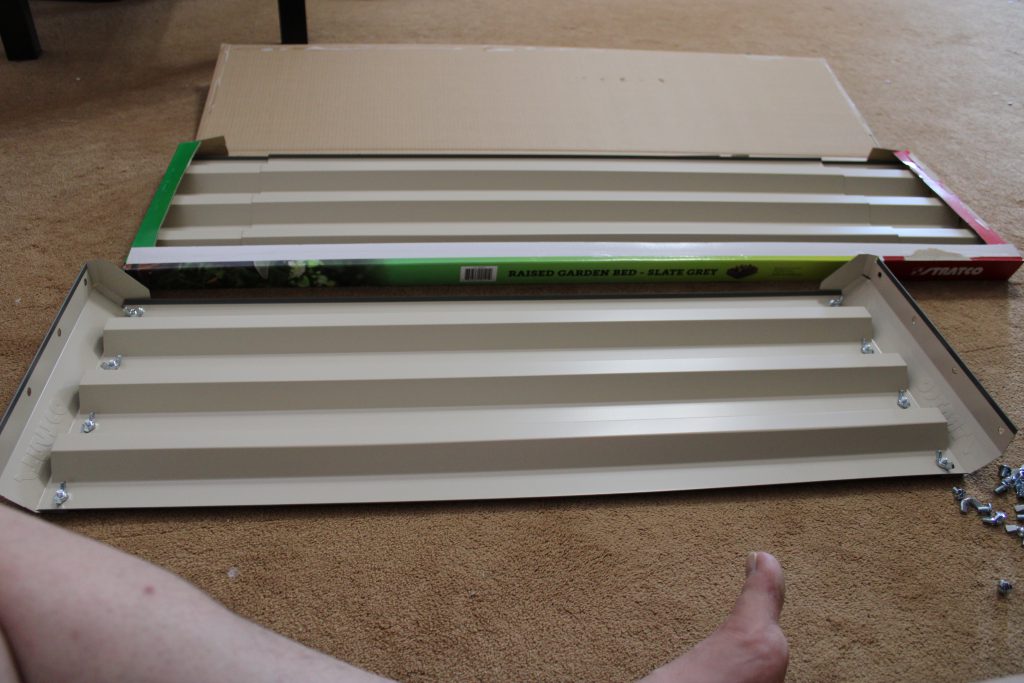
First the panels.
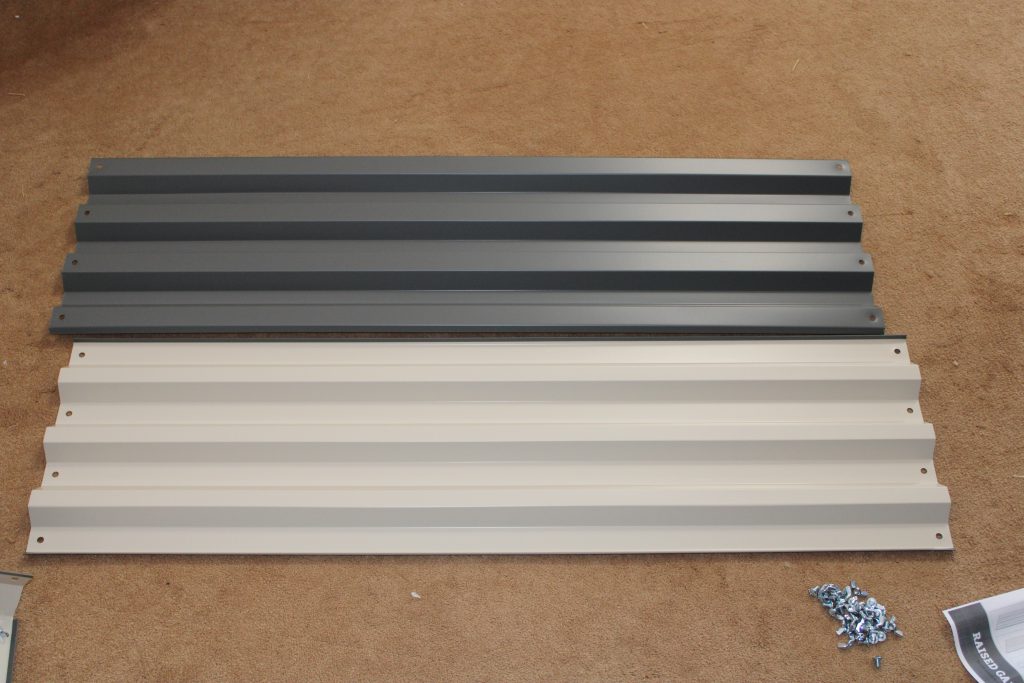
The dark grey is the outside of these as it is the slate grey version. I have to say the panels were much sturdier than I expected. I would not call them sturdy but much sturdier than I thought they would be. The top and bottom edges are not particularly sharp so don’t worry about cutting yourself there. The edge are much more dangerous about cutting oneself. If you are afraid of getting cut then wear gloves but I managed to do 8 of these without hurting myself. Finally, there is no top or bottom on these.
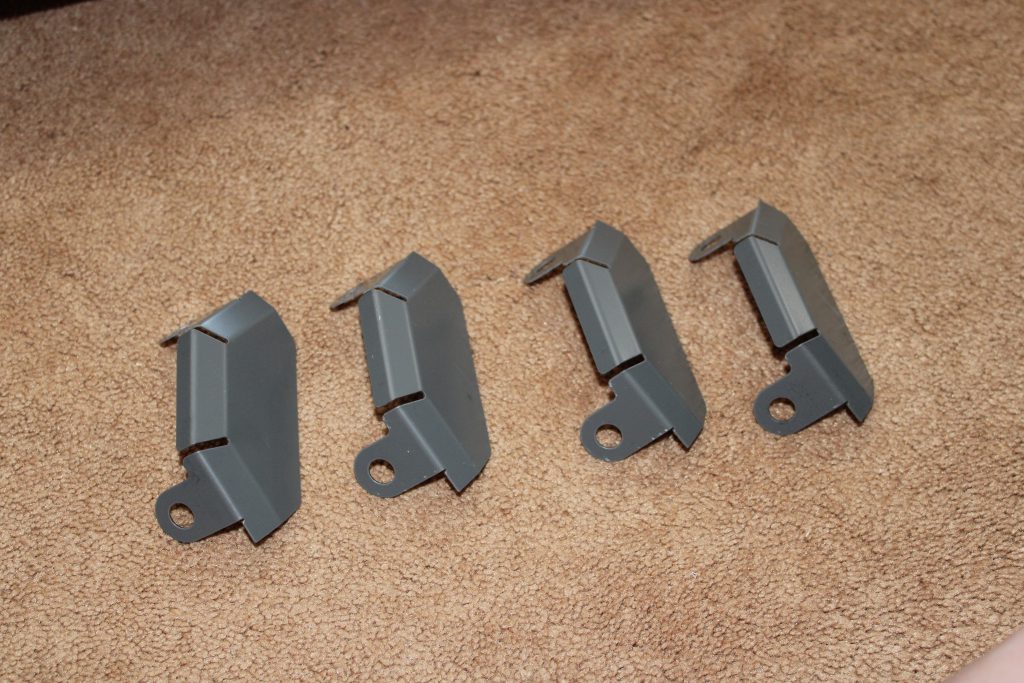
Next we have the end caps.
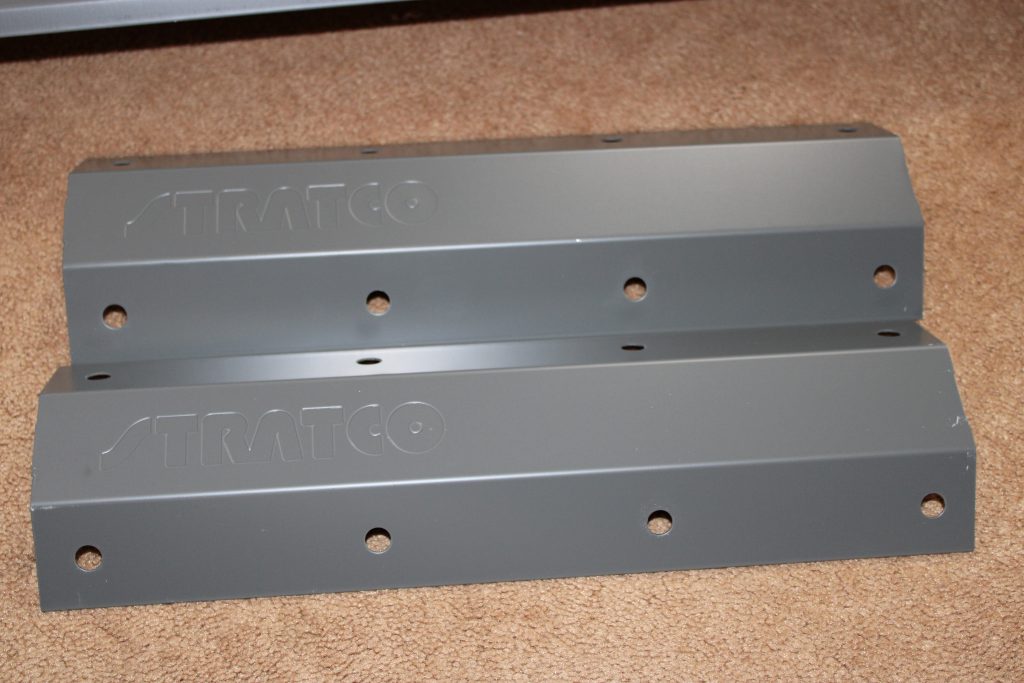
Just like the side panels, the corners don’t have a top or bottom. I would encourage you to pick one based on the name so your bed look extra sharp and organized but it is not required.
They are like the side panels but these are sturdy.
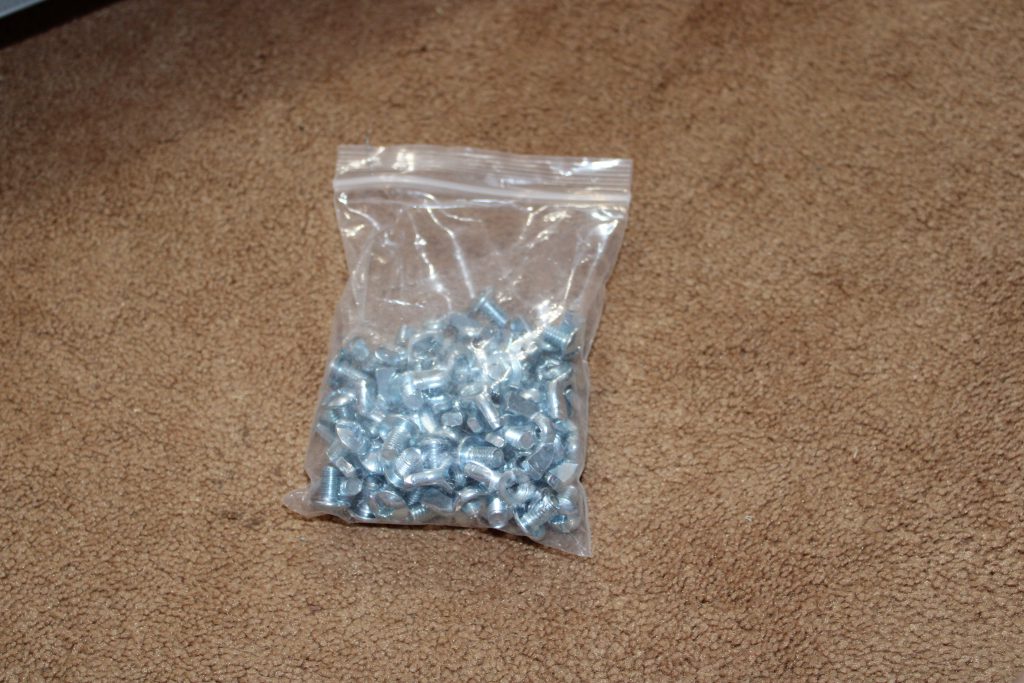
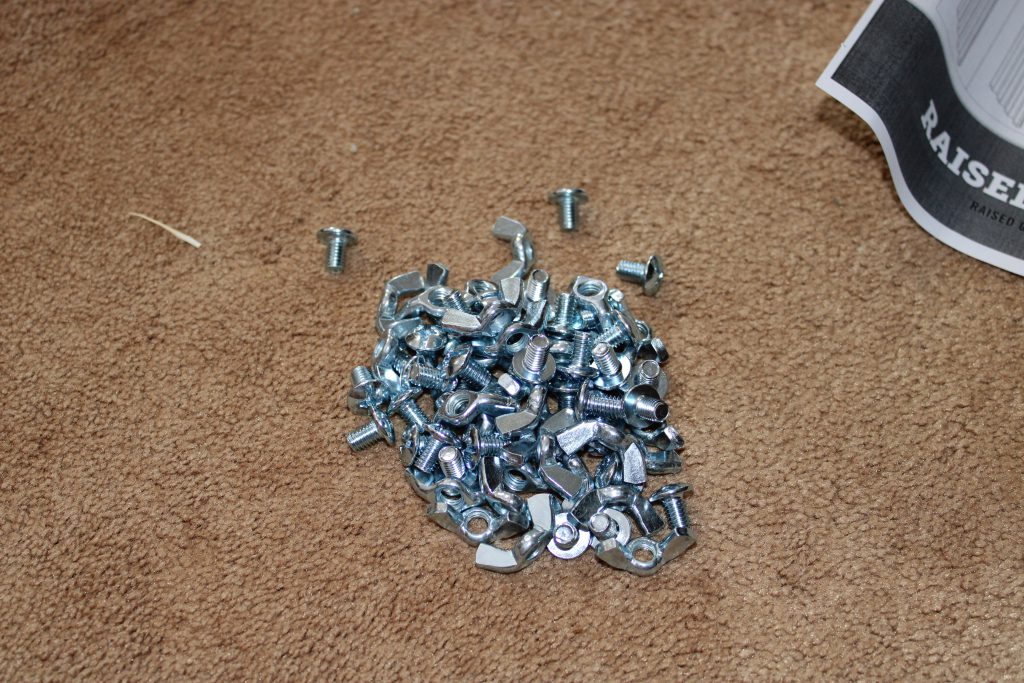
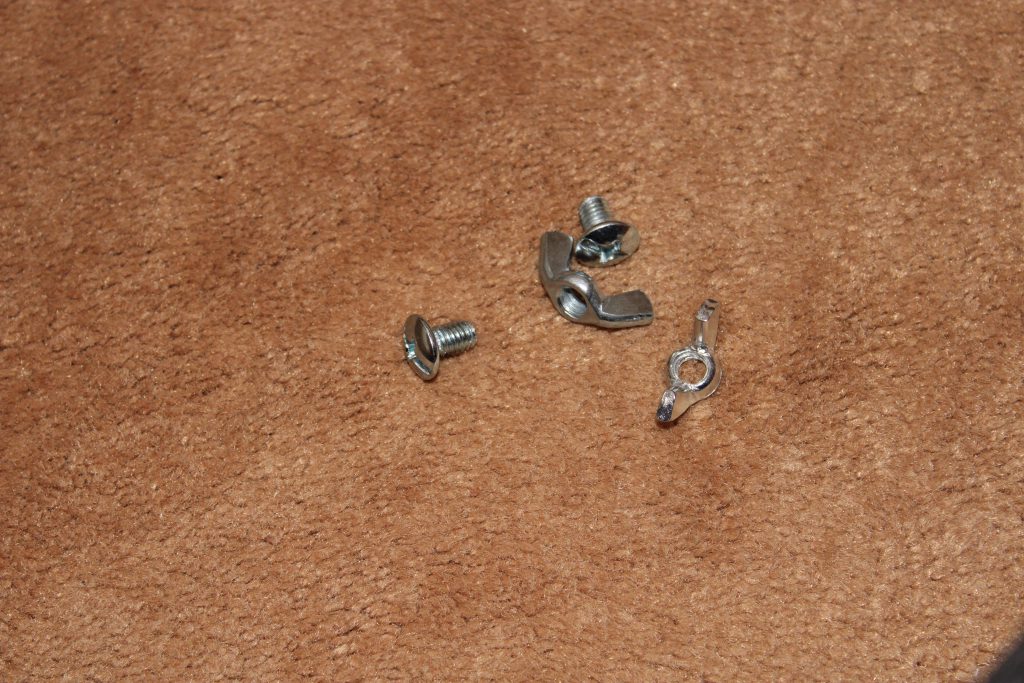
Now we have the biggest issue with all metal beds. There are more nuts in this bed than there are in Arkham Asylum and they aren’t as interesting. Just lots and lots of screwing.
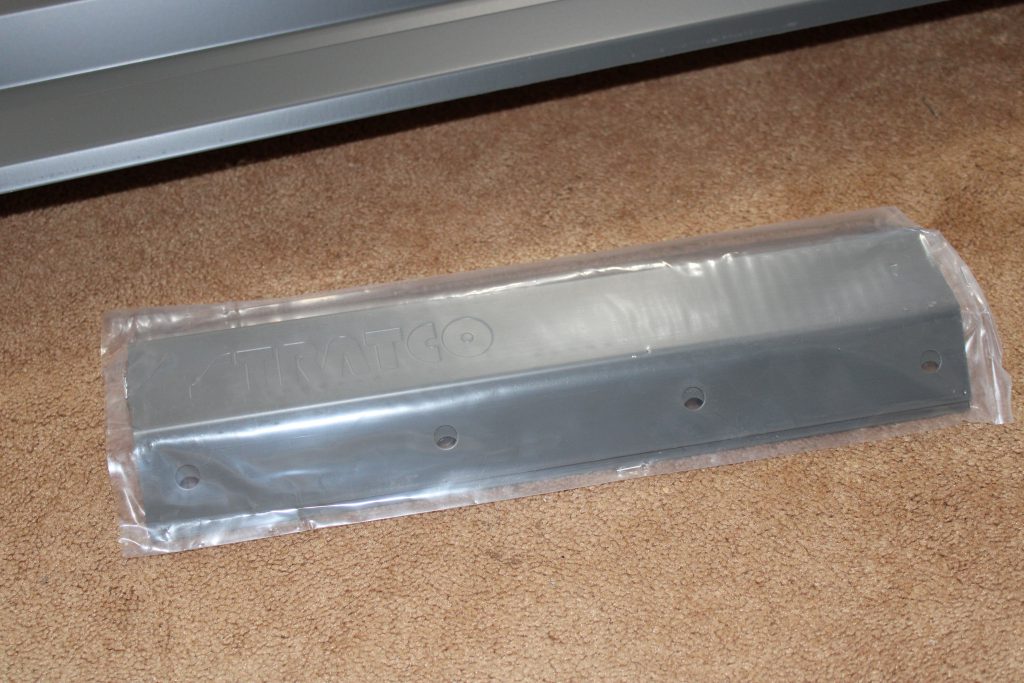
Finally we have the last item which are the top caps. These are not study. These don’t fell safe to pickup but they do make the bed safer.
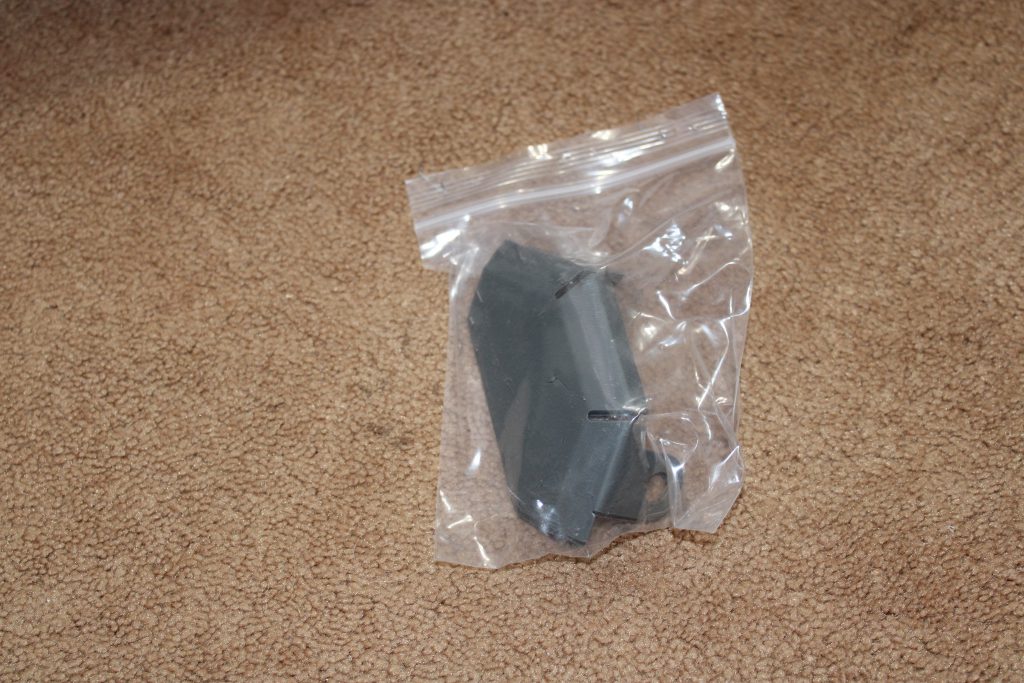
Note the loop at the bottom. These attach with that loop. It will also determine the top of your bed.
Wrapping this up, experienced metal bed people will ask about the cross brace. Most metal beds have a brace that holds the sides in. The fact it is only 4 feet long before the next post eliminated the bowing risk from these beds. These especially since I found them to be sturdier than normal.
Lets put Stratco Raised Garden Bed Together
I recommend putting the 3’f side together first. Since putting the 4′ is harder due to the extra length and vertical assembly, it is easier to maneuver the short section after it has the corner pieces to add rigidity. That being said feel free to assemble the 4′ first. They go together the same way.
First take you panel and line up the corner holes to the hole in the panel.
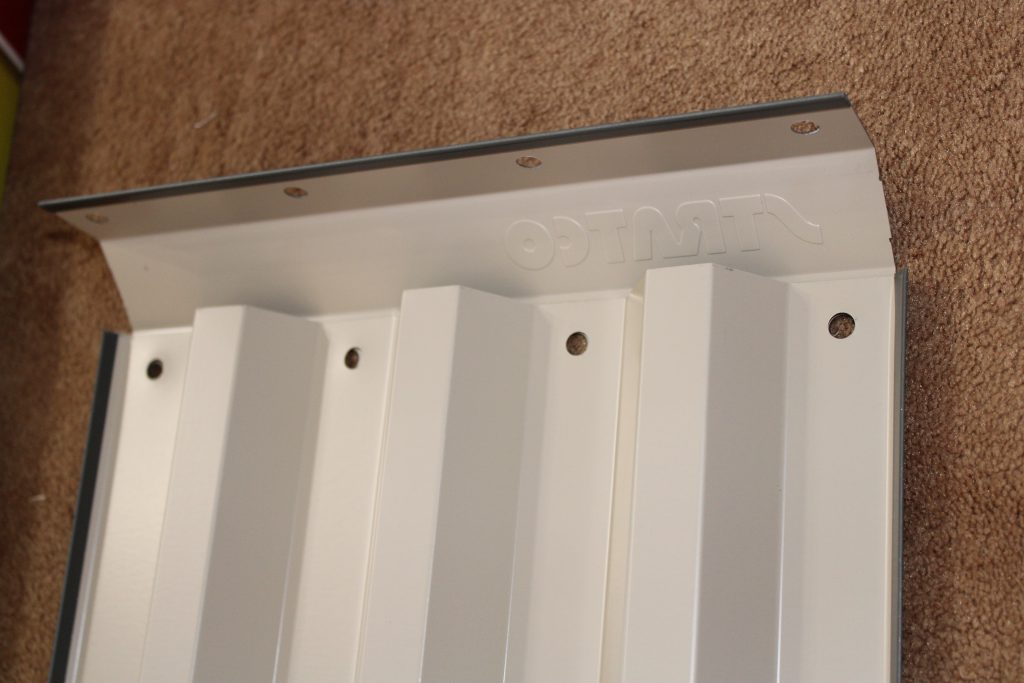
Stick the screws in the bottom 3 holes. In my case, the logo will be the bottom of my bed. Use the carpet to held hold everything.
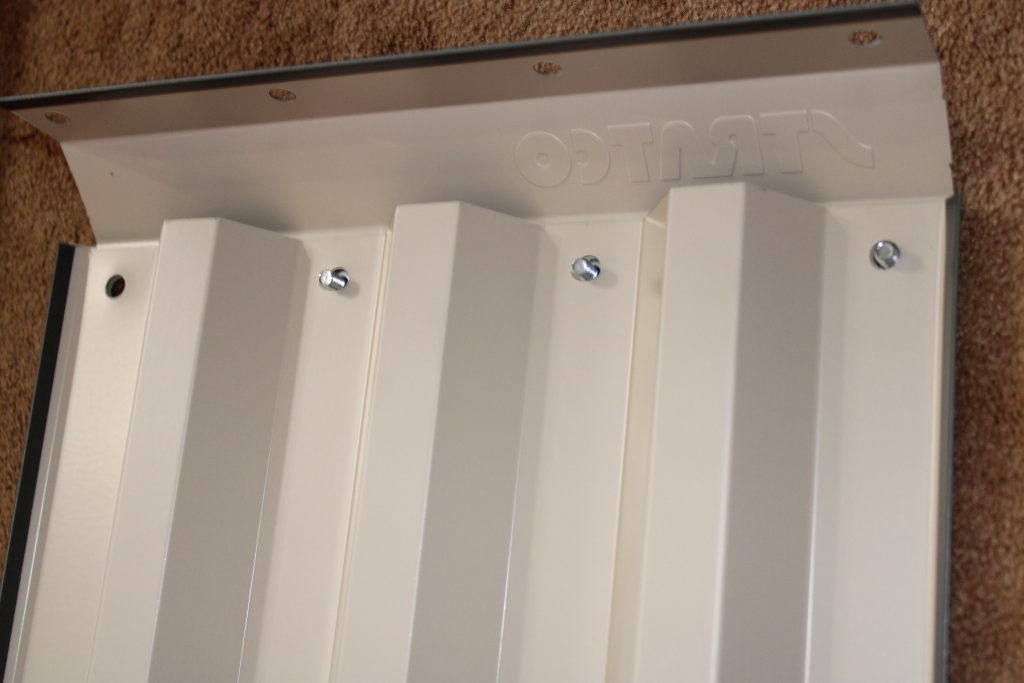
Screw the wingnuts onto the screws. You don’t need them tight just screwed on. Tightening is a different step.

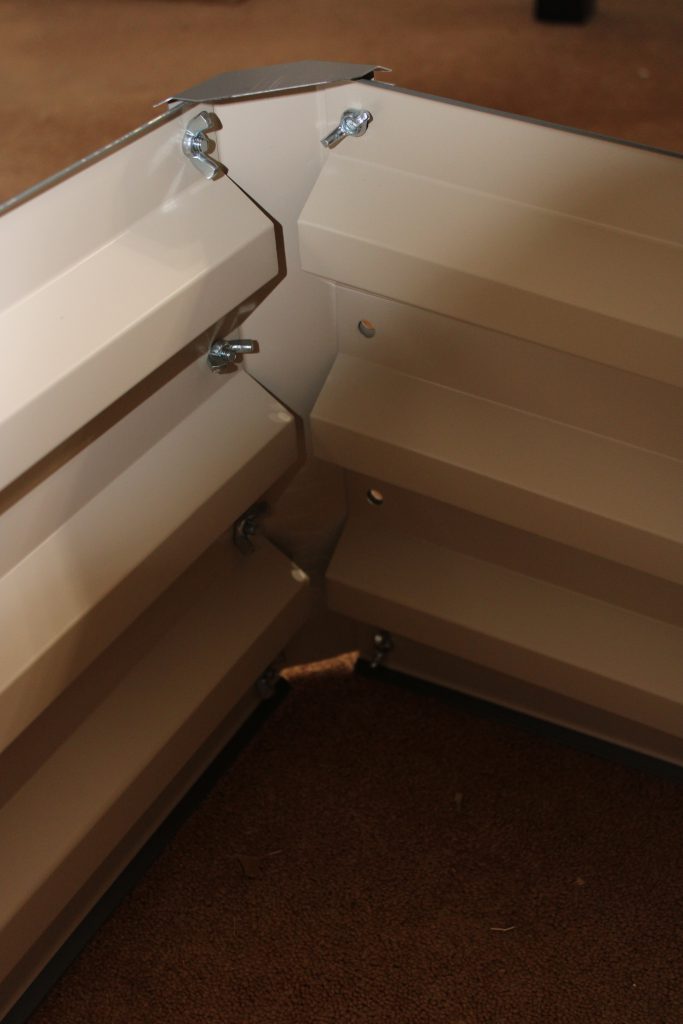
If there is a hard part, it is this. Remember to add the top cap on the top and line up the holes for the panel, corner and top cap.

Put your screw into the hole.
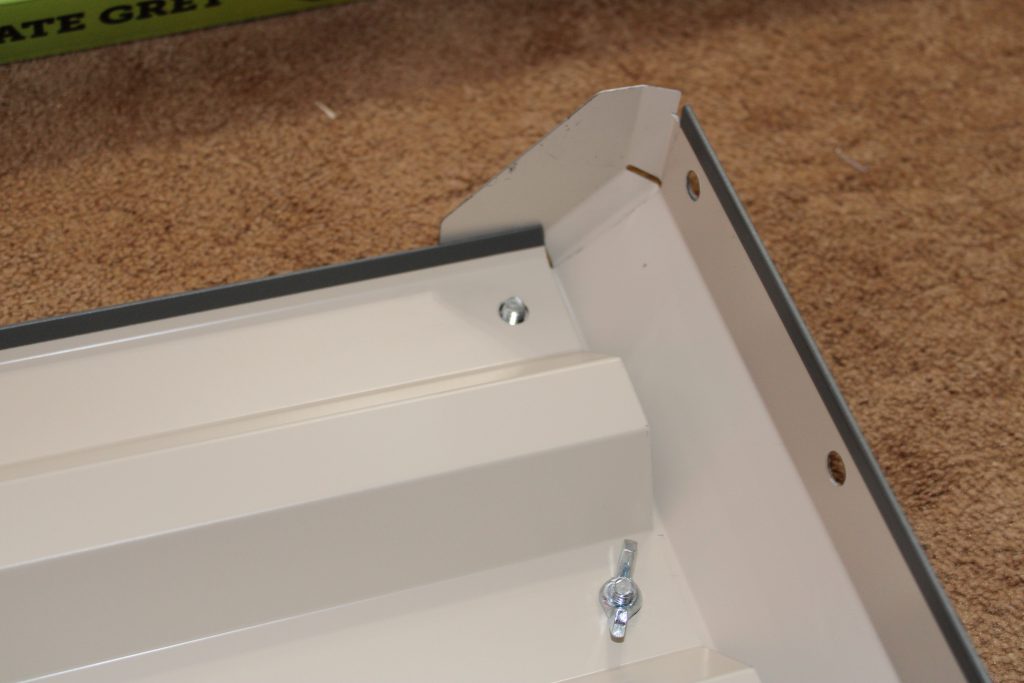
Screw the wingnut hand tight,
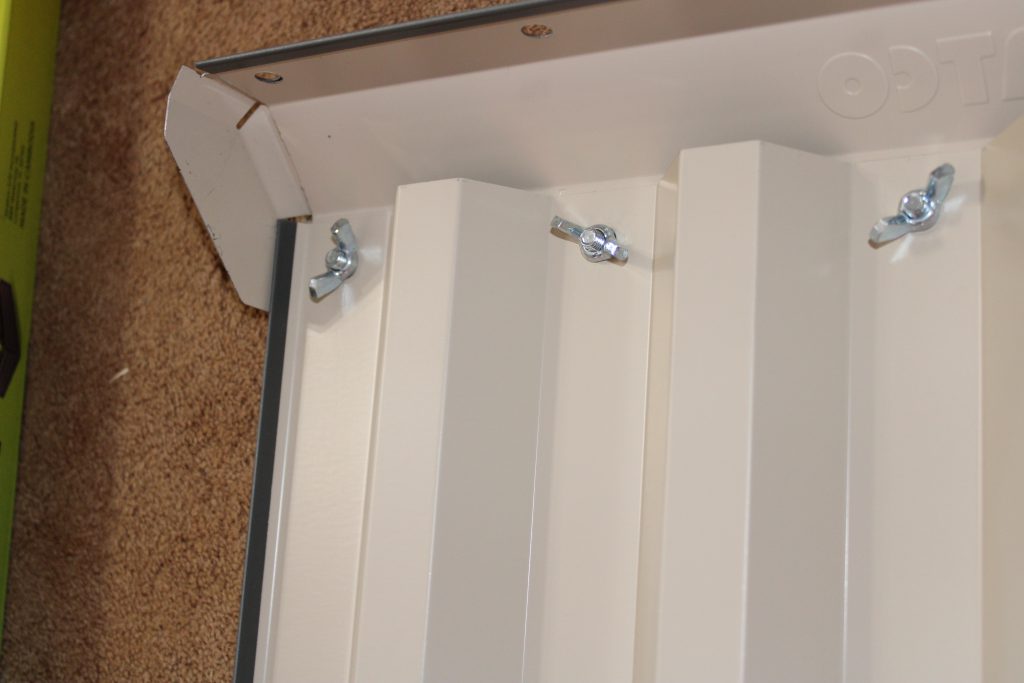
Repeat for the other section of panel. If you used the 3′ then do the other 3′. If you used the 4′ then do the other 4′.
Lets get to tightening them.
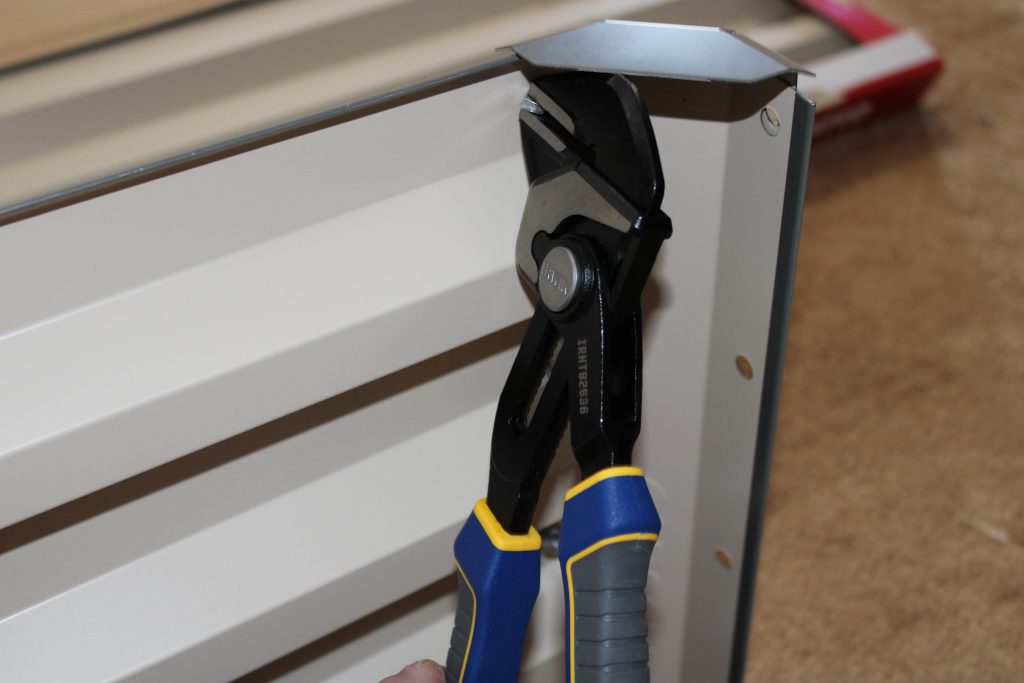
Put them on their edge like they will be in the garden. The top cap should point up. Take your pliers and grab the wingnut.

While holding the pliers, put the screwdriver into the screw.

Then tighten and do it for all of them. There is quite a bit of flex in there so don’t be surprised and don’t skip this step.
Good and tight.
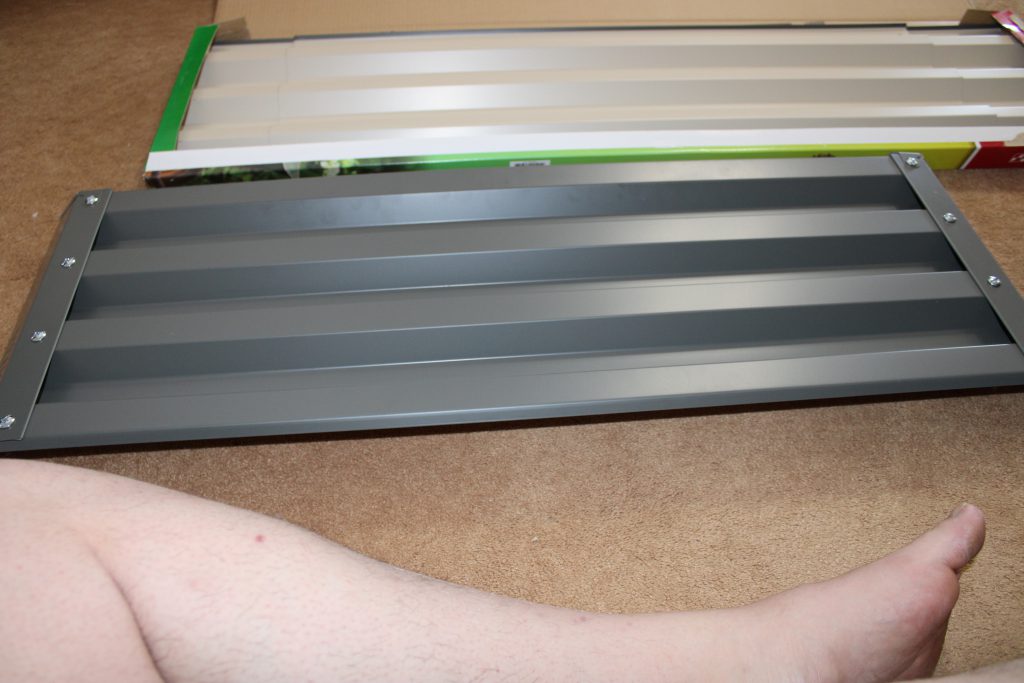
Side Panels
With that done, we can focus on the unattached panels. In my case they are the 4′.

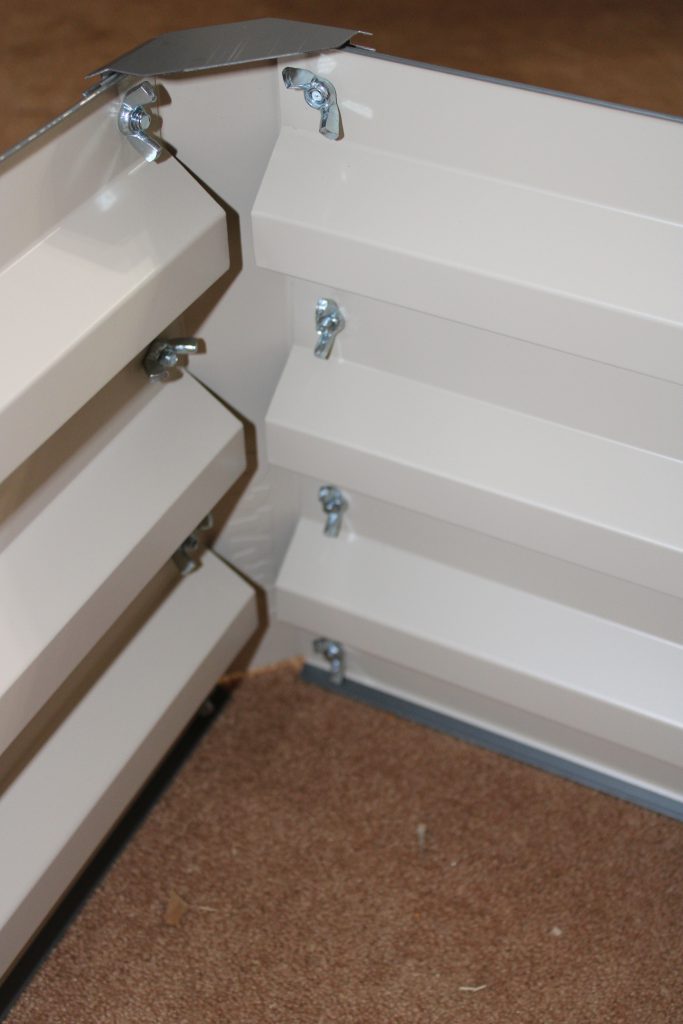
Start by putting the 3′ panel into its final position. Take the 4′ and wrestle it into place. Put the top screw in and make it hand tight. It is the most difficult one so do it first to keep everything else in line.
Add the rest hand tight.
Tighten like we did before on the 3′ panels.

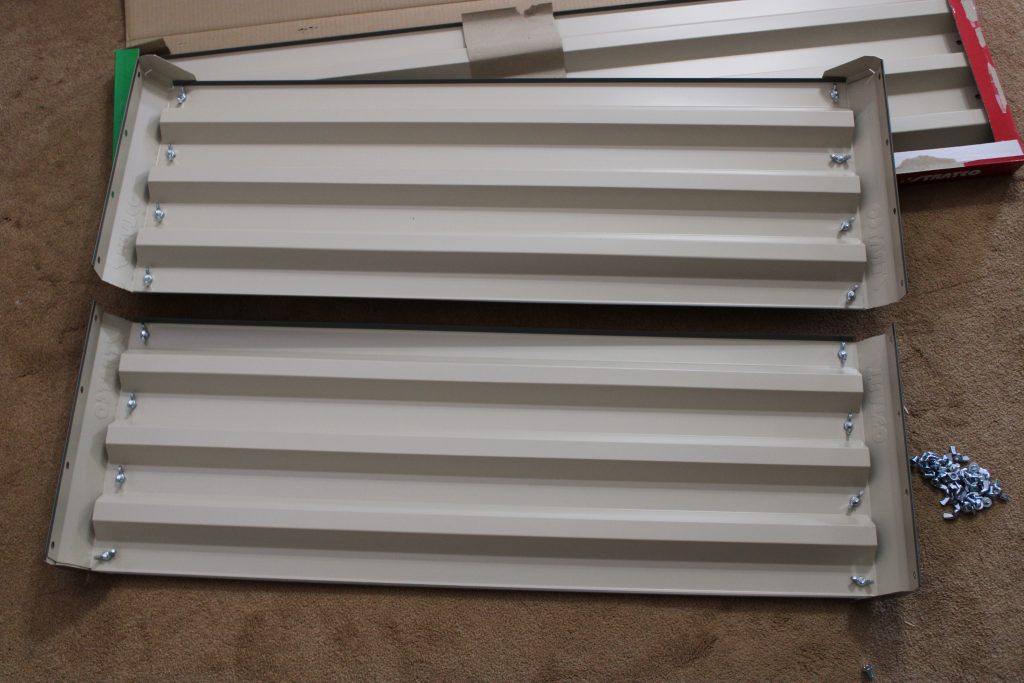
And now you have the 4′ and 3′ panels joined.

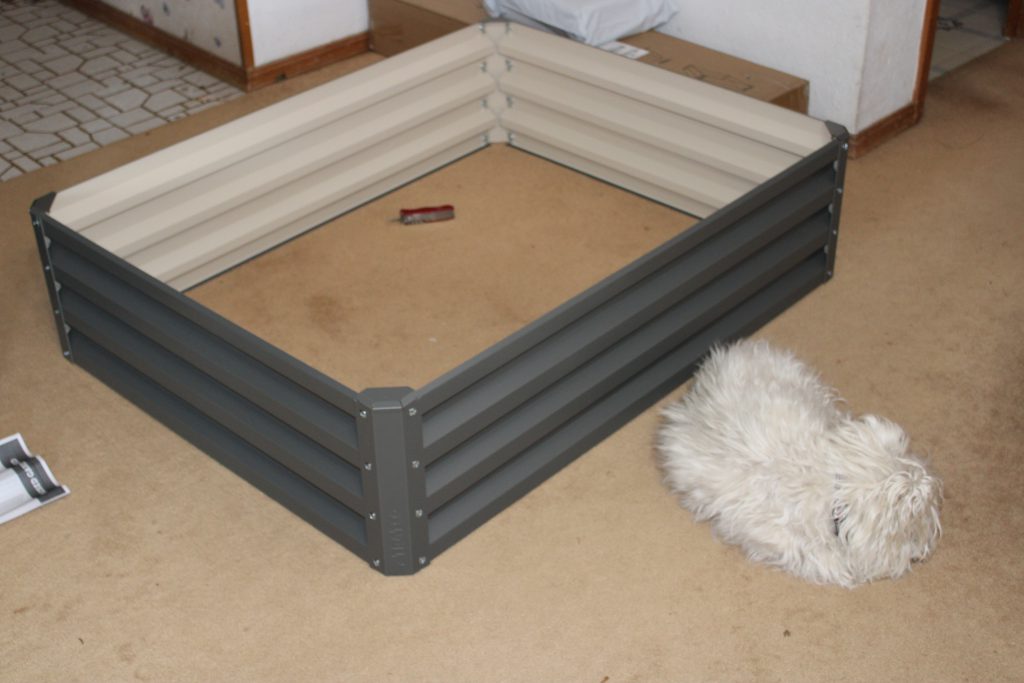
Repeat with the other two and then join the two L’s you had following the exact same process. You should get something that looks like this.
You will have some spare parts. The hardware is not high quality but it adds enough that you shouldn’t have problems with weird threading as you just replace it with one of the spares.
Setting them up.
I put multiple side by side to form a larger bed.

I added some lawn clipping to act as a mulch and then layered cardboard. Do this after the clipping have dried.


Finally add your favorite raised bed mix and water everything in and you are done. Let it sit for a few weeks or add your plants.


Conclusion
What do I think of the StratCo Raised Garden Beds?
While I am not sure about the idea of metal beds, I have to say these are superior to most that I have run across. I originally bought 4 then bought 4 more. I am not sure how they will handle the acidic mix that is generally in a garden but that is a flaw of metal bed in general. The coating seemed thick but that could be wishful thinking. I have another set that is a Chinese knock off and the difference is very noticeable. The coating will rub off while assembling the wing nuts. Not a good start for the Chinese knock offs. I may regret not getting the Frame It All in 10 years but that is a next decade me problem. In the present, I am very happy with my purchase.