
Let me just say the madness that I am experiencing is trying to plant something that I have no business trying to plant. It will die. My winters are too cold. The climate too dry. Depending on who you ask, I have a bad case of the gardenings. It is a condition that requires you to try to plant things. While I have not yet tried to plant a bolt in an attempt to grow steel, I am doing something that is colossally stupid. I’ve embraced the madness and I’m trying to grow a Dragon Fruit.
Why is Growing Dragon Fruit Madness?
It comes down to the requirement of the plant. One it is a cactus. Now, one would assume that in a fairly arid and hot climate, it would be a winning combination with a cactus. Unfortunately, this cactus is slightly different. It is a tropical cactus.
Yep, there is such a thing as a tropical cactus. It does not like cold and here in Oklahoma, we can get cold. This thing is not going to take -22 F. Otherwise, we match reasonable well for the plant. From my research, it grows best at 60-90 F.
It like humidity which we are not known for, but from OSU, sweet potatoes can be one of the most profitable goods produced by farmers in the state. This means we should have some deceit enough humidity so long as we keep it watered.
Gardeners have a bad tendency on trying to stretch the growing capabilities of plants. This is not bad. This is how we get climate specific cultivars. In that spirit, lets try to grow Dragon Fruit.
Lets be clear, you aren’t developing a cold tolerant variant this way but it is the same notion that allows such things to happen.
Getting Some Dragon Fruit Seeds
First, get a dragon fruit. That can be harder than it sounds.

Yummy, yummy dragon fruit. Here is the thing about dragon fruit. It has a bunch of seed. Lets get some.
We need to get a cutting board and knife.

Slice off the ends. You need to get deep enough to get to the core of the fruit. Slice down the edge of the fruit. This is the pink part.

It is surprisingly easy to peel the fruit. If you are wanting to just eat the thing then you are good to go. Otherwise, we need a chunk, about and 1 inch of fruit.

Take that lovely chunk and drop in the strainer,

I made a mistake. I took my mortar to smush it throw the strainer. That was not a good idea.

So I used my hand the rest of the way. Do it with your hand.

Make sure to do it over a bowl so you can drink the juice, It is good.

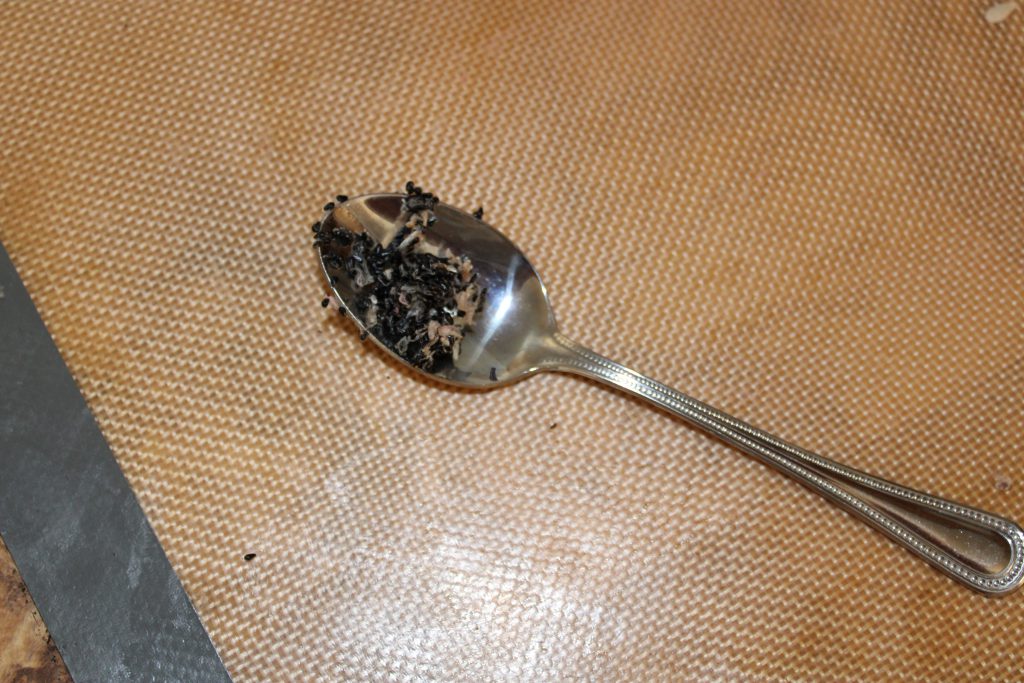
After you get the last bit pushed through, I would recommend rinsing it. I did not do that but my dry seed was…um… sticky.
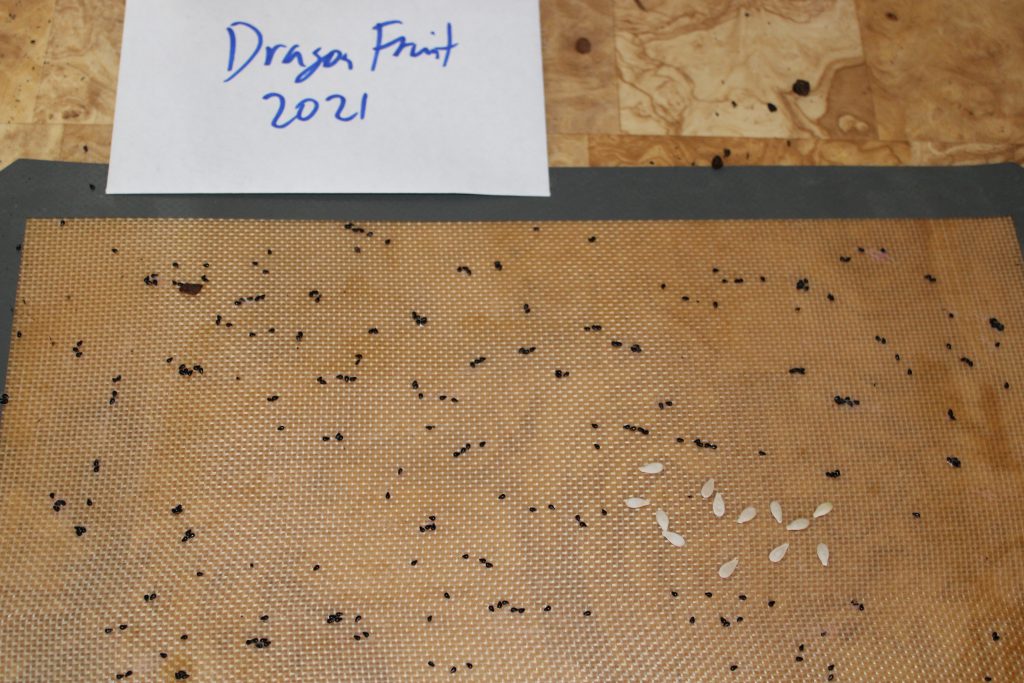
Either way, pull out a sil pad. You can use parchment paper but a sil pad is water proof. Parchment paper will break down from exposure to water.


Separate the seeds as best you can. There will be some flesh on it but it will dry out into a white string. Separate them as best as you can.

Let it sit for a week or so. This will allow it to all dry out. You will get white stuff on them. That is fruit remains. I didn’t worry about them.
After all that is out of the way, we can collect the seeds.
Planting
After the seeds have dried, we have a fork in the road. On one side, the organic person finding the perfect blend for a cactus. The other is the potting mix from the big box retailer. So being a pragmatic person, my ability to get the perfect organic mix is limited.

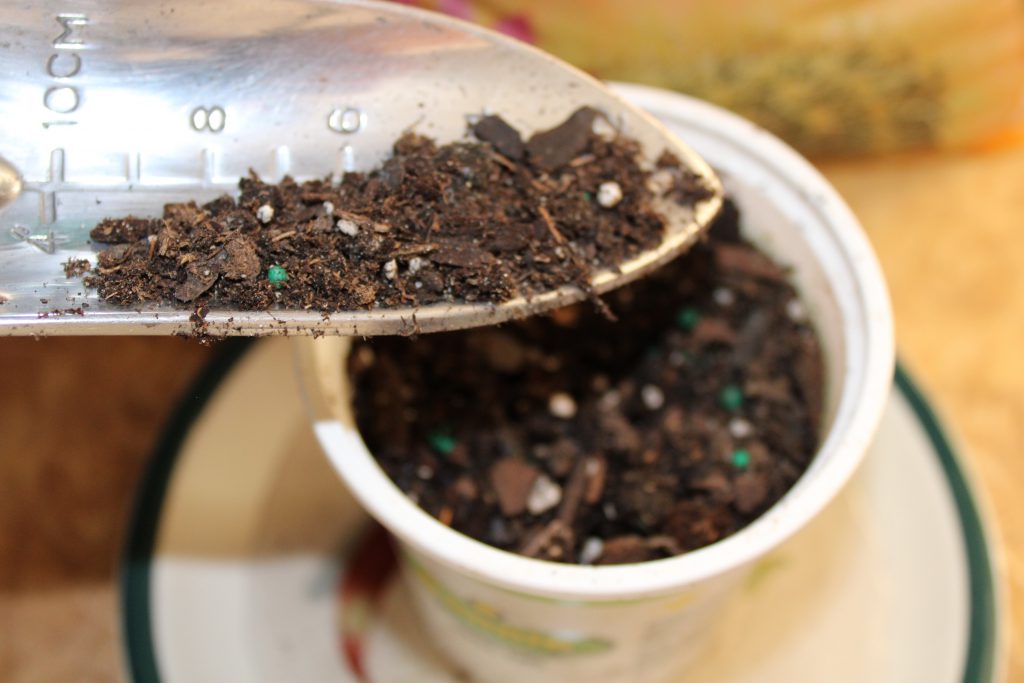
I got a cactus mix because, well, this is a cactus and they generally like extremely well draining soil. You could probably get away with using your normal mix with the addition of sand but I don’t have any so, I didn’t. This would also be how you would make your organic potting mix good to go. I would mix a 1 part sand to 2 parts mix and test the drainage. Adjust from there. You want it to really drain.

Put a water catcher under this because we need to water it in. It will drain like a sieve.

Lets drop in the seeds. I will warn you that the germination rate on this seed is bad. Expect 50% or more failure. I just sprinkled the seed over the top. I can transplant the survivors later. So scope everything up.


I do wonder if I should have given these a good rise. They are surprising sticky. If I ever do this again, I am washing the seeds before the drying stage. These are all clumpy.
Then I will plant them out.

Finally add some potting mix to the top . Add a very small quantity. I did two of the below scopes.
Finally water it again. You will likely have to dump your plate from the last watering.
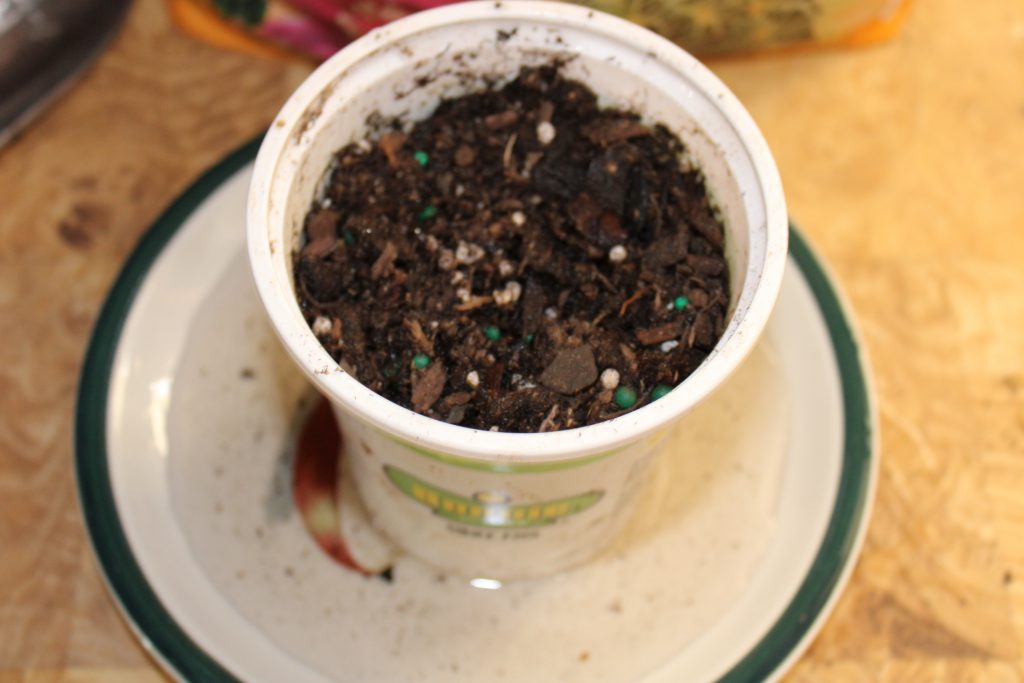
As the last step, strap some plastic wrap on top. We need to keep everything in there moist. It is after all a tropical plant.

Storage
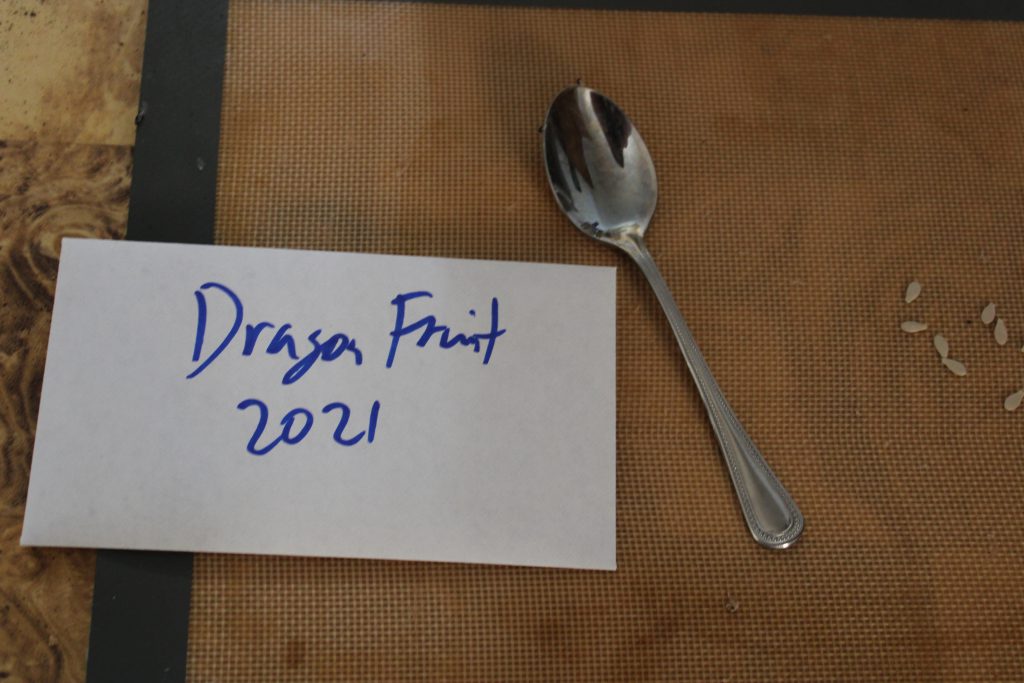
With that all planted, we need to move on to storing the seed. I got an envelope and marked it with the plant name and the year. I have no idea of the cultivar but if I did, I would add that too.
Aftermath
With this all done, we need to talk about the aftermath.
I will post an update as things go along. The real question is why bother with something that cannot grow in your region and won’t produce any fruit for 3 years?
This is the insanity of gardening. If the plants actually do well then I will kludge something up. The real reason is it is attempting something new. That is half the fun of the hobby. Even if this is a complete failure, it lets me practice seed collection and planting. There is very little to lose and something positive to gain.