
While life can be described by the people who flutter in and out of it, they tend to leave a mark before leaving. Some are trivial while others are completely transformative and some are some old seed found in a chipped beef container in a closet. If I am remembering correctly these were seeds saved from a Chinese friend when she gave me some peppers from their garden in 2010. She told me they were a Chinese pepper. I saved the seed from one of the peppers. I figure I would try to grow them. General fear of screwing it up in my early days of garden cause them to end up in the closet sealed in their chipped beef jar for 10 years. This year, I found them and decided I am sprouting old seed this year. I have no idea what the pepper will look like as it was not saved for seed by the farmer, her husband, so cross pollination is a possibility.
Issue in Sprouting Old Seed
Their are several issues that are associated with picking up some old seed and trying to sprout them. The first is the older the seed, the less the germination rate. This is because the seed uses up some of its food stores to survive the long years away. It uses its water up as well. This makes the seed coat harder. We need to counteract this mess.
We also have to deal with the reality that mold spores are everywhere and they will sprout way faster than my seed. What is a poor boy to do?
Finally, we have the challenge of sprouting them. What is the best method to sprout them? How do we help the fledgling seed survive to getting its leaves?
Sprouting Old Seed, the Plan of Attack
First my seed as been stored in a air tight glass container for years. This container has been stored in a rarely opened closet. This closet is generally one of the cooler places in the house. From the Master Gardeners Manual, I know that Pepper seeds are viable for 4 years. That is true and false. The seed will remain viable for much longer but as more and more reduced germination rates. Because of the age of the seed, I doubt I will get to 50% success and even fewer plants.
First we need to treat this like a medical procedure. We need everything sterilized.
Next we need to prepare the seeds against mold.
After that we need to weaken the seed coating so the weaker plant can push through easier.
Then we need to replace some of the food lost in the process of living.
Finally, we need a good place with a nice humility to sprout the seeds and a landing place for them.
Sterilizing
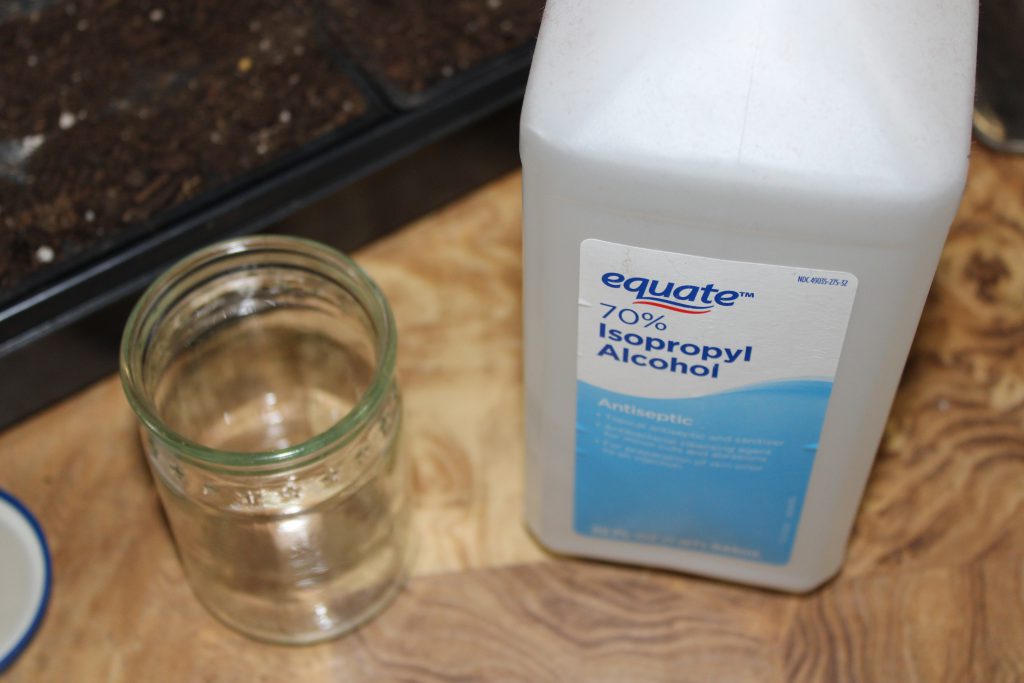
While an autoclave might be nice, rubbing alcohol is easier to get and cheaper to use. Bleach or boiling water would also work if your equipment can take it. My bleach is lavender scented so I am concerned about that for this process. Also bleach is harder. You have to rinse everything. Rubbing Alcohol is just easier.
First, I am taking my 70% Isopropyl Alcohol and a chipped beef container. We are going to sterilize everything.

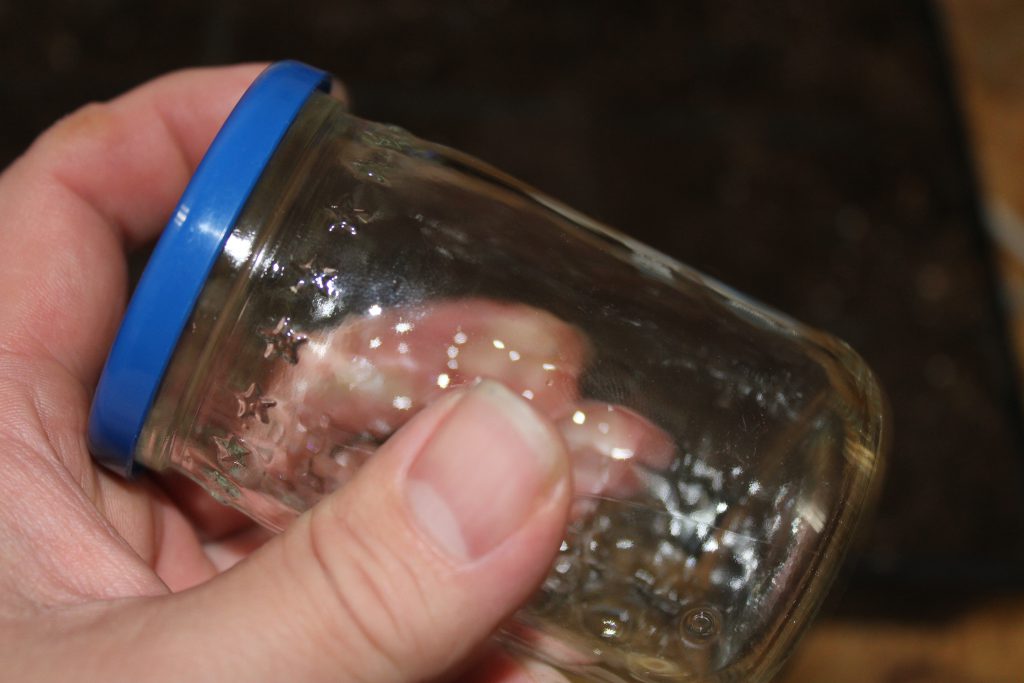
Let everything dry. Do the same thing for the final resting spot of the seed. In my case a Chinese food container. Unfortunately, I don’t have images of the container or the exterior shots of the cleaning the containers. You want to use a paper towel with the alcohol saturating it to sterilize the outside of the containers. Finally do the same to your measuring devices and work surfaces.
Let everything evaporate.
Dealing with the Mold and Seed Coating
This step is a twofer for our old seed sprouting. First we can kill the mold spores on the surface of the seed and help weaken the seed coating just a small amount to help the sprout. We are going to use a 3% hydrogen peroxide solution.
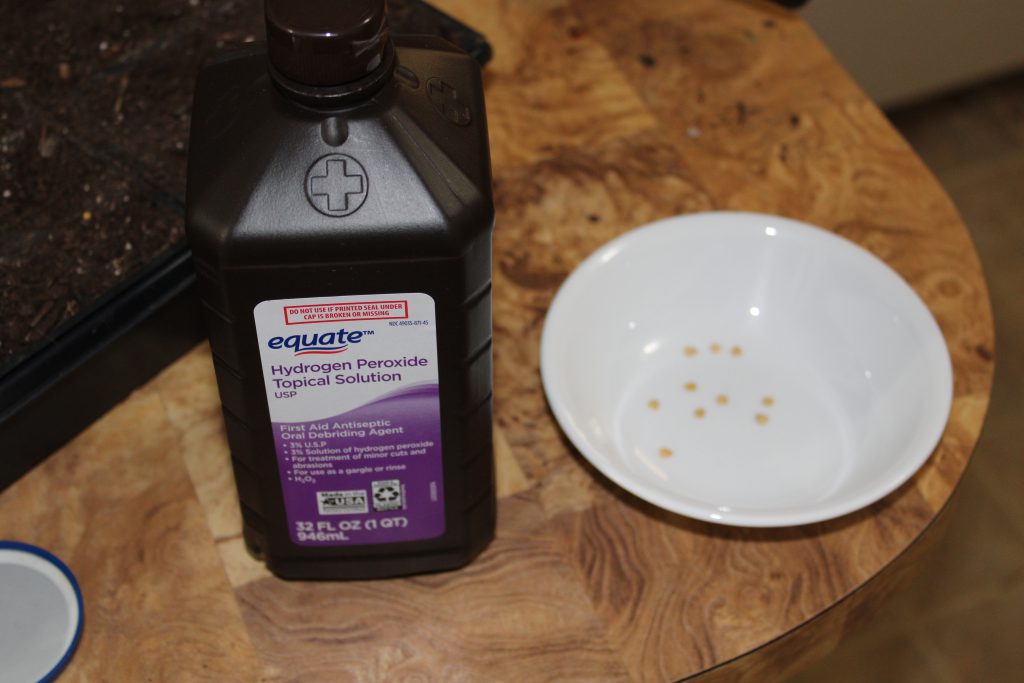
Then cover the seeds in hydrogen peroxide for 4 hours. Don’t do this overnight, don’t do this before work. Give it 4 hours and no more. You are riding a line on the seed coating.
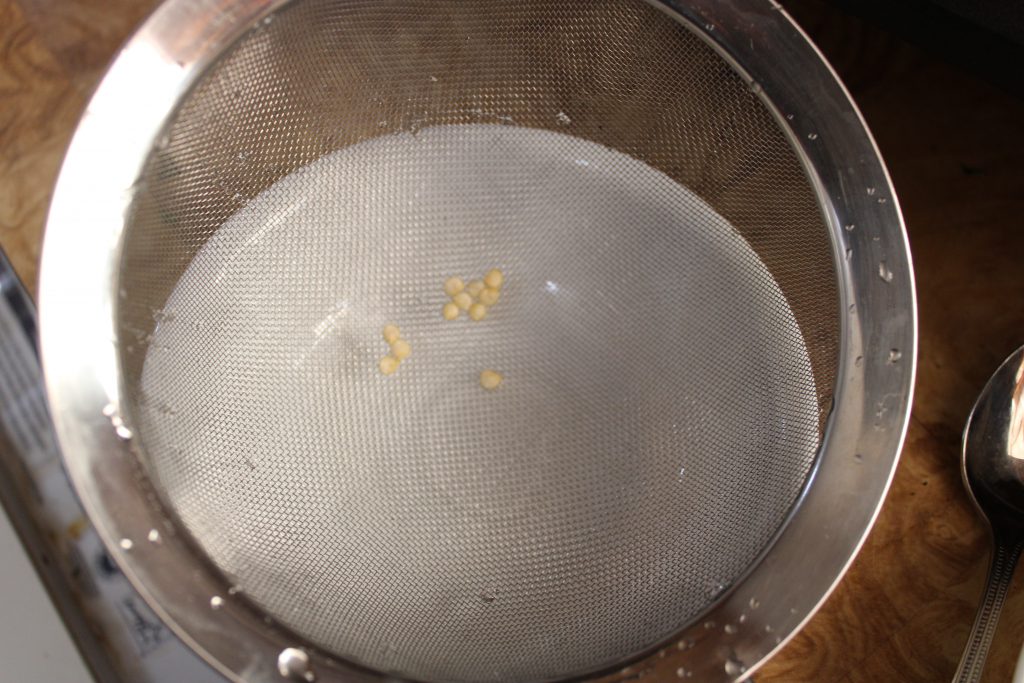
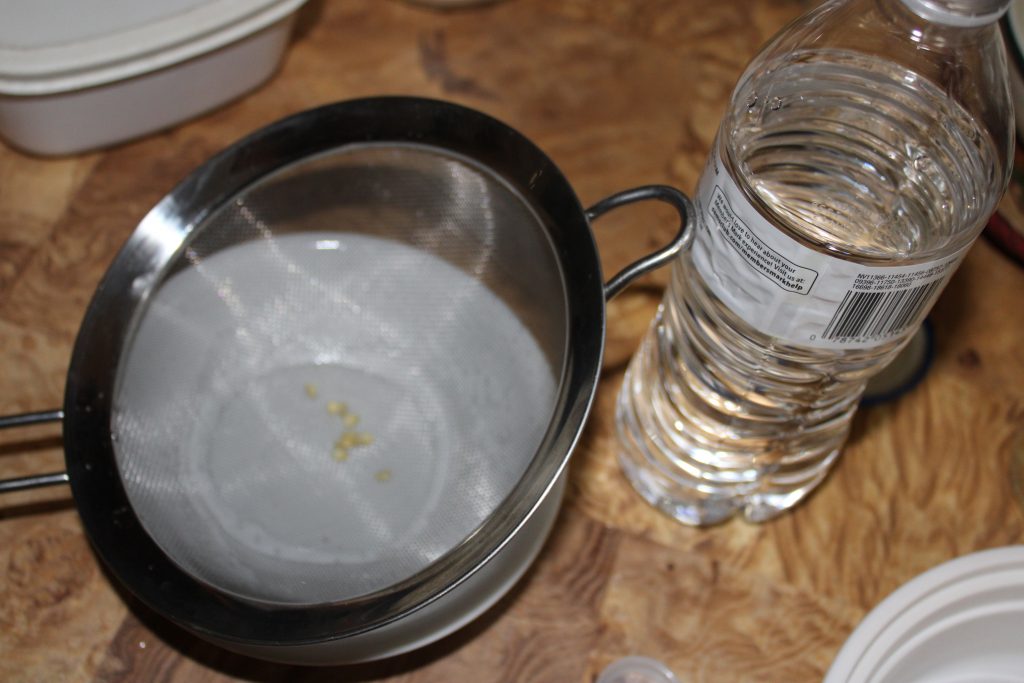
After four hours get some chlorine free bottled water, a strainer and strain the seed and wash any remaining hydrogen peroxide off.
Feed the Old Seed and Give the Spouting Old Seed a Comfy Home
So now we want to feed the old seed. What do seeds eat?
The easiest answer is the same thing most creature actually eat, simple sugar. I have simple sugar.
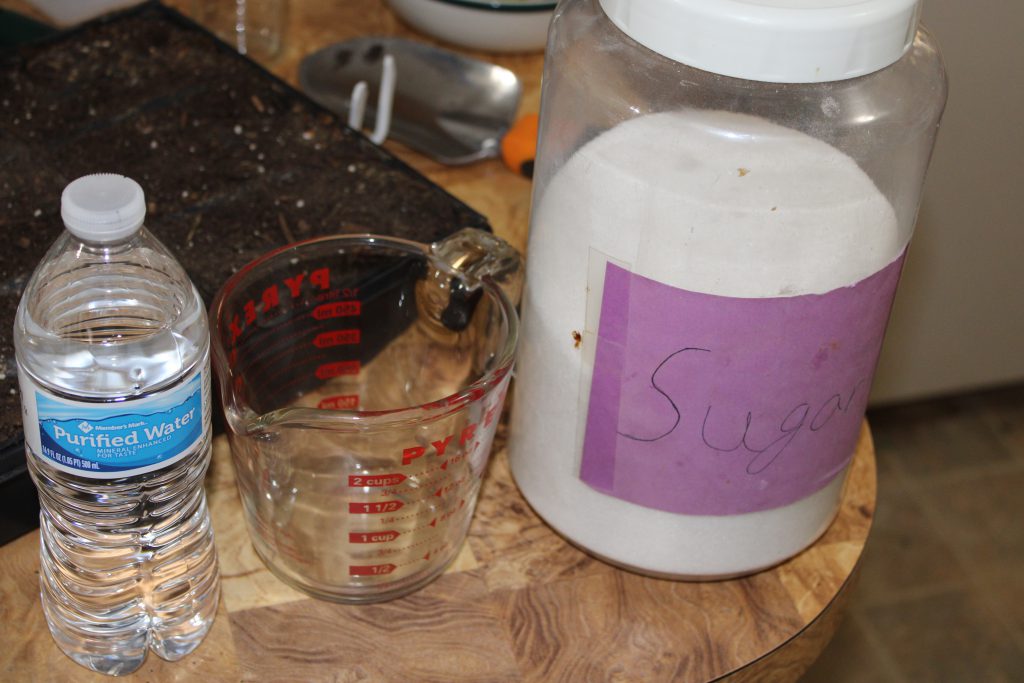
Get your bottled water, again chlorine free, a measuring device and some sugar.
Put a good pinch of sugar, about 1 teaspoon of sugar into the container with very clean hands.
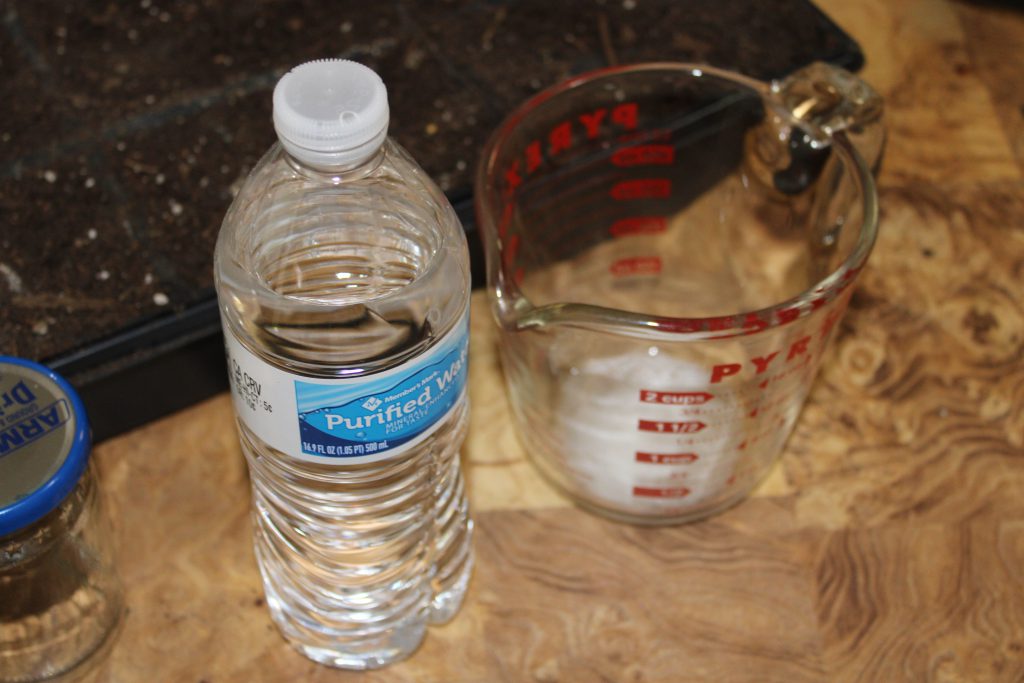
After that add the water.
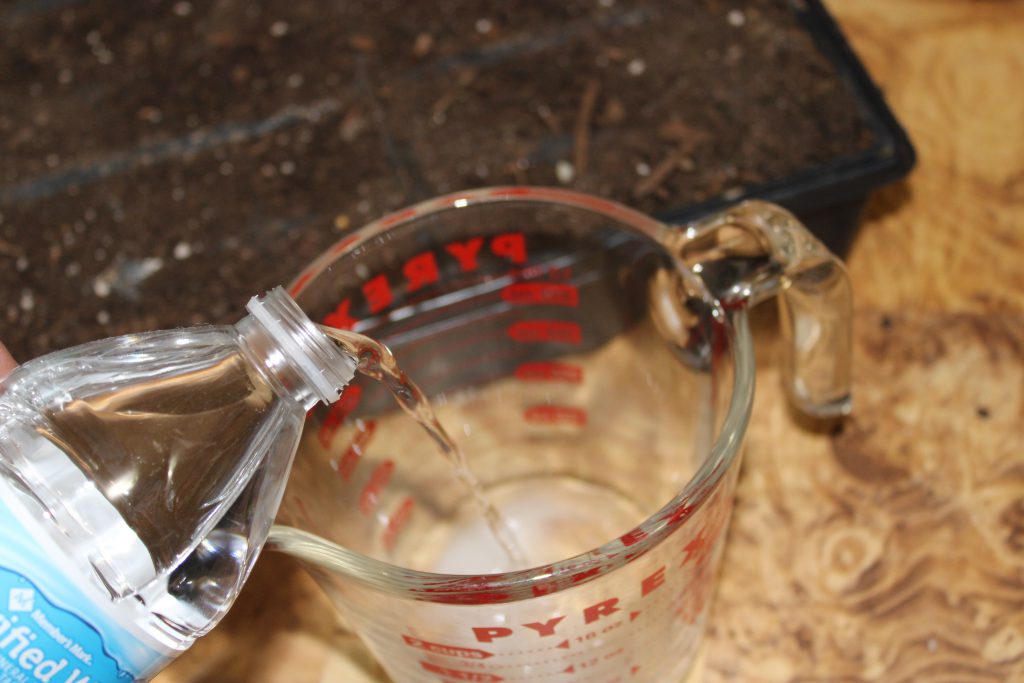
We are gunning for a cup.
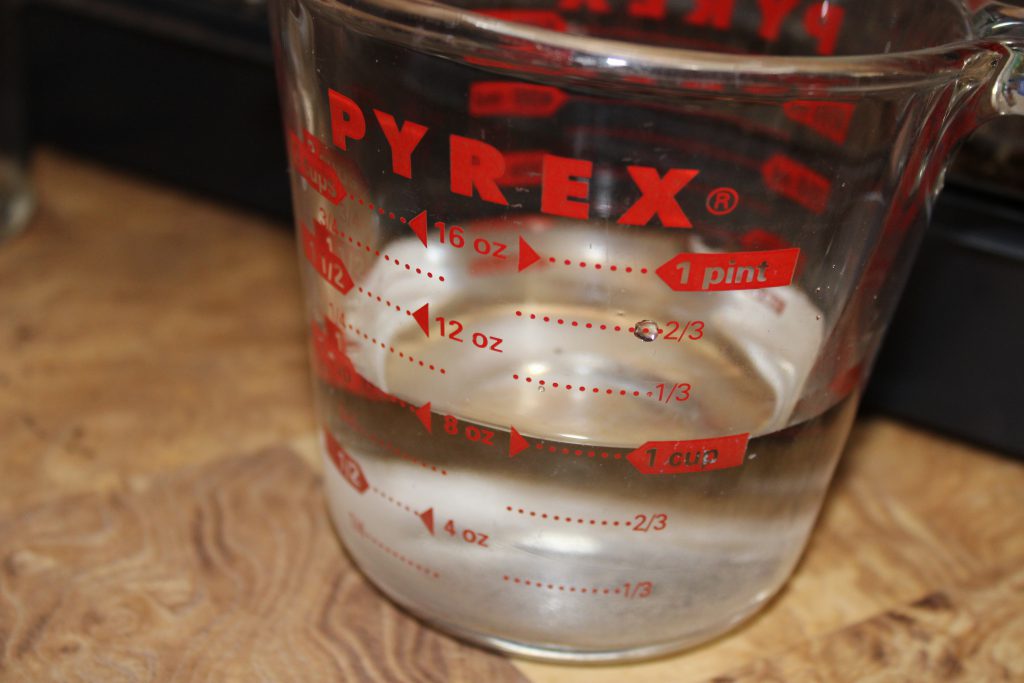
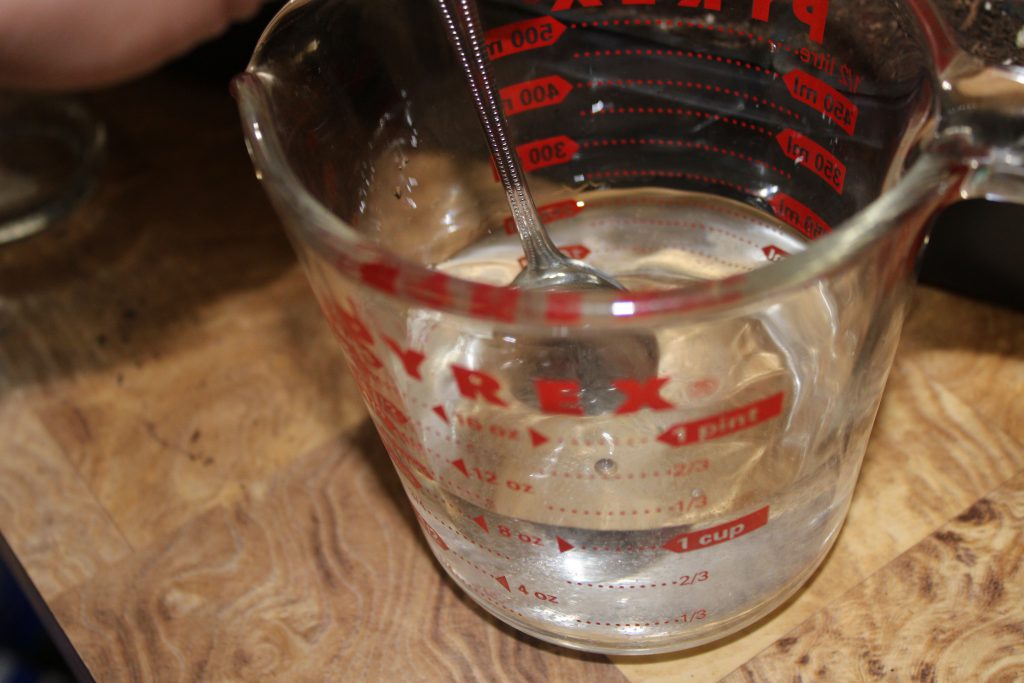
With a very clean spoon. Mix it up until the sugar is dissolved.
Transfer to a container we can lid. In my case the chipped beef jar.
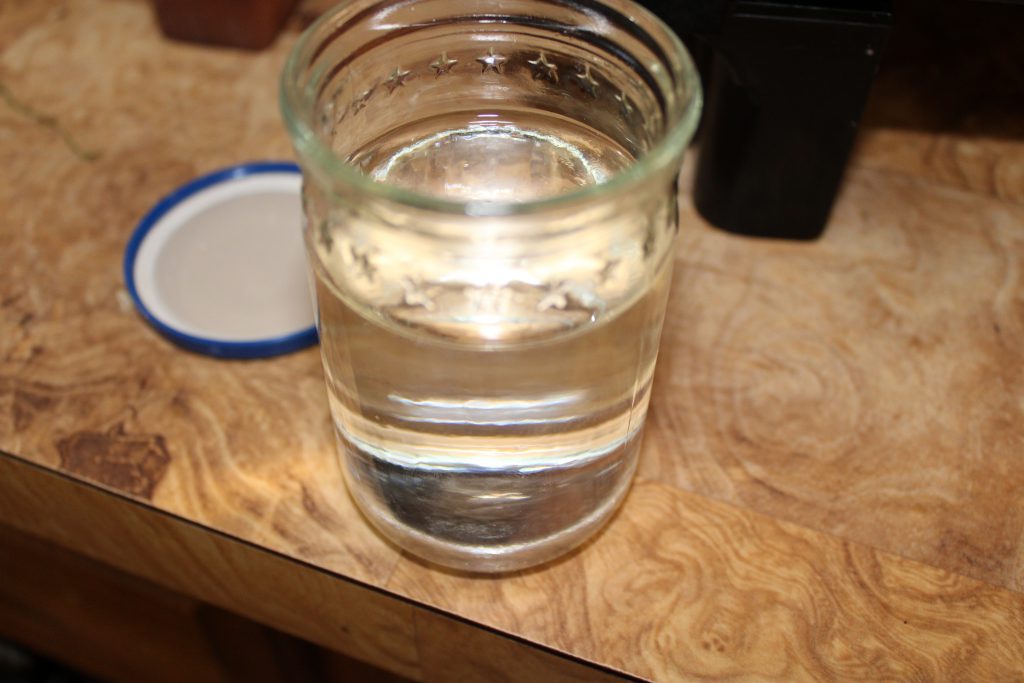
With very clean hands, transfer the seed from the strainer into the sugar water.

Finally clamp the lid onto the jar.
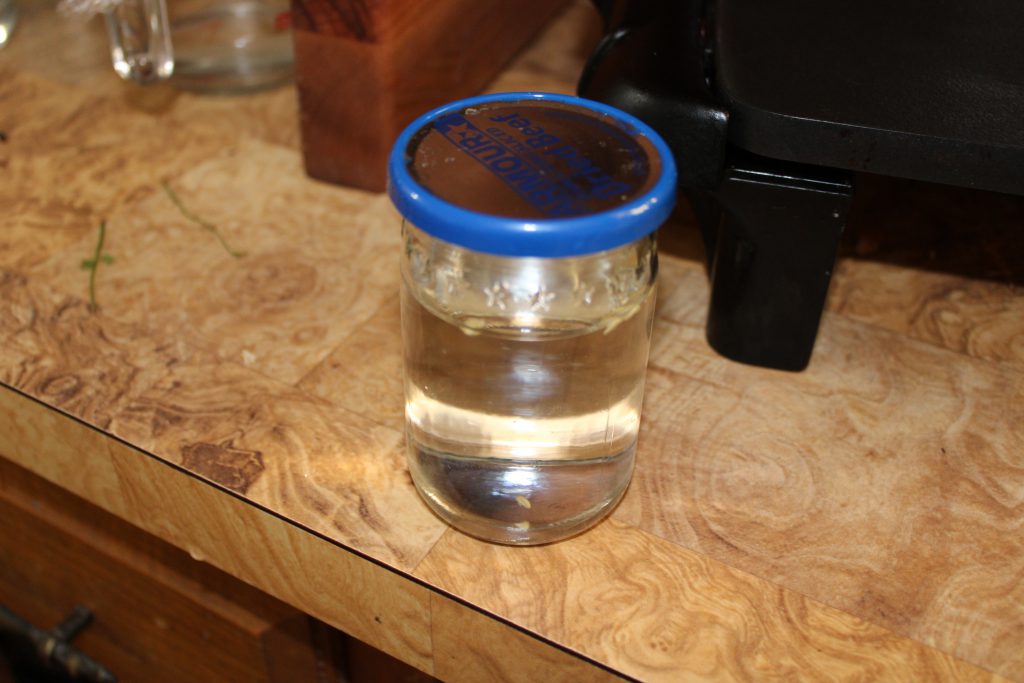
Now we have the waiting game. Let these sit for 4ish hours. This is a little less critical than the hydrogen peroxide but not something to mess with too much. If you leave them too long then you are going to mess up the seeds ability to absorb water in the correct ratio. The bigger the seed the longer you go. If I was trying watermelon or pumpkin, I might go as long as 20-24 hours.
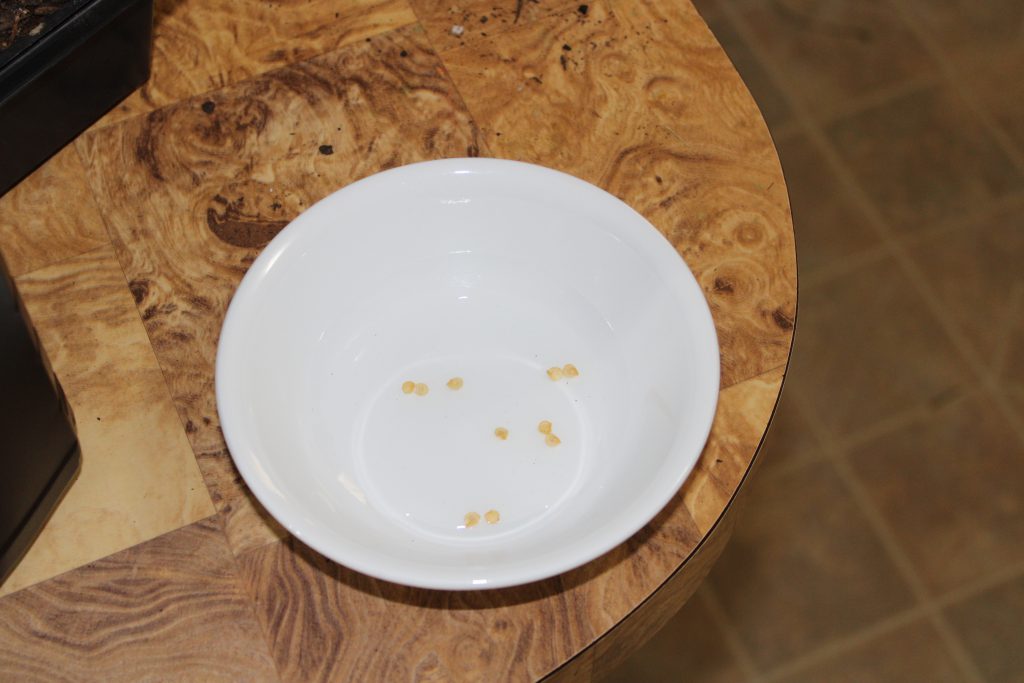
Sinking seed is generally going to be better than floating seed. Floating seed is underdeveloped or seed with food deficits. That does not mean it is not viable. Just that it is much less so.
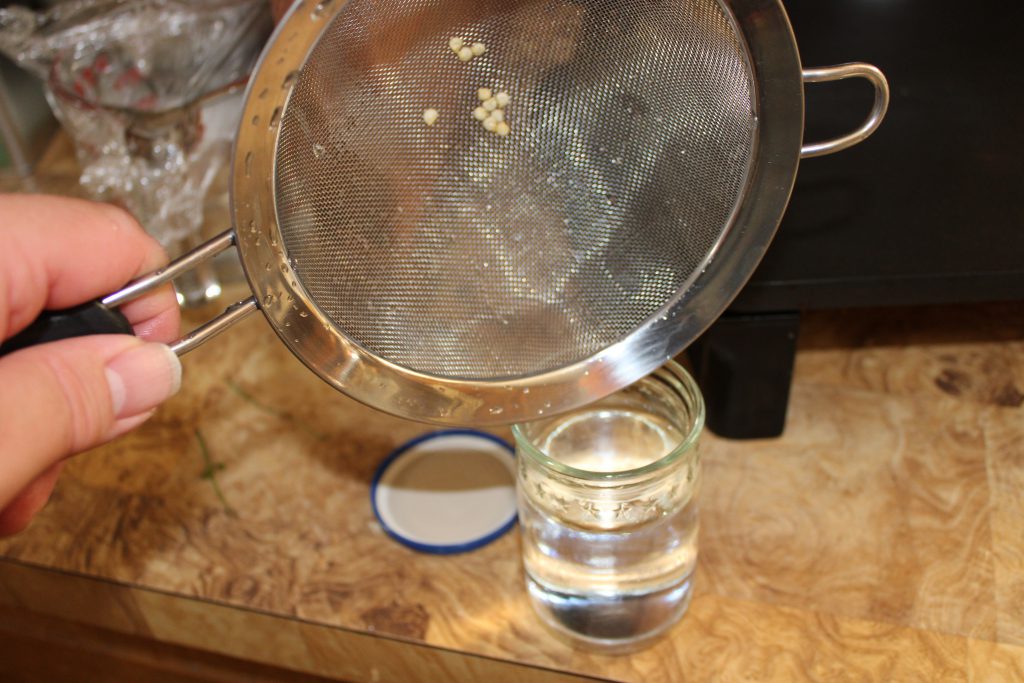
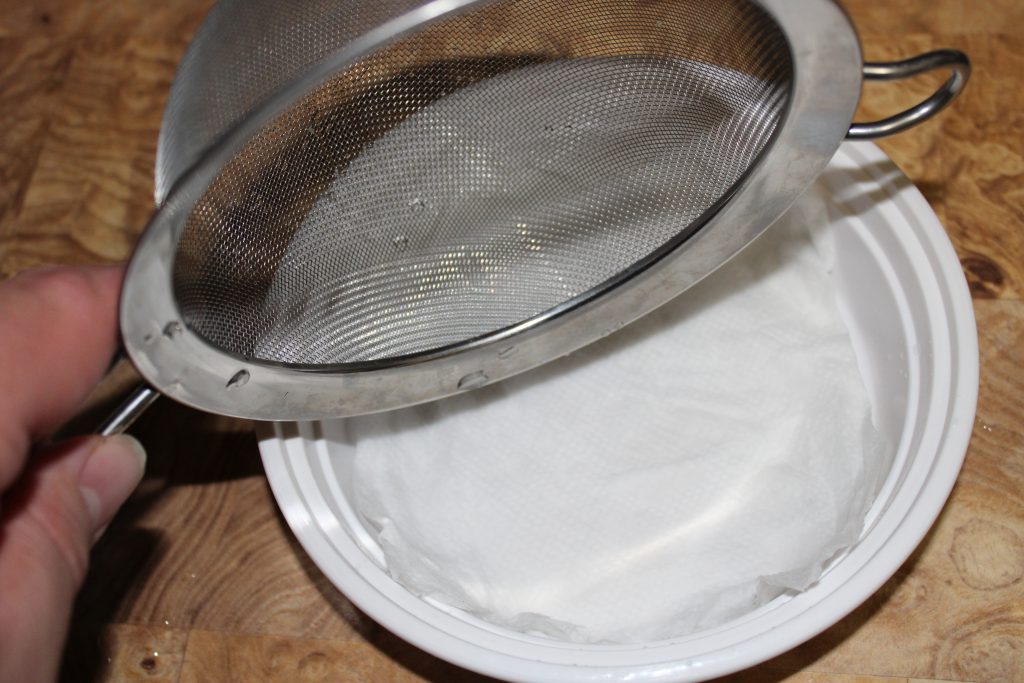
Take your strainer and strain the seed.
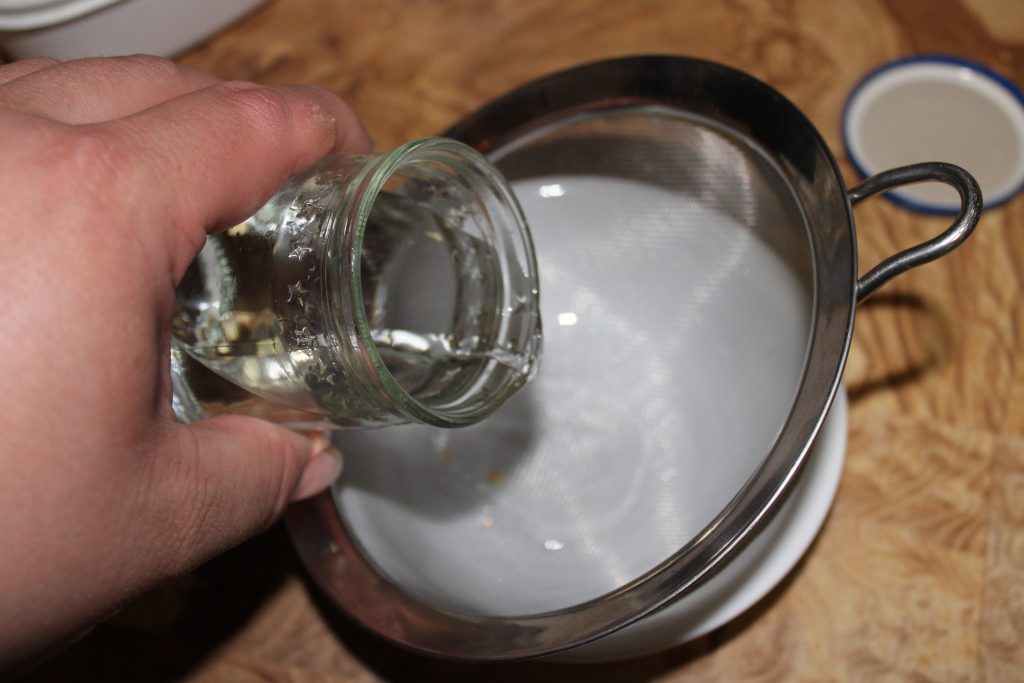
Pitch the sugar water and with your chlorine free water rinse the seed.
Dip, shake, replace water and repeat a couple of times to wash away any stray sugar water.
Growing Media
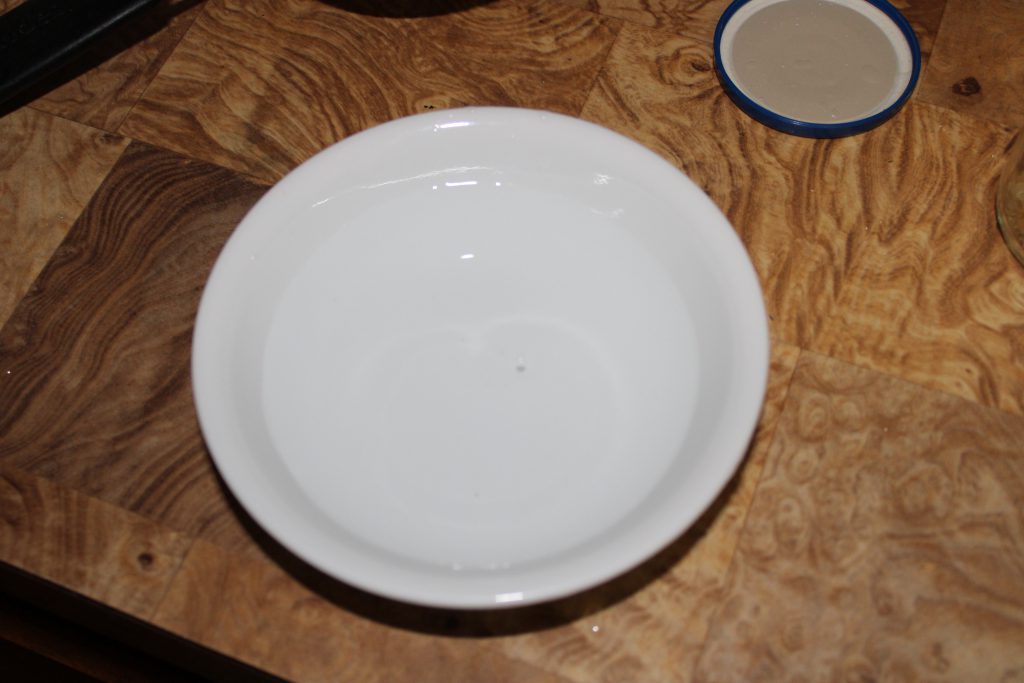
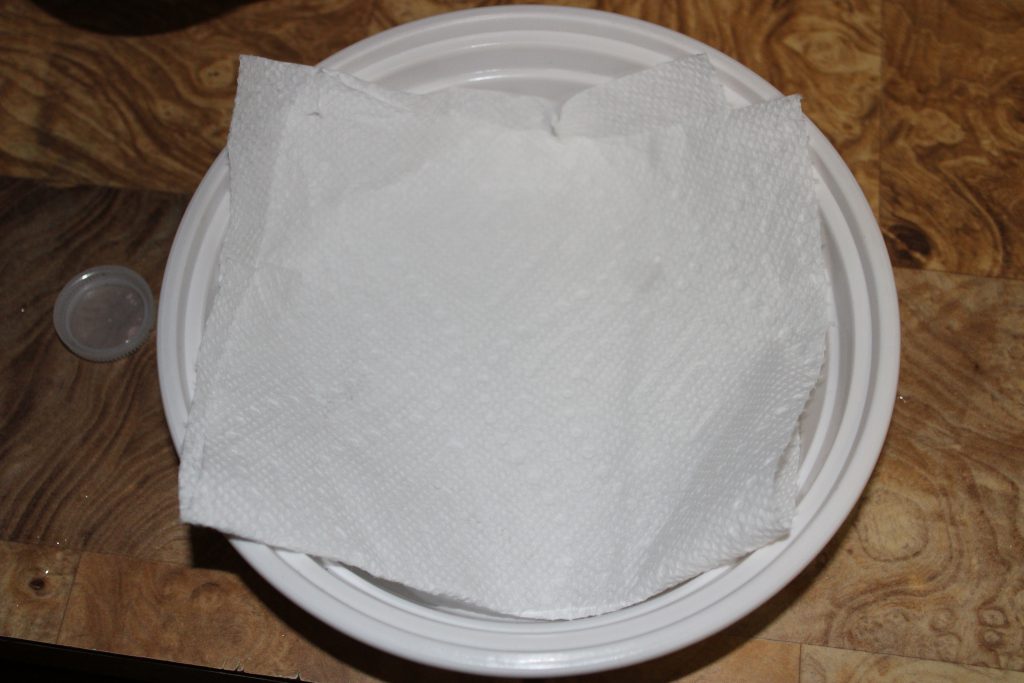
I am going to use the Chinese food container and a damp paper towel to germinate my seed. Get your rig setup by folding your paper towel into a shape to fit in the container.
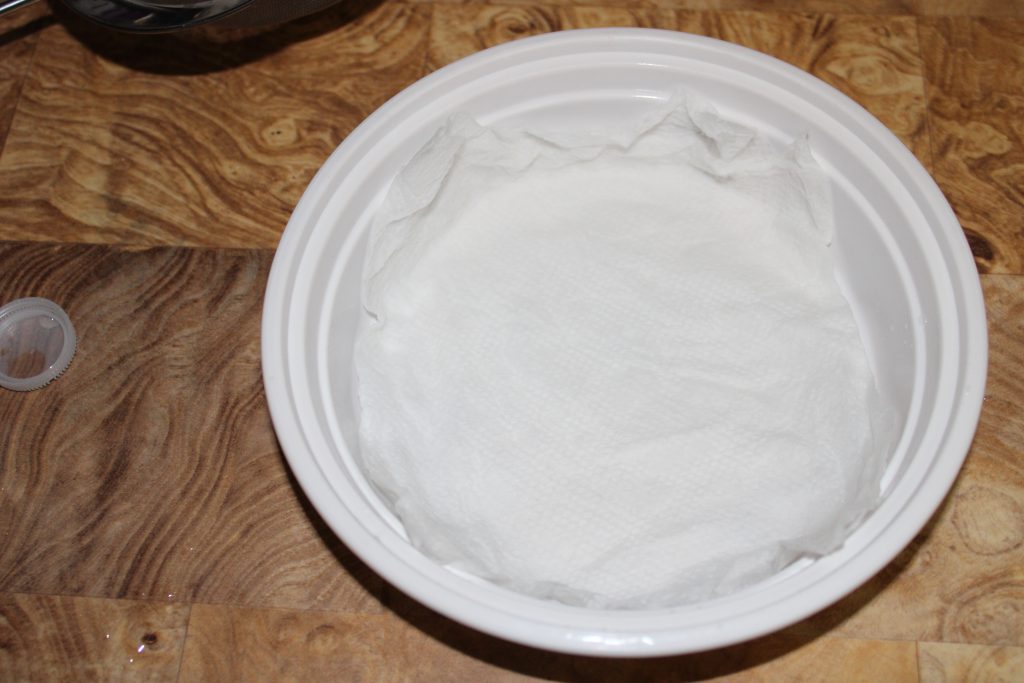
Cover in the water and wring the water from it with very clean hands.

Put back into the container.
Dump the seed into the container.
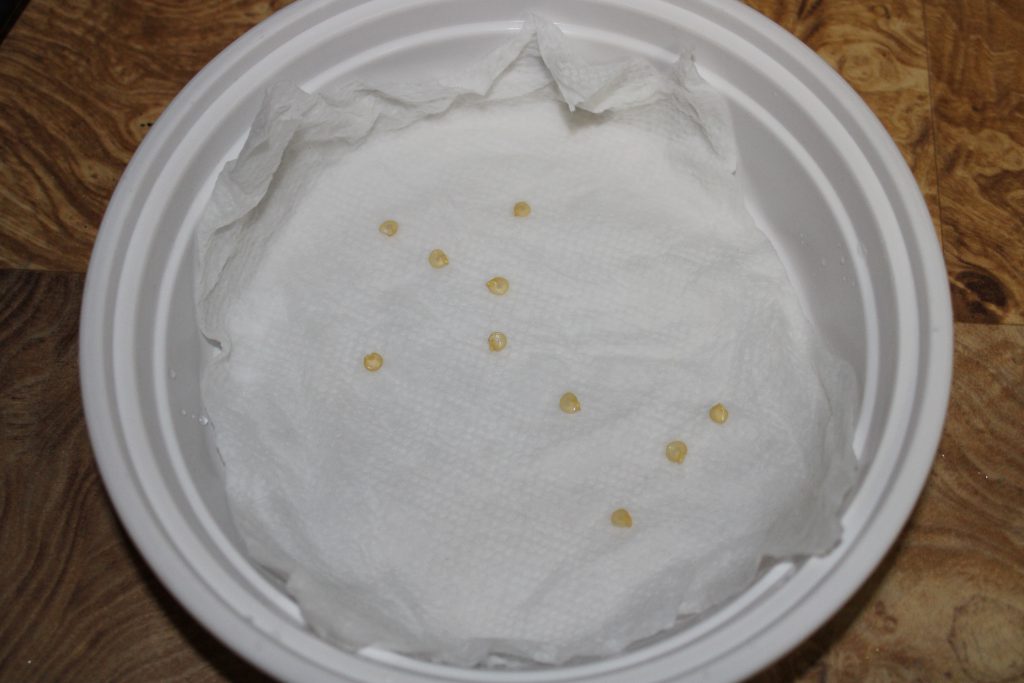
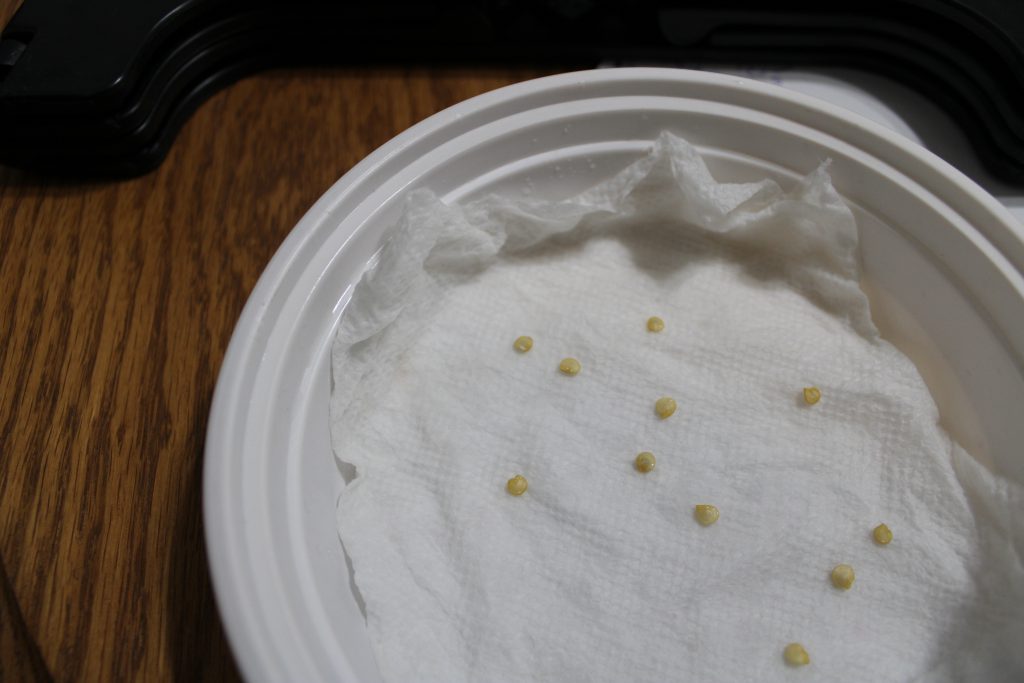
Finally spread the seed out over the towel. Slap a lid on it as a humidity dome. Now you are ready to rock and roll. Or sit quietly for several days waiting for germination. Because I did this in May in Oklahoma, the temperature was in the 70’s. If I was doing this in February, I would get one of my heat mats out to keep everything warm and in the 70’s.

A Few Weeks Later…
So I started this experiment May 21st. By the 24th, I got my first sprouts. My second came on May 25th.
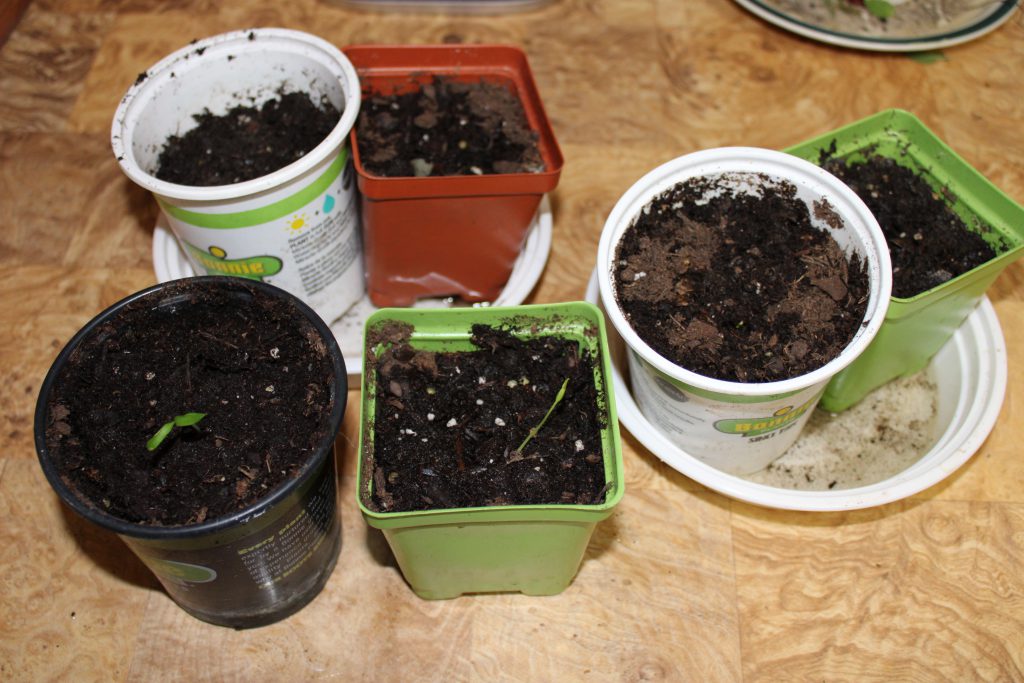
Later that week, I got a third but half my seed had started to mold. I planted out my three sprouts. Next, I removed the mold free seed in the paper towel then pitched the moldy one and replaced it with a new one and place the rest of the seeds back into the new paper towel. I add moisture as it dries out. By June 5, I had 6 sprouts with one seed left in the Chinese food container. Of the 6 that I have planted, two have survived to become plants while I wait on the other 4.
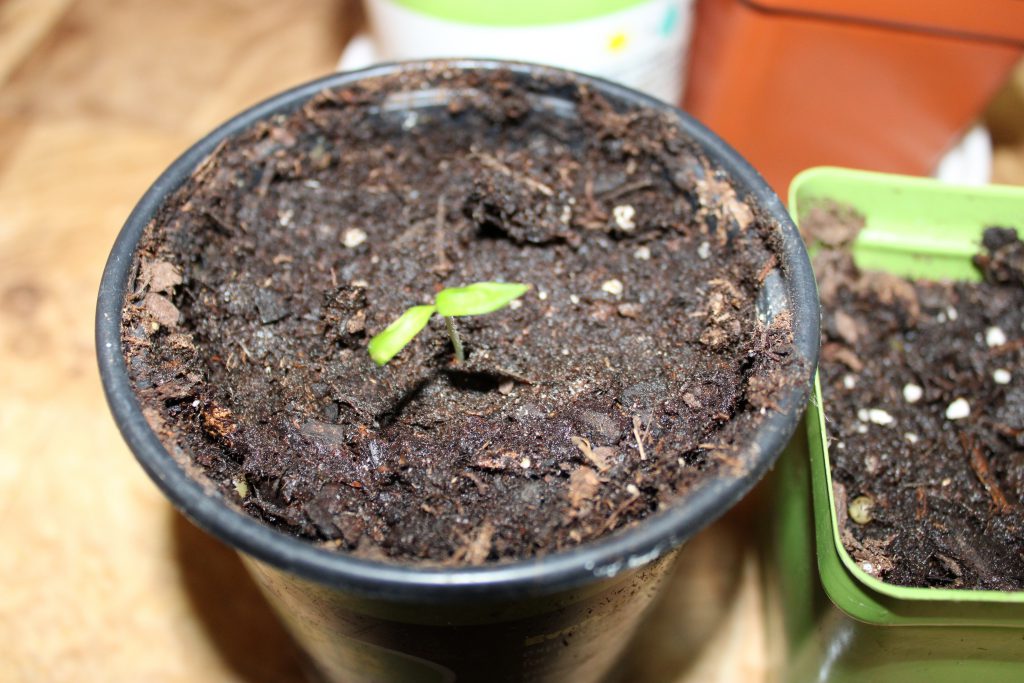
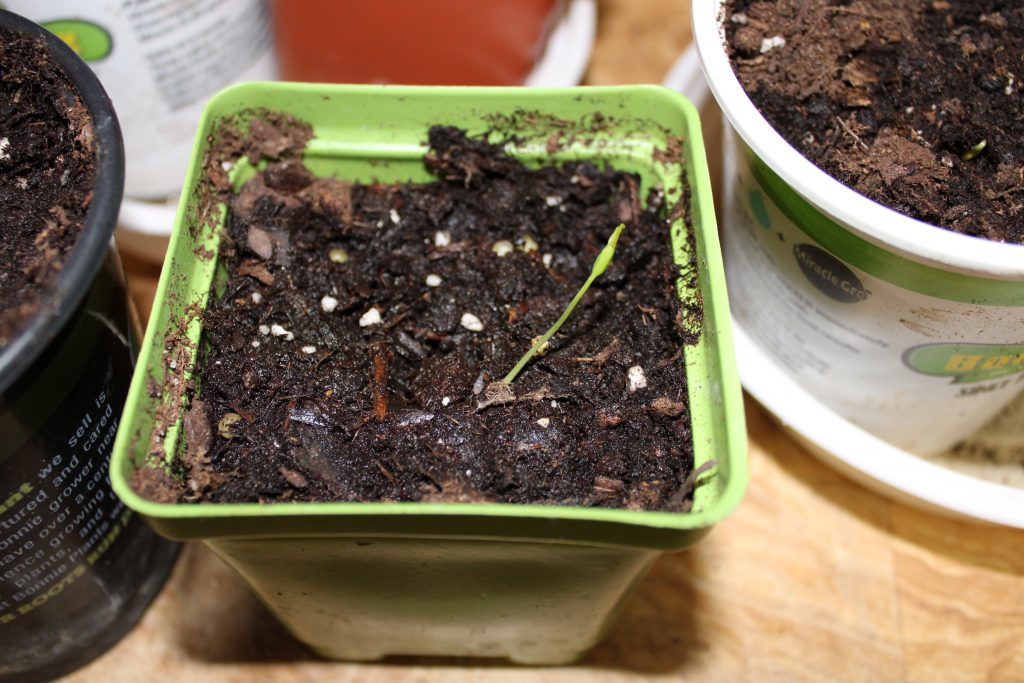
Everything else is in a holding pattern. I never thought I would get almost half the seed to sprout. Sprouting this old seed has been a success.
Now, I pulled a bunch of ideas from a bunch of places. I got the hydrogen peroxide trick from sprouting recommendation for bean sprouts to prevent disease. Apparently most outbreaks from bean sprouts are infected seed rather than infected environment. The Chinese food container came from my viability testing method for old seed. The sugar water came from a stoner friend of mine. The rational seemed like it might work. It could be nothing more than hydrating the seed but I thought I would give it a go. It may be a wives tale but I will likely treat older seed this way in the future. Maybe I will experiment with this in the winter. A winter of old seed sprouting