
So over the last several years, I have been expanding my garden. This year is no exception. My original plan was to expand my rows but instead, I cut the Bradford Pear and decided to add another row. Because of this, I figured I would show you my general process for filling a raised bed. So enjoy my favorite raised bed building methodology.
The Raised Bed
To make raised bed requires a raised bed to build in. While you can get away with using a mound, it is way easier to use something to keep the dirt in. Being in Oklahoma, our grass is Bermuda and the average wind is 7mph as a rule. Trying to use a mound is a recipe for a disaster. You will get a mini dust bowl.
Now my favorite raised beds are the Frame-It ones. However they cost a small fortune but they hold up really well. Mine are their generation 1 boards and they are going on strong for the 7th or 8th year.
Because of the cost, I have gone to metal beds. My favorite of those is the Stratco beds. They are easy to assembly and seemed to resist rust and bending better than my other metal bed.
If you want to repurpose things, you can do it. I’ve seen pvc raised beds, pallet raised beds, and anything that is open on both ends can and has been used. I will warn people that older treated wood technologies should not be used for raised beds in food gardens nor should tires as they can leech into the soil things you don’t want in your body.
Next keep your beds between 2 and 4 feet wide. Otherwise you have to climb into the garden. My very first was a 6 x 6 bed and the center was difficult to use. If I was rebuilding my current garden I think I would have gone 3 feet deep rather than 4. This would also be a must for anyone who might not have long arms or has flexibility issues.
Raised Bed Building
I have another article on assembling my beds from last year so I won’t go over it here. What I will say is that you want a reasonably level surface, so you might need to do some grading.
I had to do some hoeing to level out next to the stump.
Not that kind of hoeing! 😲
This kind:

Putting in Weed Barrier
With the ground reasonably level, we need a weed barrier. You can use weed cloth. It will absolutely work. I don’t use it because as it breaks down, it won’t completely breakdown. You will forever have small amounts of weed cloth existing in your soil. It will also make it harder for the earth critters like worms to get into the bed.
As a result of this, I use card board. The board should be cleared off of any tapes or plastics because they won’t breakdown in the garden. This should smother the grass under it. When you combine that with a 11 inches or so of soil on top, you should not have too much weed pressure from below.
Here is a visualization of what I mean.

Now I maintain about 3 feet between my beds so that I can move my wheelbarrow through without issue. The easiest was is to use a stationary landmark and denote 3 feet on each end of the bed. Checking and rechecking until correct.


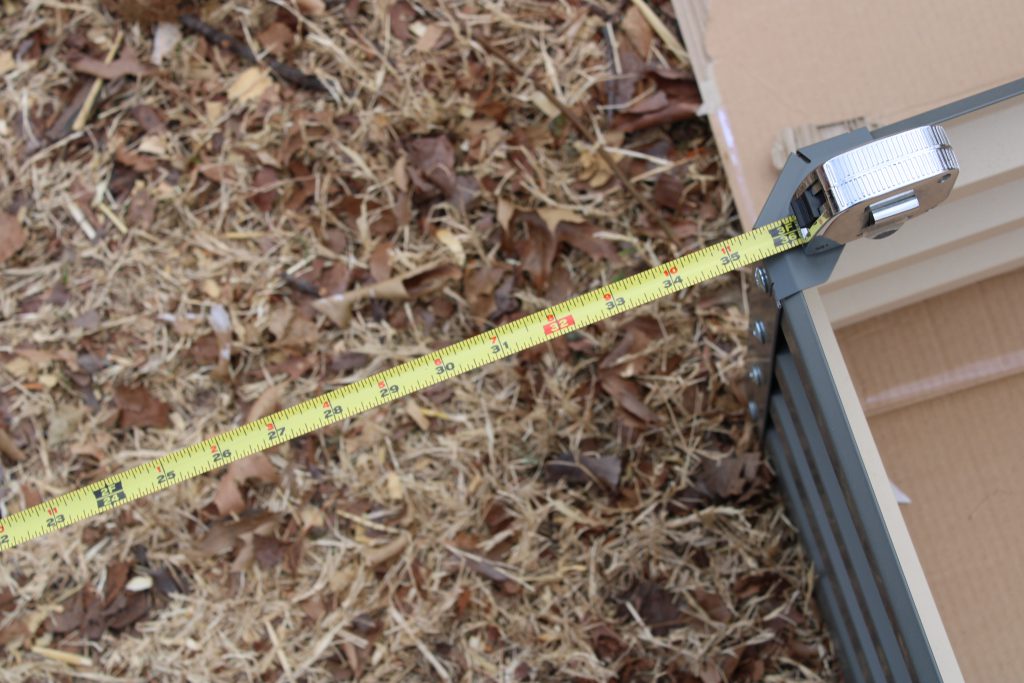
This is where the cardboard is handy as it is pretty easy to make small changes because it slides.
Next line the next raised bed using the first as a guide and continue on until you have your row.
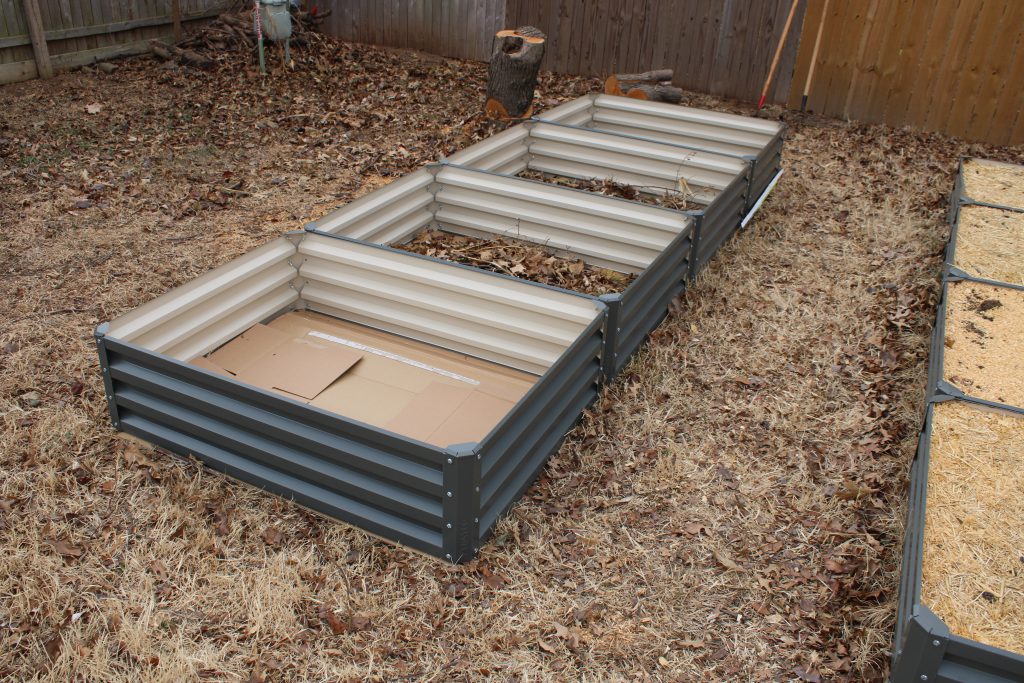
When you have that first block ready, it is time to start the filling process.
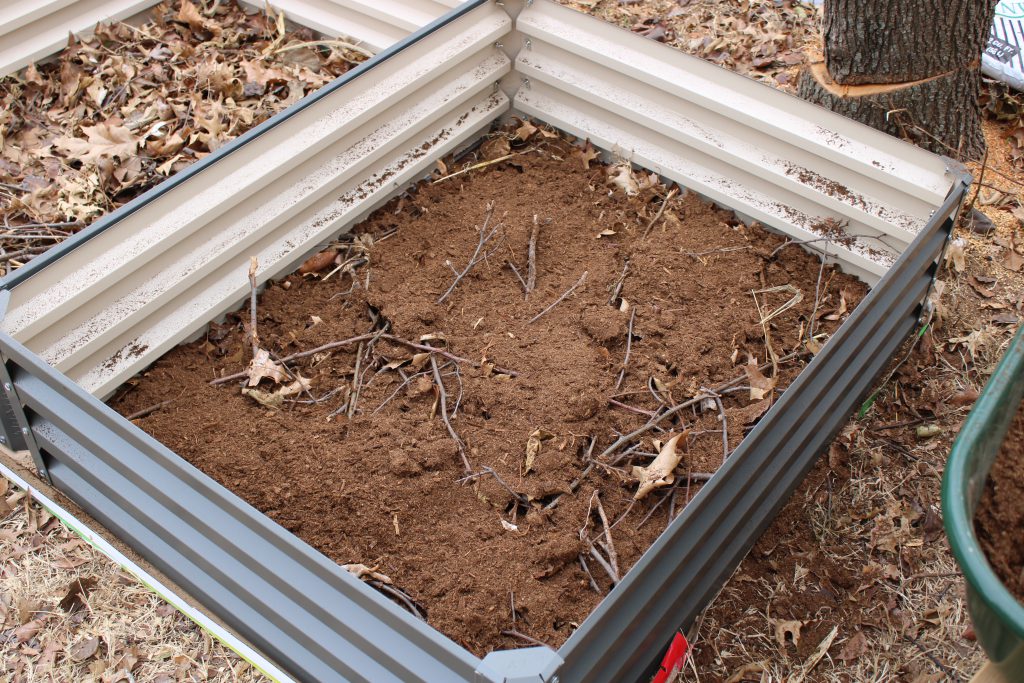
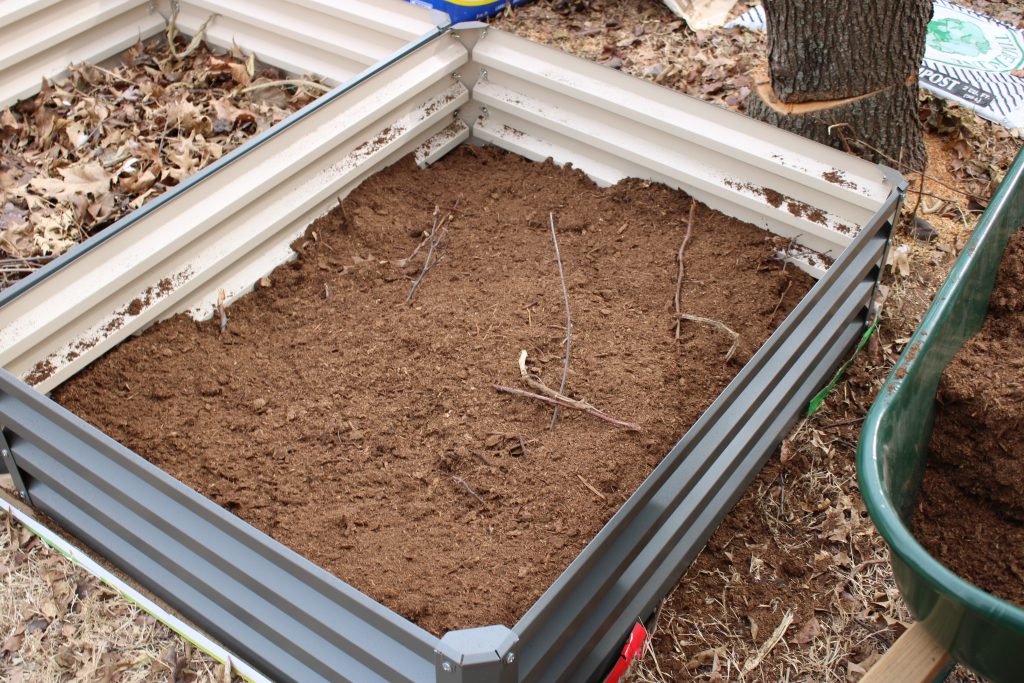
Layer 1 Yard Debris
I have always found store compost to be a bit incomplete. My guess is they are dumping a bunch of green stuff into it to charge up the process. With this theory, that I can’t really test, I use yard debris, a brown material in winter, as a filler on the bottom. If you are growing large deep rooted things like carrots and parsnips, I would skip this step. Also this stuff will take years to breakdown so take that into consideration if you want to put anything in the bottom of the beds.
Lasagna Garden Fill, My Better Raised Bed Building Methodology
If you read about raised beds, often they have a formula of the material you want to make soil. Most are something like a 1/3 compost, 1/3 coconut coir/peat moss, 1/3 vermiculite/perlite. I use something like this but with far less vermiculite. I want a bit heavier soil to stand up to the wind.
If you ever tried to make your own soil, you realize it is an awful process. Trying to get everything mixed is back breaking labor. I’ve done it all. Mixed in a wheelbarrow, but it is too small. Use a tarp, too big and heavy. Trying to mix in bed, never gets fully mixed. It is just awful.
Last year, I realized why struggle with the mixing when I could just do small layers. We want the plant to have access to all these materials, from loose, well draining soil that holds water. We don’t need to mix, we need to layer.
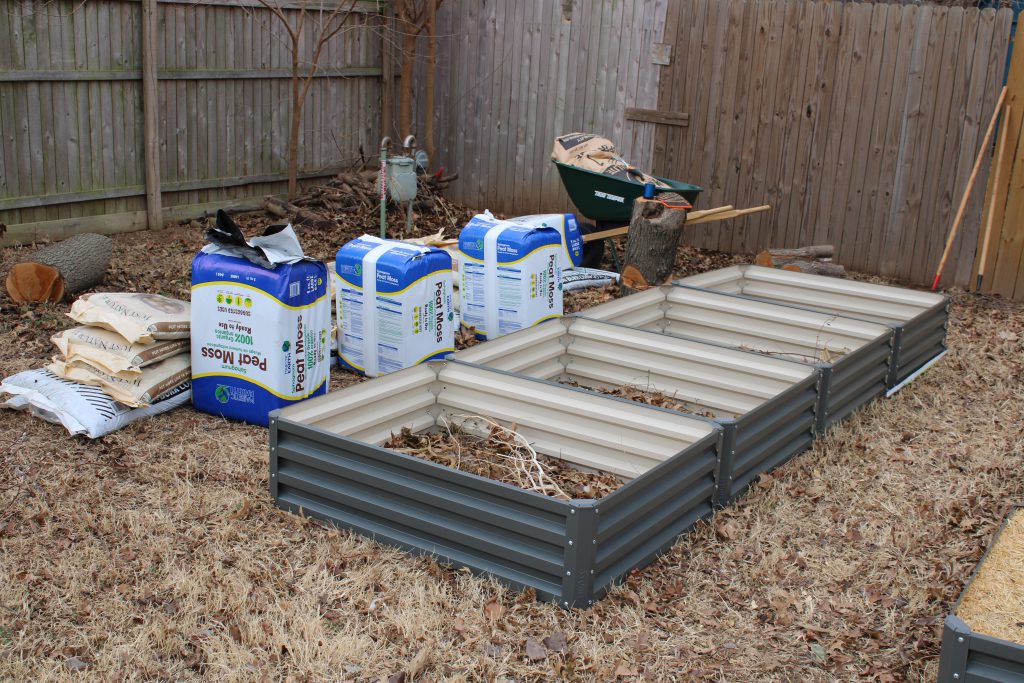
First get all your materials ready to use.
Ok, start by giving a thin layer of peat moss. You can use coconut coir for this but I’ve never seen it so I am using peat moss. Before the greenies get mad at me about sustainability, I read recently that Canada has farms of peat moss that are replenishing faster than their being used up.
Anyway, add your thin layer. I find using dry peat moss easier to spread.
Then add a layer of compost, in this case Cotton Burr.

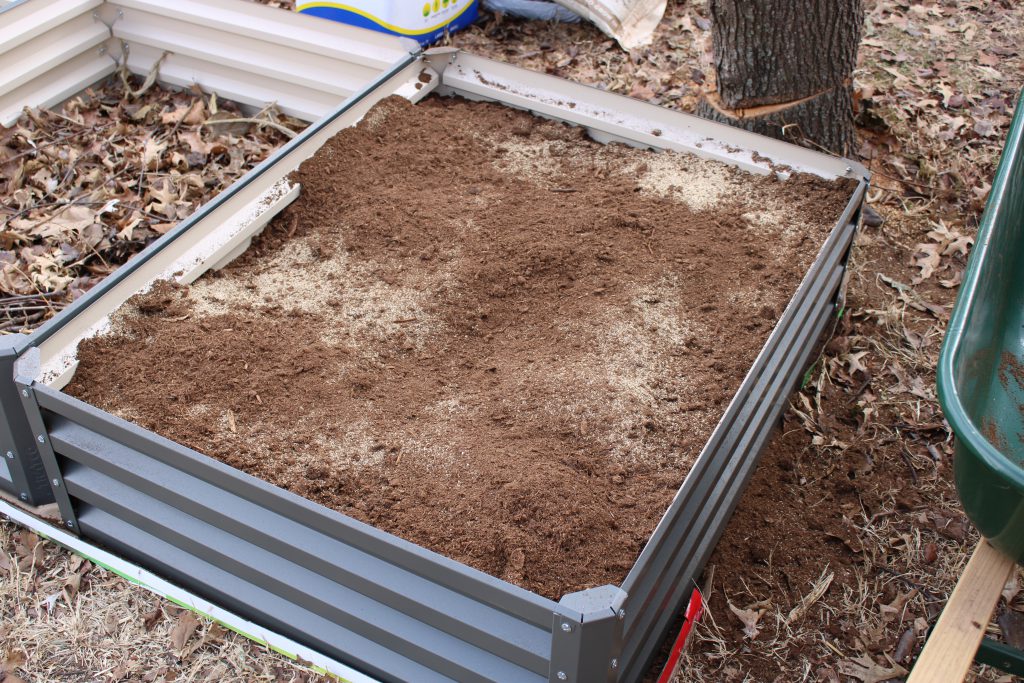
Another thin layer of peat moss.
Keep doing this until you get to the top. Raking as needed to distribute the layer. This little bit of raking combined with the thin layer means everything get mixed without actually mixing it.
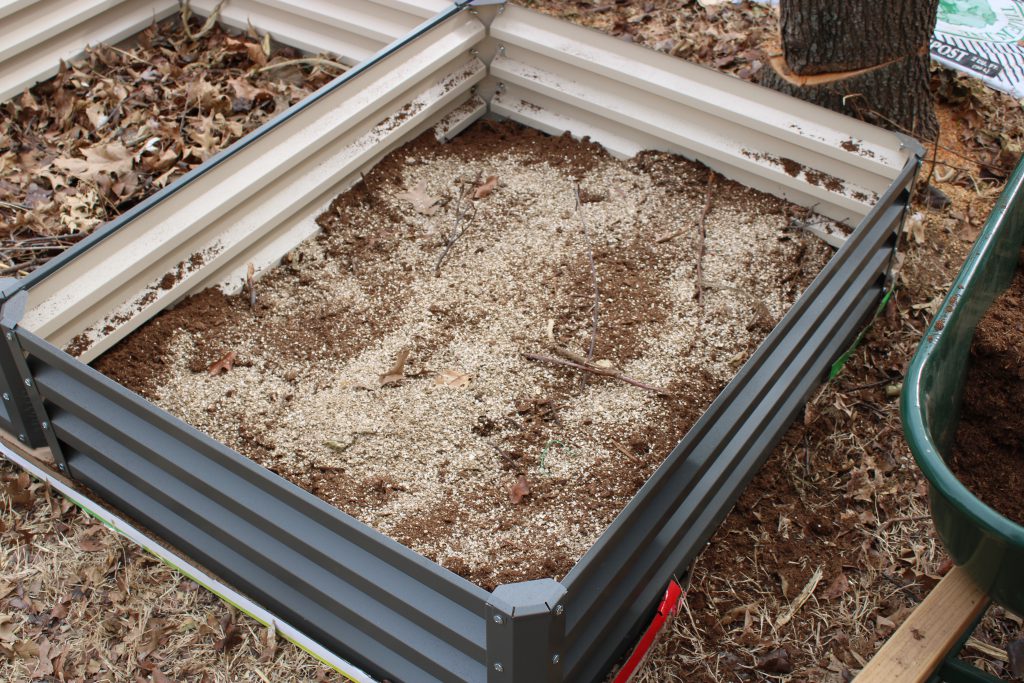
Here is one of the vermiculite layers that will show the raking process really well.
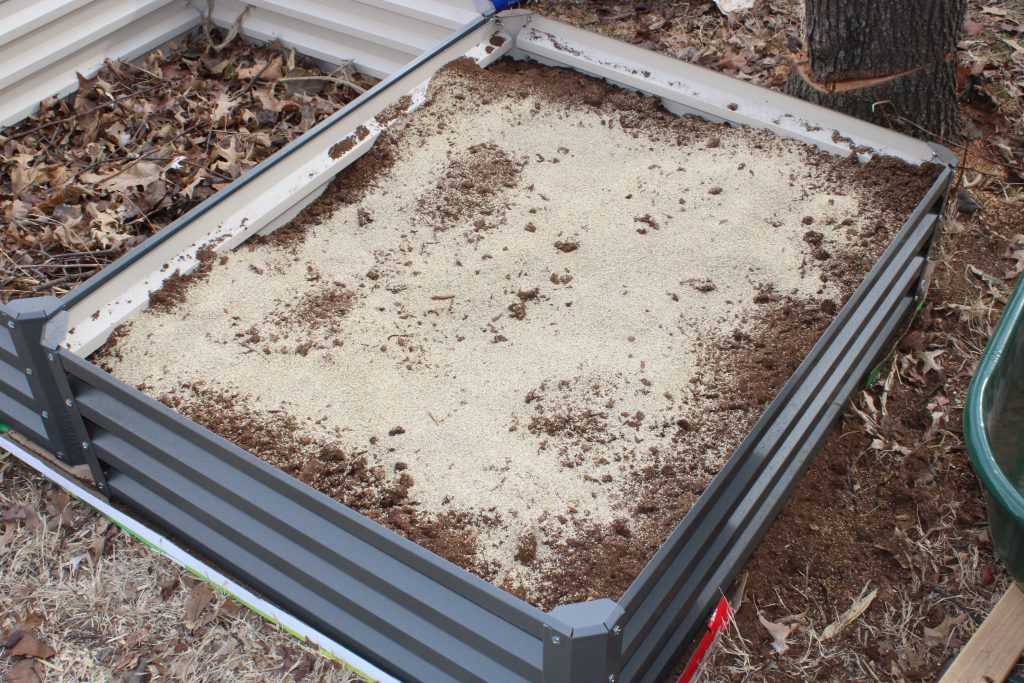
Add a thin layer of peat moss.
Rake even.
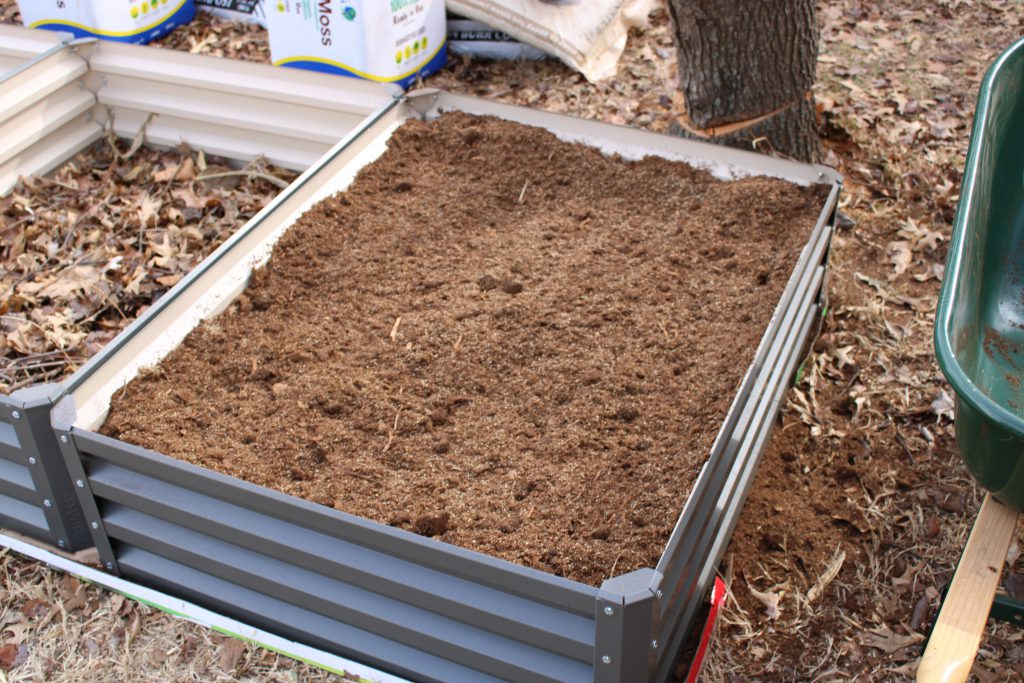
Now this year, I am doing something that makes this even a better technique in that I am creating water sinks in the soil to try to minimize watering needs but that is another topic for another day because this post is getting too long.
Next time you are thinking about raised bed building, give this technique a try. I think you will find it to be about as fast as thoroughly mixing your soil and will provide a better mix to boot with less labor.