The leaves are bursting out, the flowers are bursting out and I hope the robins will be bursting out of their eggs. It is spring. After several false starts, I finally got some of my starts out into the garden. I originally thought I would not fill much of it but that won’t be an issue. Lets do some spring time planting.
My Spring Time Planting Tools
First up is my good old trusty blend of fertilizer. Look at that bouillon base container, it’s a great way to store this mix.

This is a mix of blood meal, bone meal and kelp meal. Now we are having a fertilizer shortage right now if the news is to be believed. Don’t let your inability to get fertilizer stop you from growing a garden. Most of my gardening life, I just used compost to grow my plants. The yields won’t be as great but you will get a solid crop. I used to do what I call easy mode gardening for many years.

Speaking of compost, I add a bit of worm castings to my planting holes. There is a bit of nutrition but I think the extra bacteria helps a disproportionate amount. Again, If you can’t find it, that is okay. Mushroom, cotton burr, well composted animal waste all work a treat. This is the 80% of extra work that gets you that extra 20% of harvest.

Next, I have my plant starts and a seeding square. You might ask why do I have a seeding square? I’ll get to that in a minute.


Finally, you need a place to sit or kneel on. I use a bucket or piece of cardboard. If you are strong like bear, you can squat or bend over but that is rough on the body once you get over 35. 😅
The Process
With all the tools out of the way, it is time to get to the process I use to plant my plants. Now, I mostly use a square foot gardening method so everything is organized into 12″ squares. It mostly works as my beds are almost 4′ x 3′.
To get started, clear off the mulch.


After clearing away the mulch get the seeding square out and pretend like you are going to plant seeds.

Pull it off to give a an idea of where everything needs to be planted. It helps keep things straight and well proportioned.


Unfortunately, the camera does not show the square indent very well but it is clear in real life.
With that out of the way, go get your starts you want to plant. You also need to know how many are to go into this space. In my case it is 4 starts.

Make a hole were you roughly want to plant everything.

Take a nice big handful of worm casting and drop it in the hole.


After that, give it a dusting of fertilizer. I am using a very balanced mix right now. As I recall this is roughly a 4.5-3.5-4. Just use a low number or a heavily diluted one if using commercial. Organics shouldn’t burn your plant so the exact quantities is not critical. I just give it a dusting.


Give it a nice mix with your hand and reform your holes if you accidentally filled them in.


After that mix, pull your plant from its plug. You want to check if it is root bound. This one is.

Because it is root bound, you need to tease those roots loose, very gently, I would recommend using two hands but the camera has its costs.

Then plant the plant. Make sure to hit the hole. It is embarrassing to miss or so people have said.

Repeat until complete.

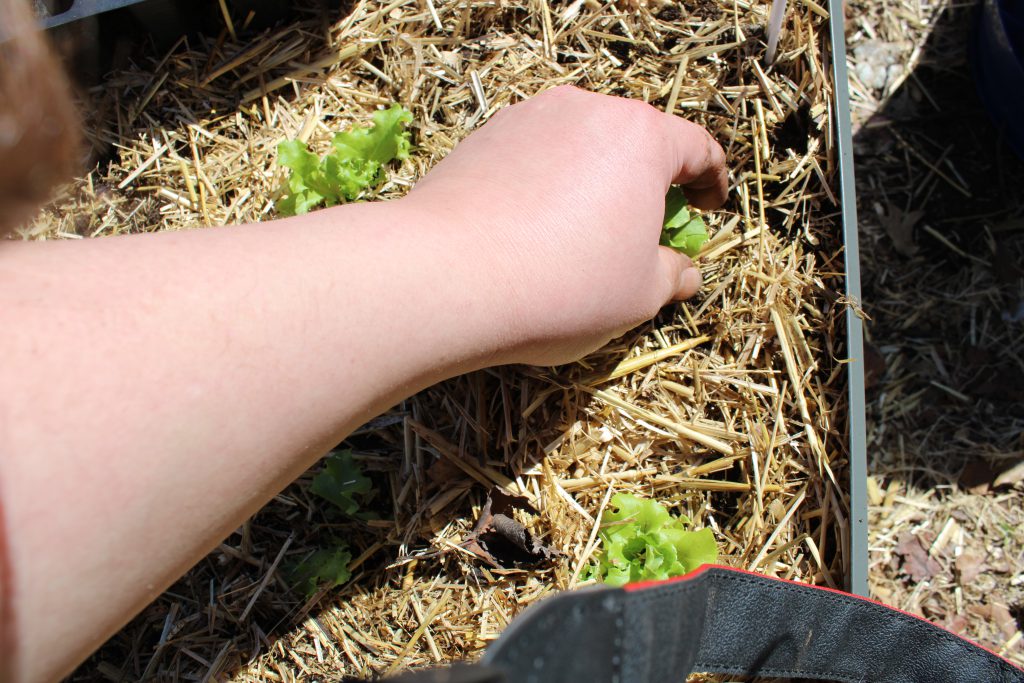
Move the mulch back over the space.
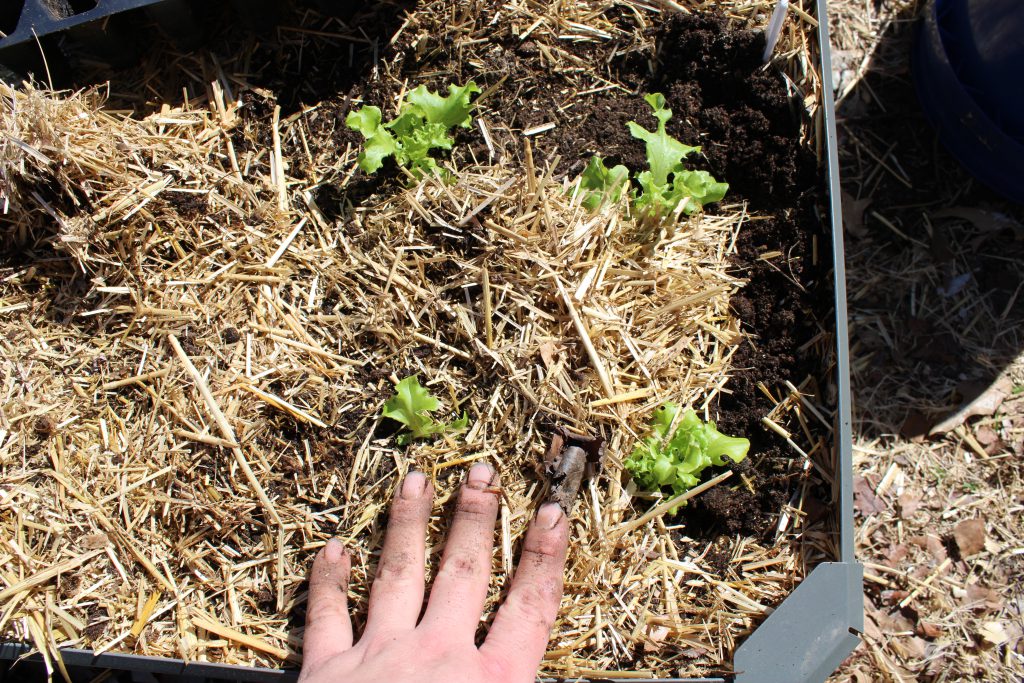
Finishing this square up, give the plant leaves a little bit of a fluffing. Make them look nice and help them get to the sun.
What to do at a bed level
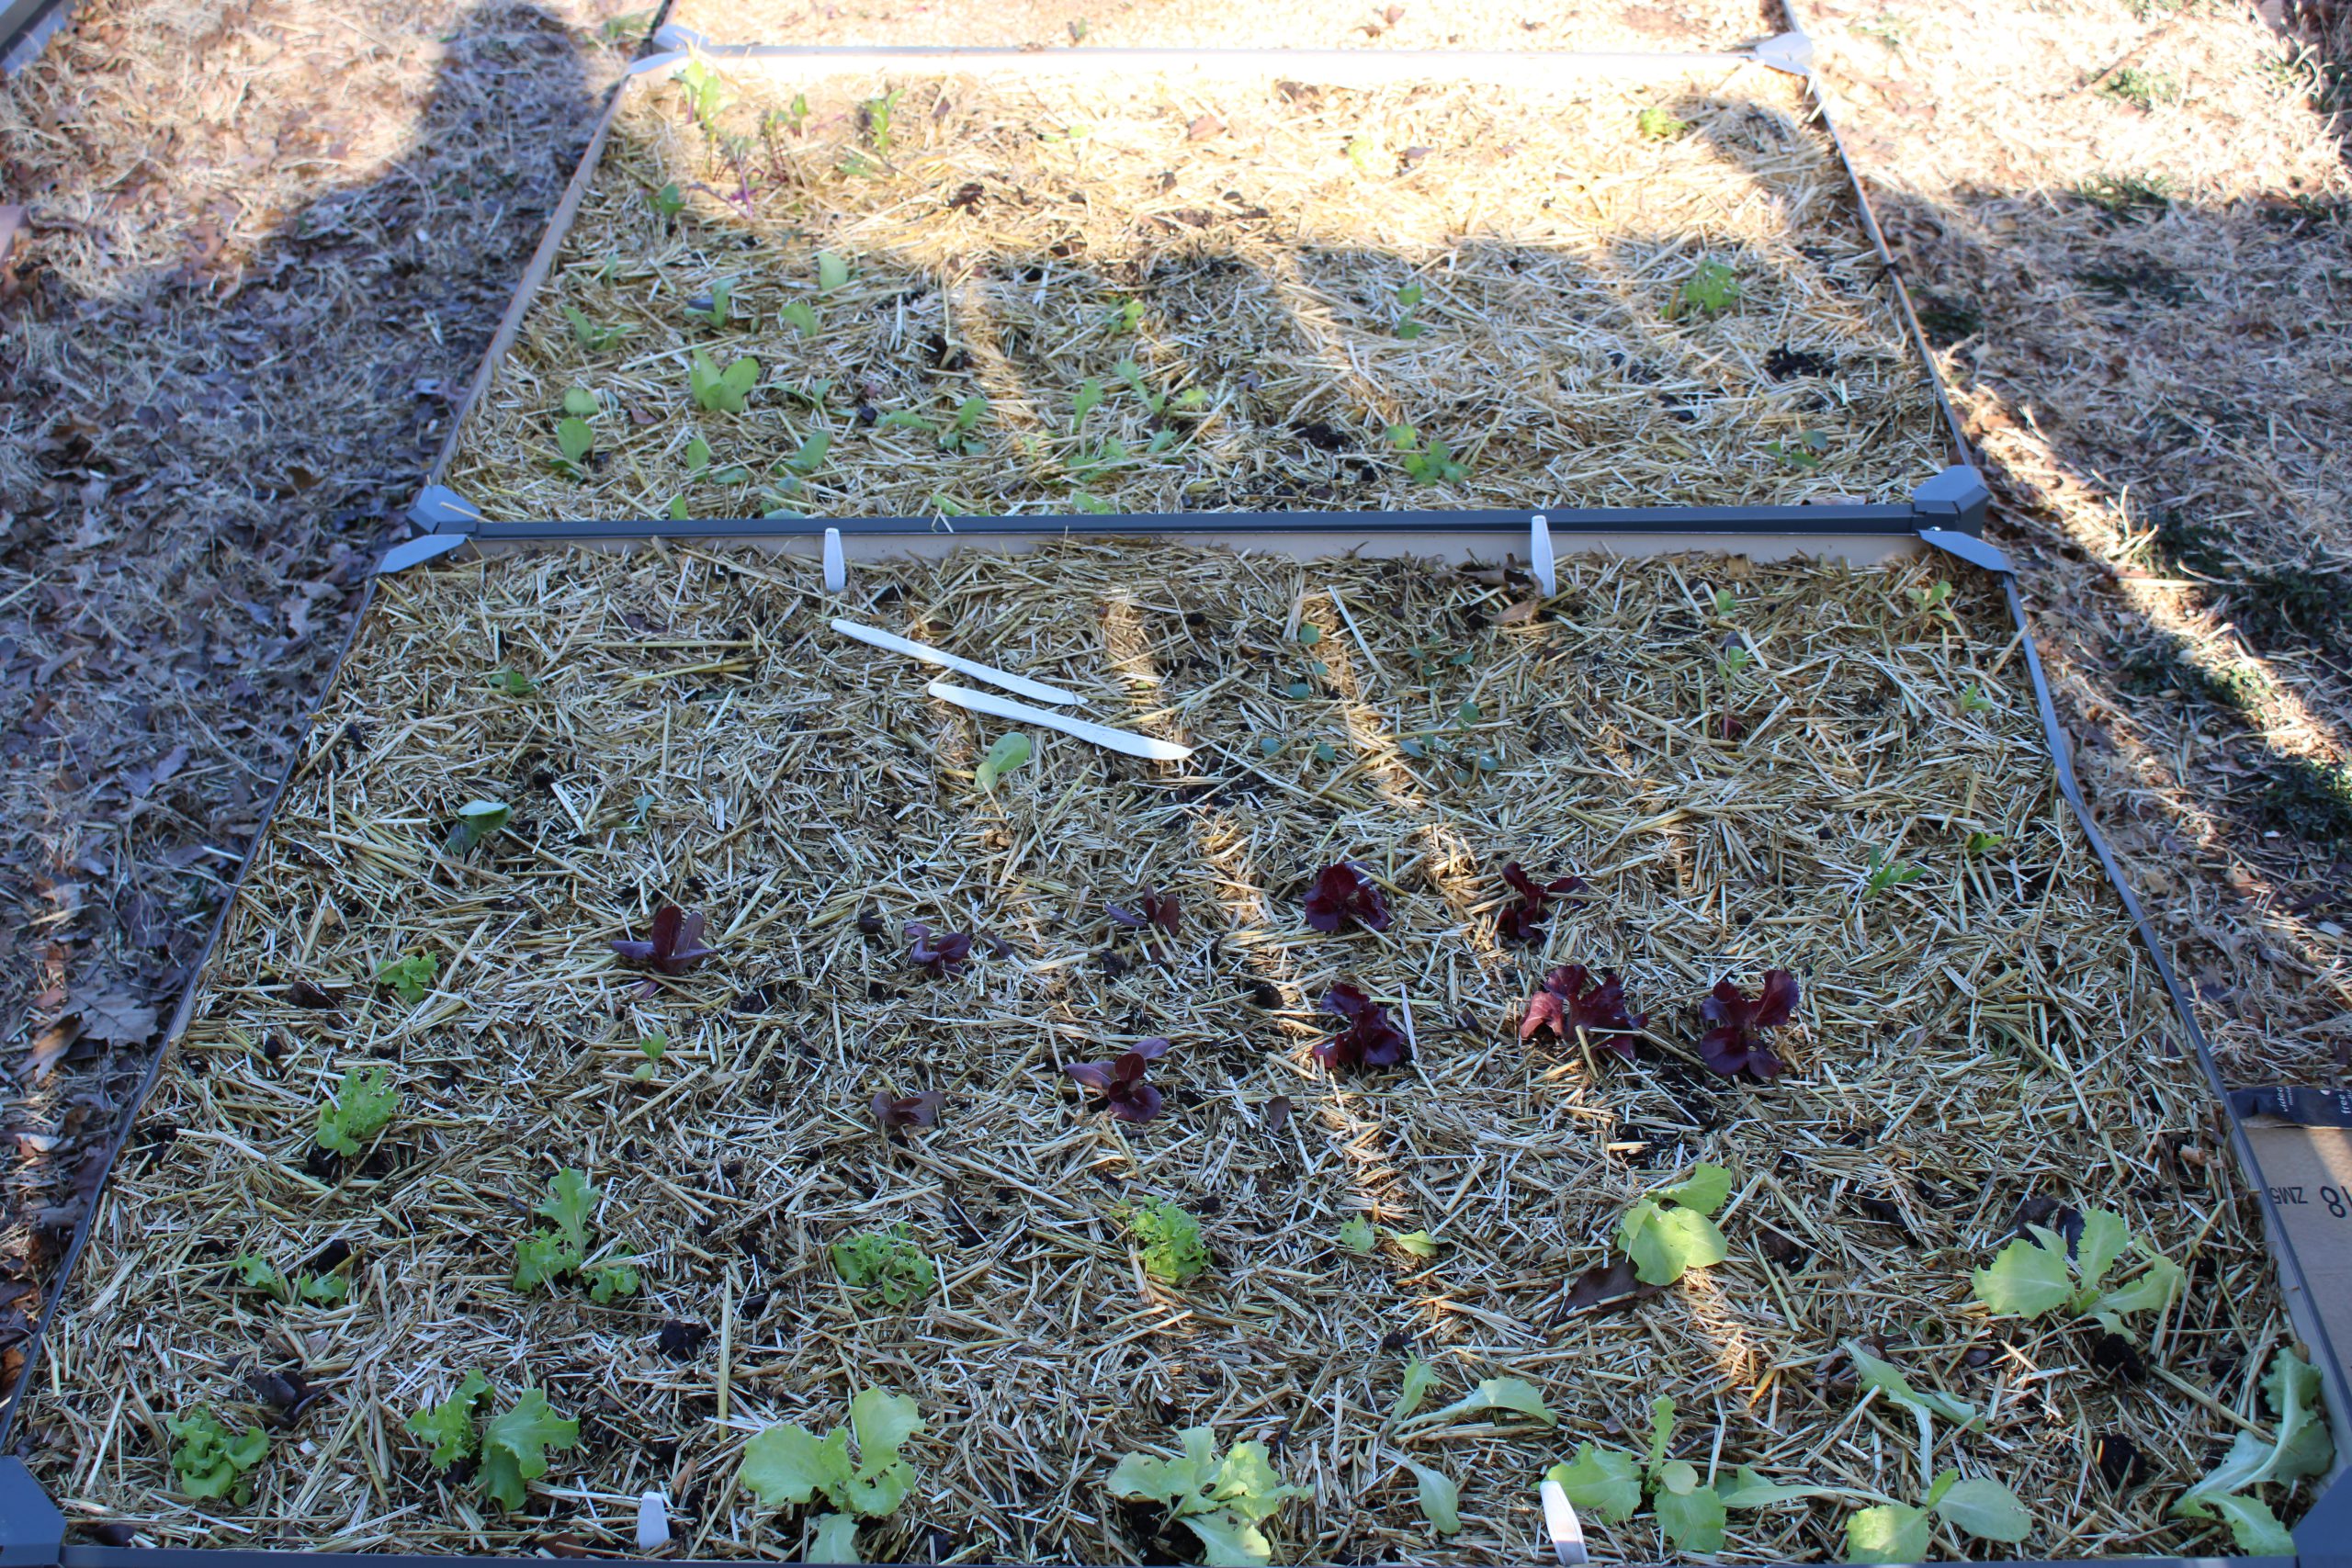
Once you have your bed all done up nice, it is time to complete it.
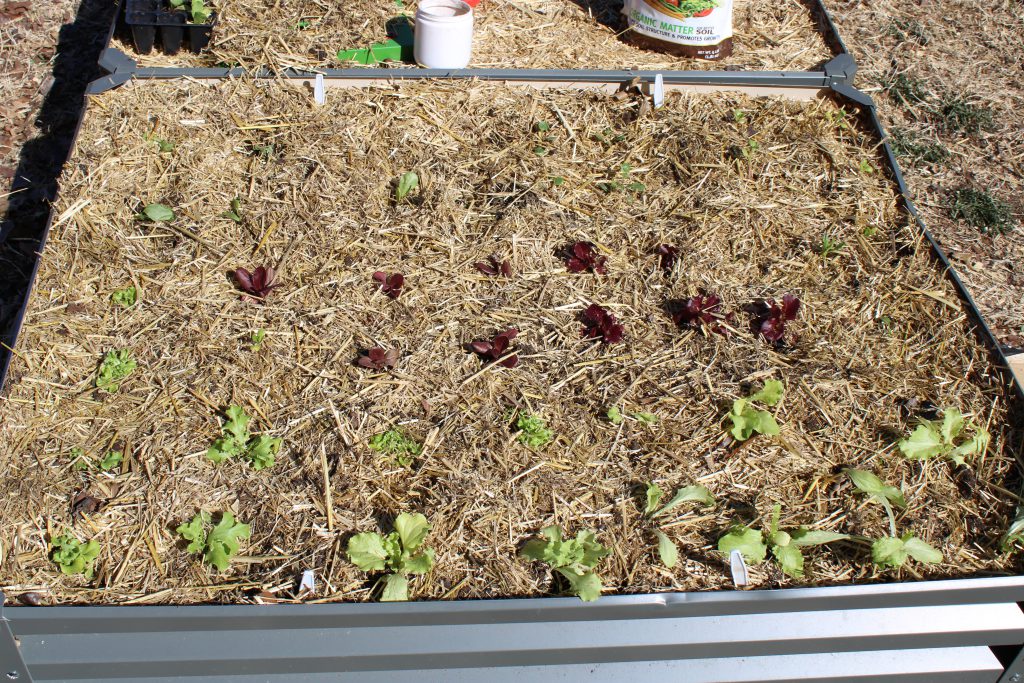
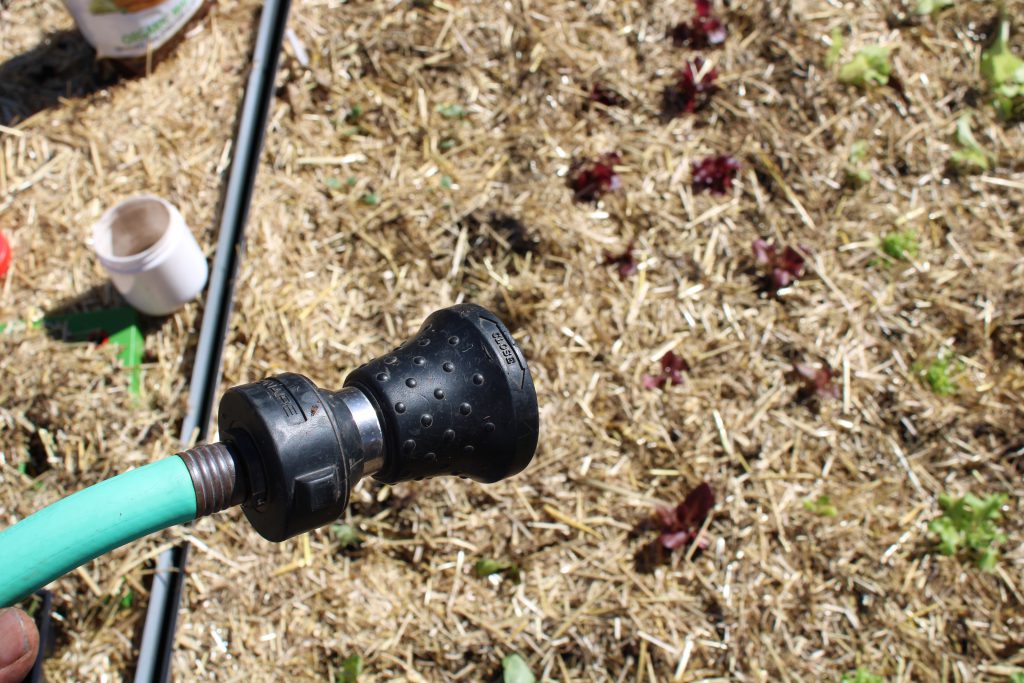
Ain’t it pretty? Anyway, give everything a good deep watering. I like to do about 10 second per square foot. We want to hydrate the soil and settle out any air pockets around the plant. Be careful not to wash them away.
So that is my 2022 Spring time way of planting my none nightshade plants. I might change as I learn and experience new things. Use it or not, it is your garden.
One response to “Spring into Action for Some Spring Time Planting”
I love your garden almost as much as I love you. ❤