As part of my experimentation in the garden this year, I found a weird fruit sitting next to the Dragon Fruit at the store. Me being me, I bought it. It was a spiky thing that even the cashier commented on when putting it in the bag. I was about to have my first experience with the African Horned Melon, Kiwano, Horned Melon or my favorite name the Jelly Melon.
What do I know about a Jelly Melon?
Absolutely nothing but I did find out that it grows well in the Deep South so there is a decent shot it will grow well here in the Not So Deep Sorta of South. I got a bug up my butt to give it a try so I did some seed saving.
Collecting Seed
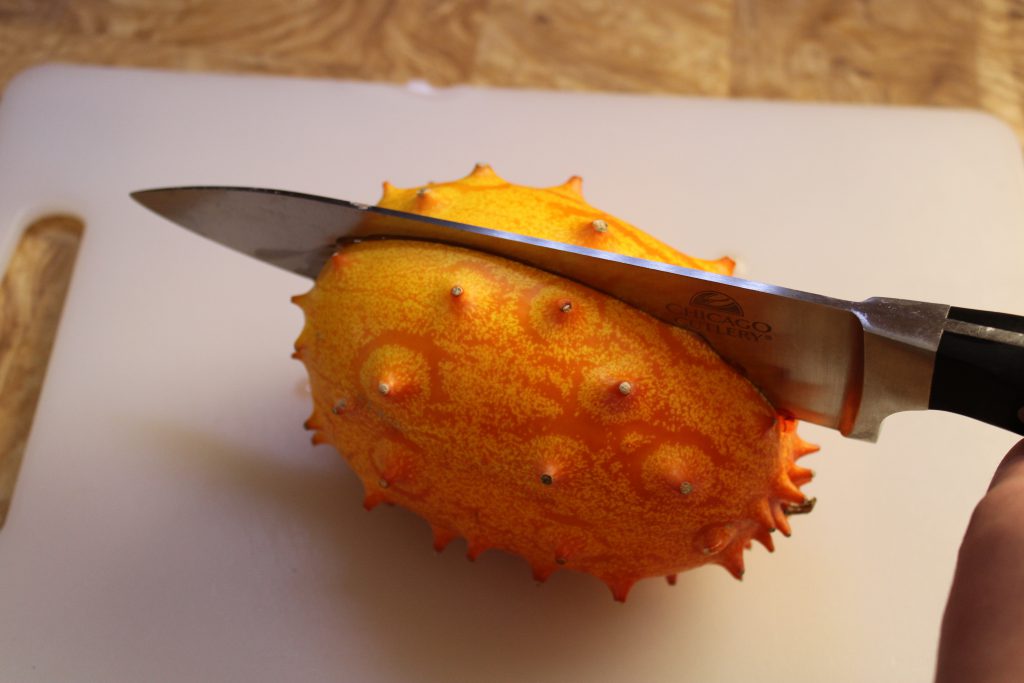
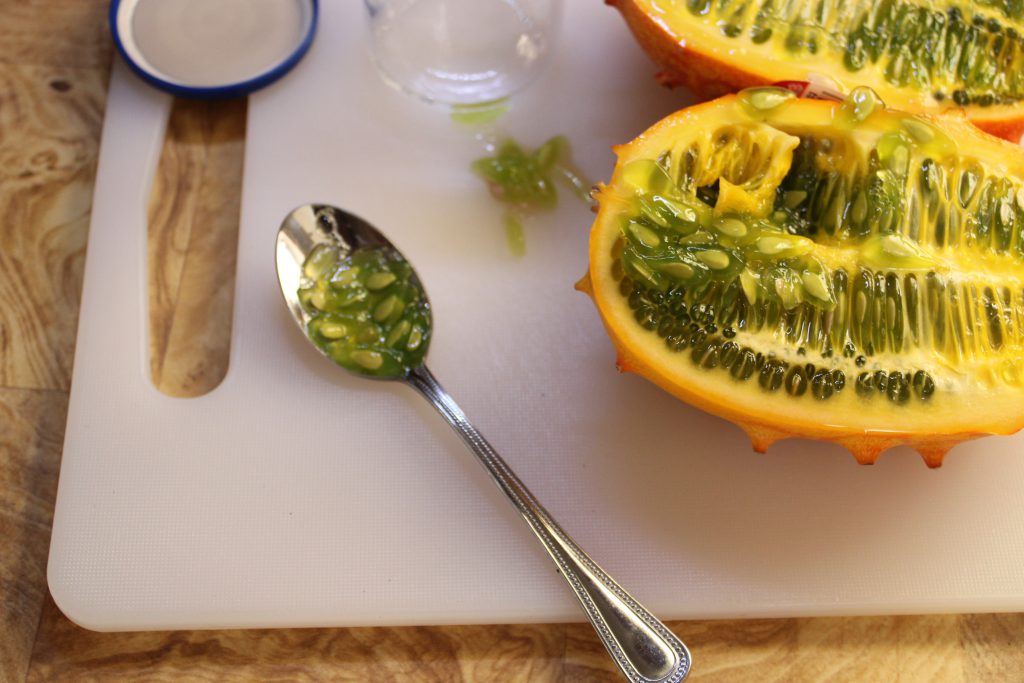
So I did all this back at the beginning of May. I think May 5. First we need to look at the fruit and get into it. I am going to slice it. It will damage some seeds. Don’t worry, it will not be a problem.

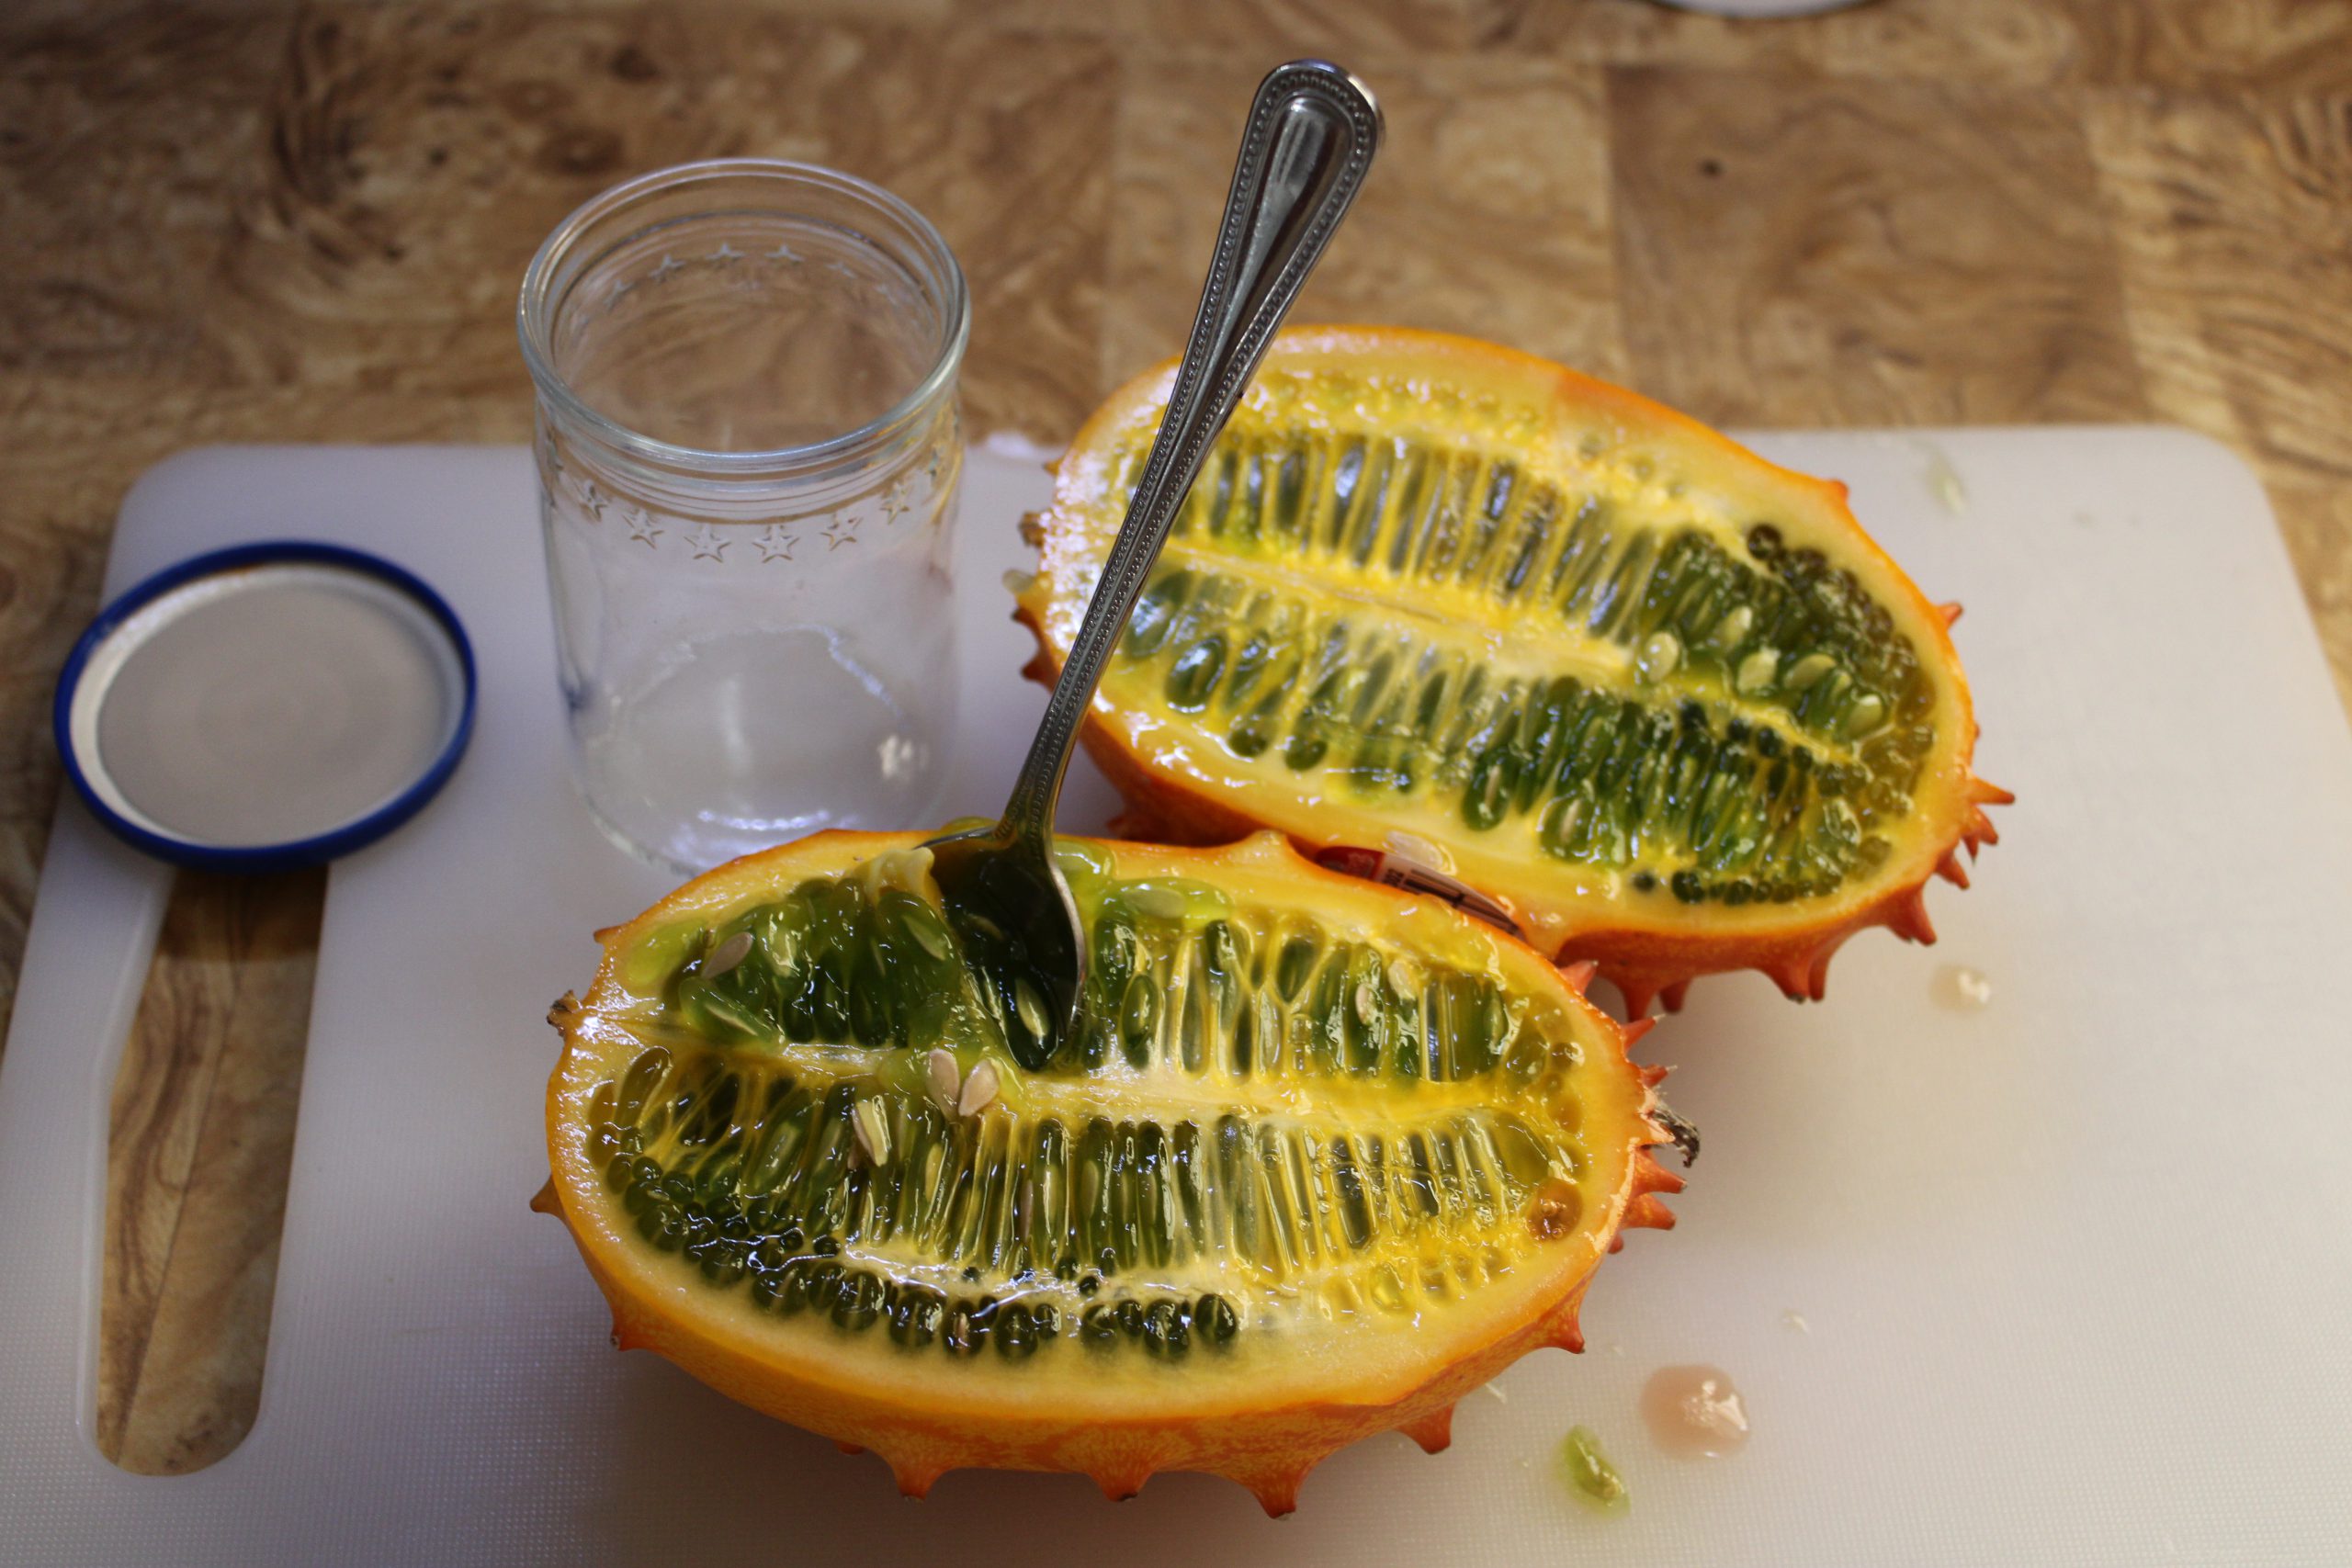
It is a weird looking thing. It is going to get even weirder. I sliced pole to pole on the fruit.
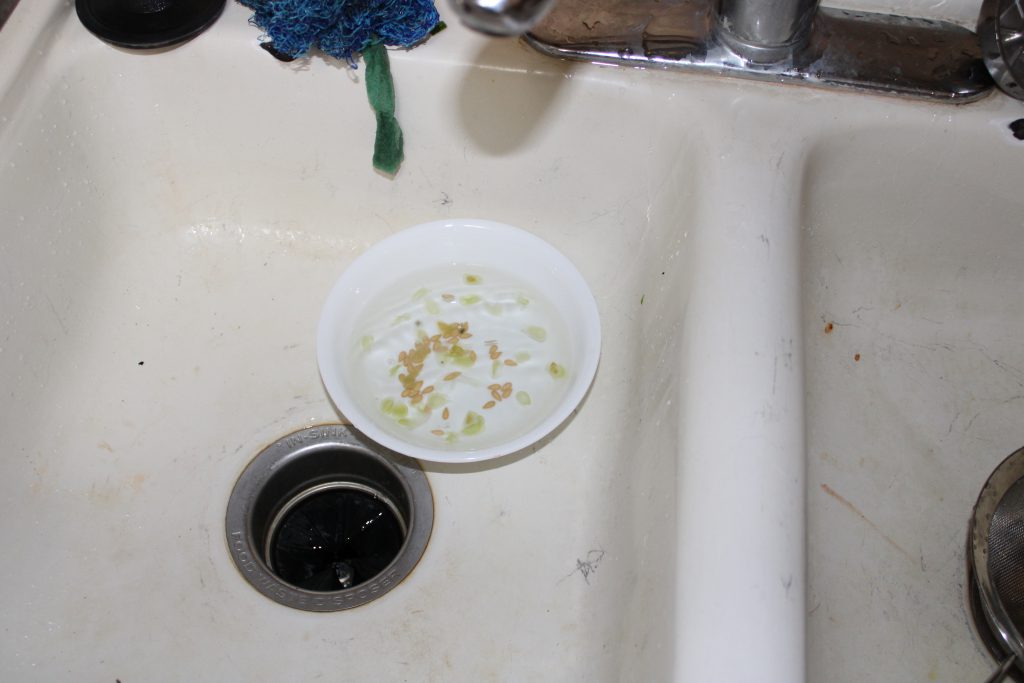
Each half will greet you with a lime green, jelly like substance in cells.
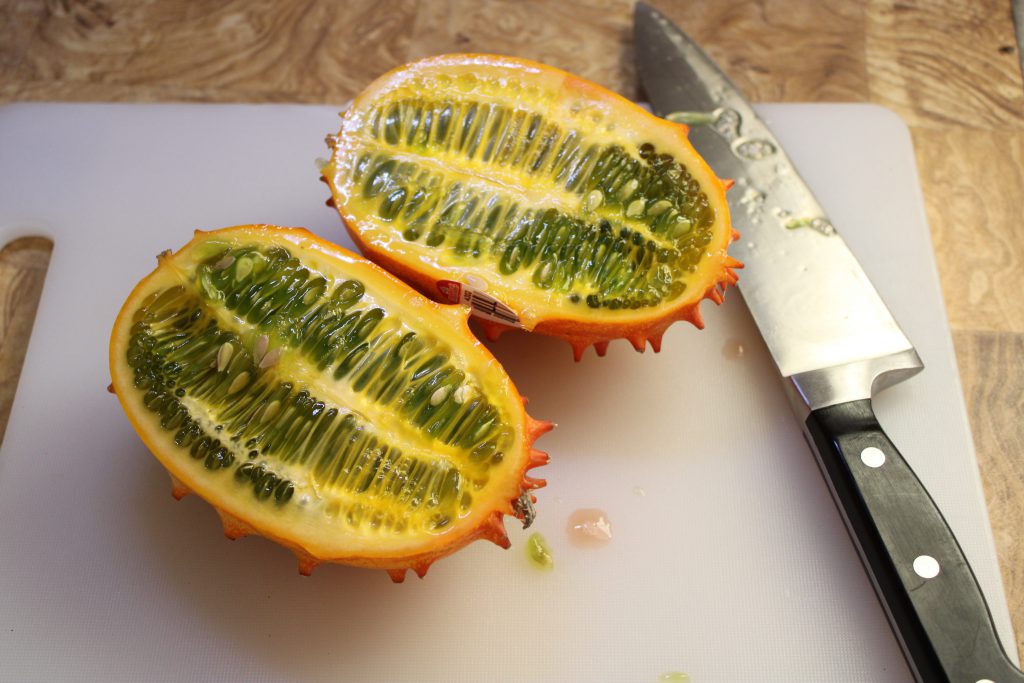
As you can see in the image, the cells each contain a seed.
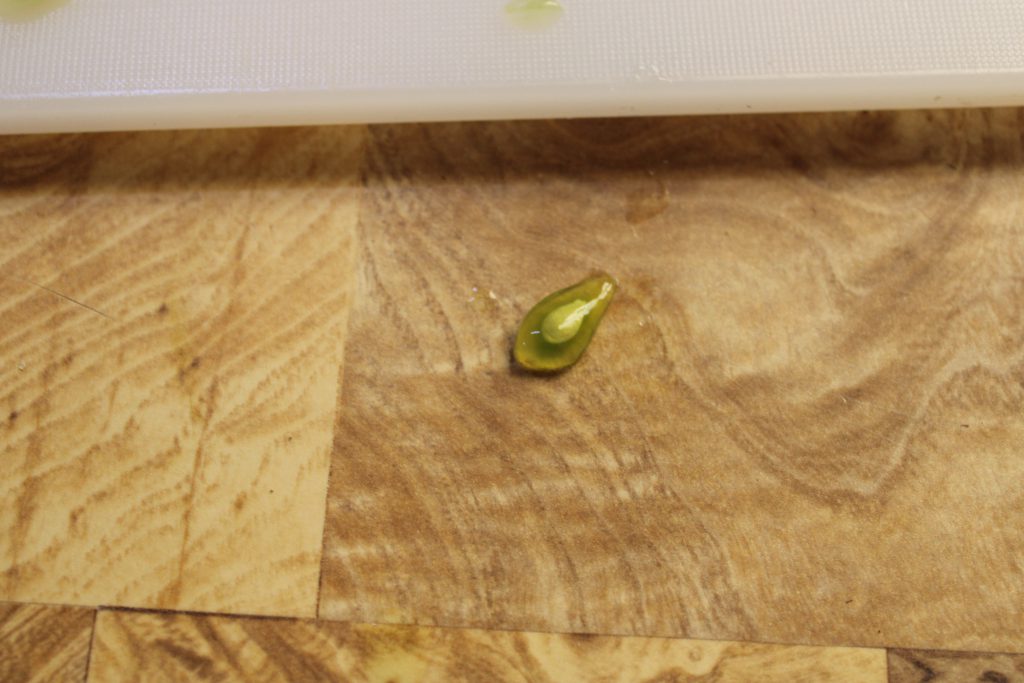
If this kind of reminds you of a tomato seed, that is a good thought. This has a membrane that protects the seed.
What does it protect the seed from? Well the digestive system of critters.
Now, there are two ways that I determined you can do this. Technically three but I am NOT going to do the third way.
We need to deal with that coating or the seed will likely rot. We got three methods.
- Ferment the coating off the seed
- Remove the coating from the seed manually, chemically or biologically
- Do it as nature intended
Let address each of these.
Method 1 – Fermenting Jelly Melon Seed
First we need a container. I am using a chipped beef container because SOS is the greatest breakfast ever so I have a bunch of them laying around.

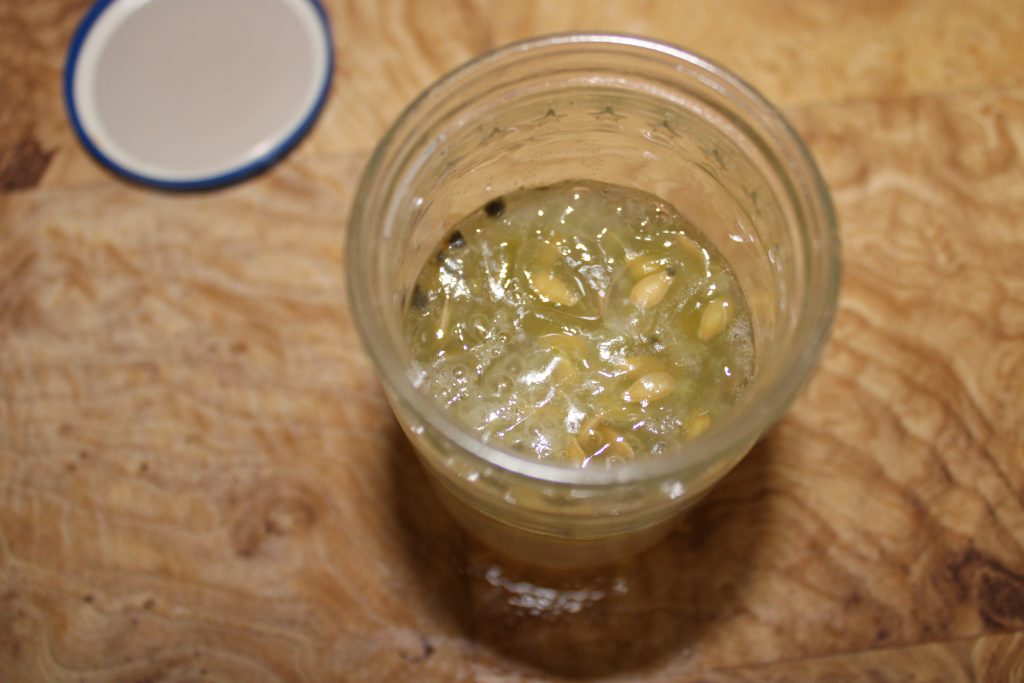
Next, we need a spoonful of Jelly Melon seed.
Then combine the container and the seeds.
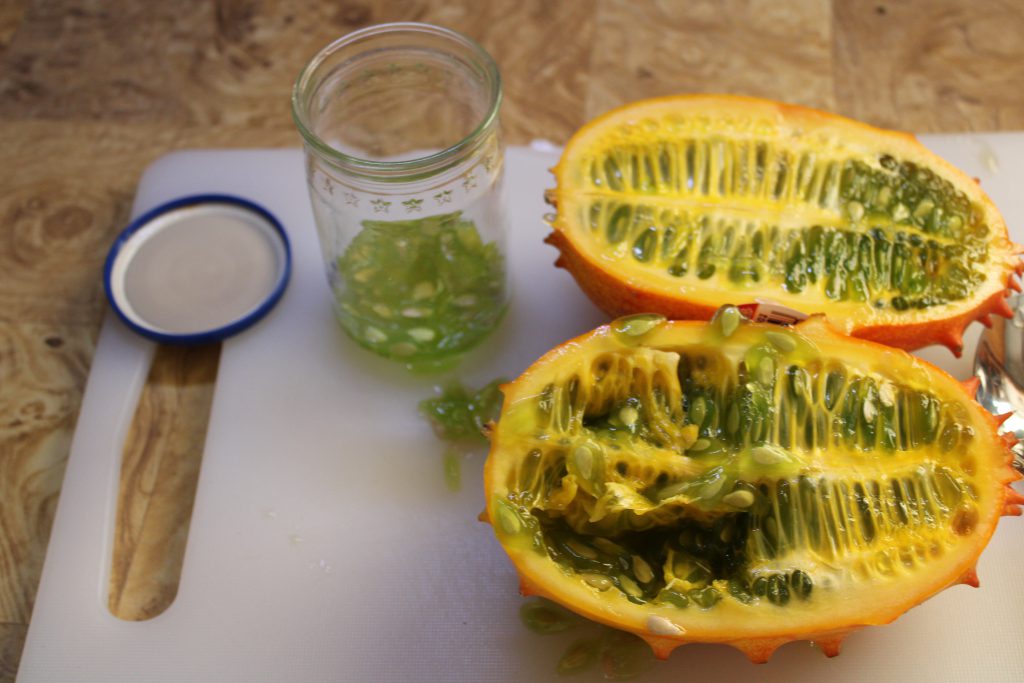
Finally add some water to the container and lightly put the lid on to keep bugs out of your seeds.
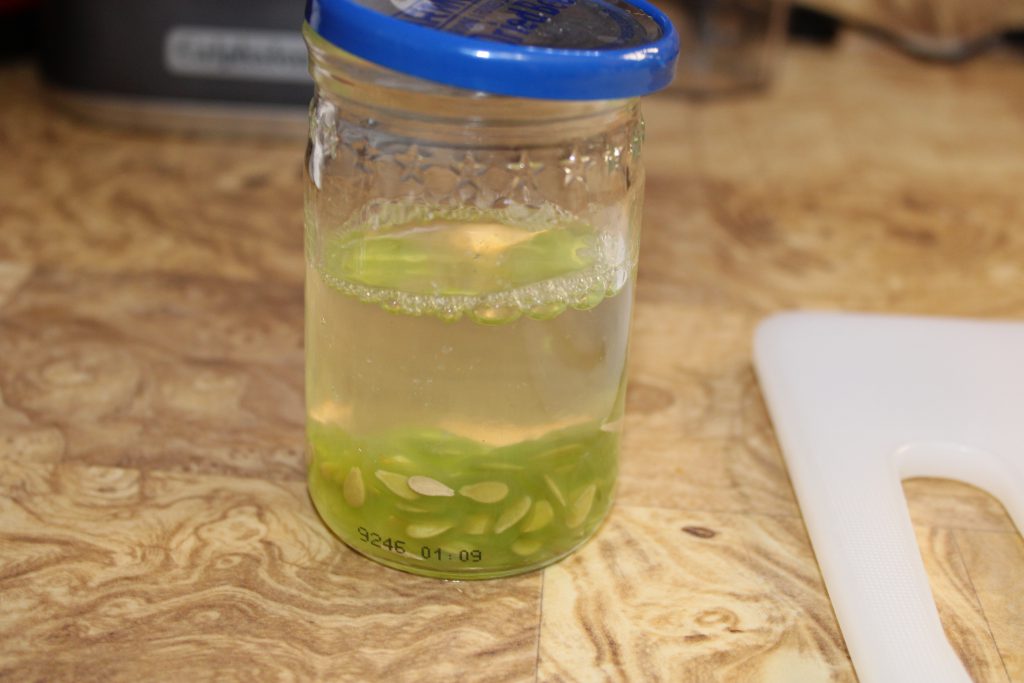
That’s all folks for today. We need to check on them later in the week.
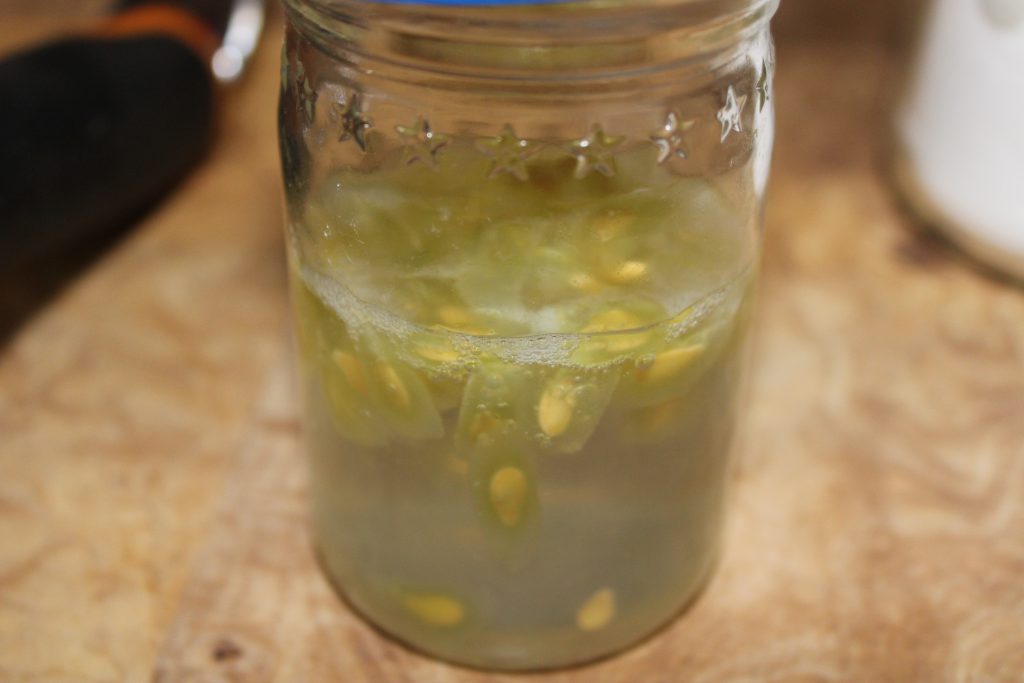

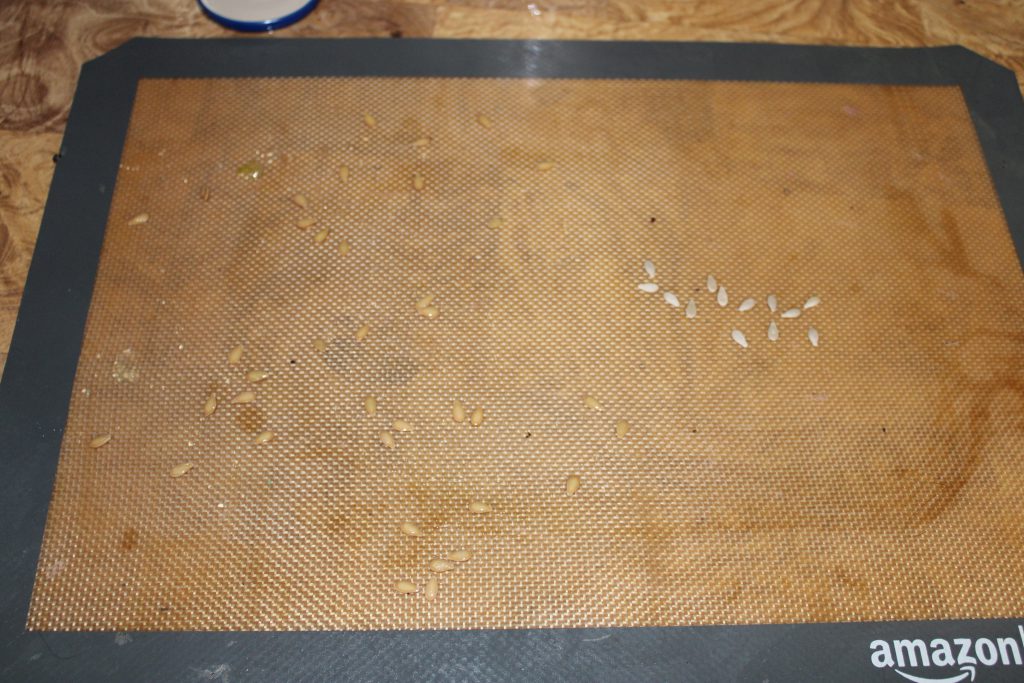
I gave these a 3 day fermentation and they were complete. Time to clean them up.
Clean Up My Drunken or Fermented Jelly Melon Babies
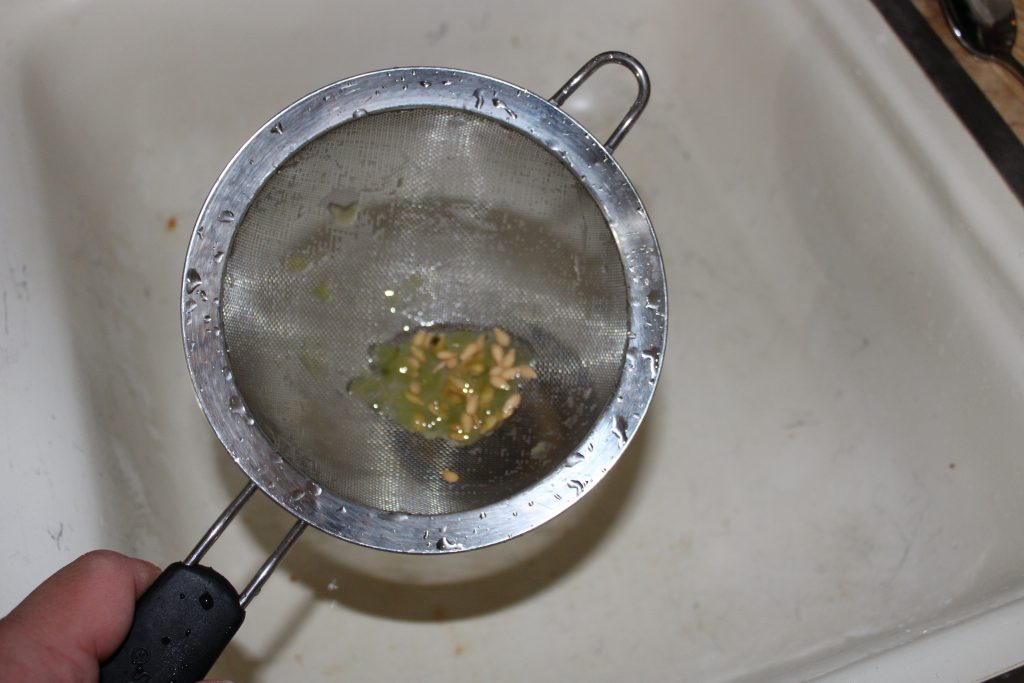
Get yourself a fine mesh strainer.
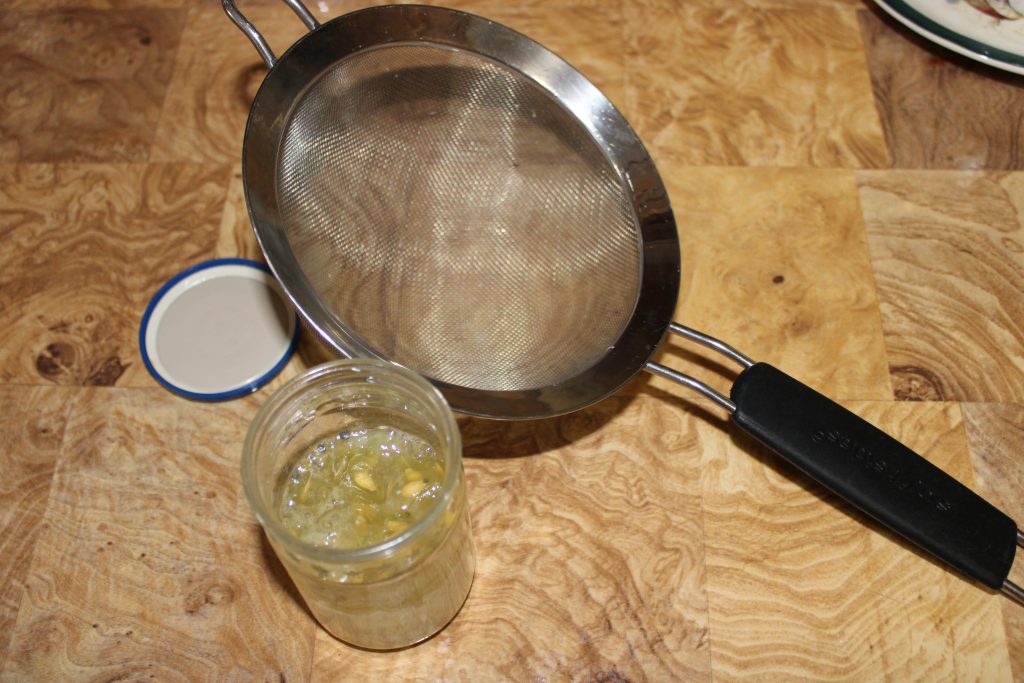
Dump them into the strainer.
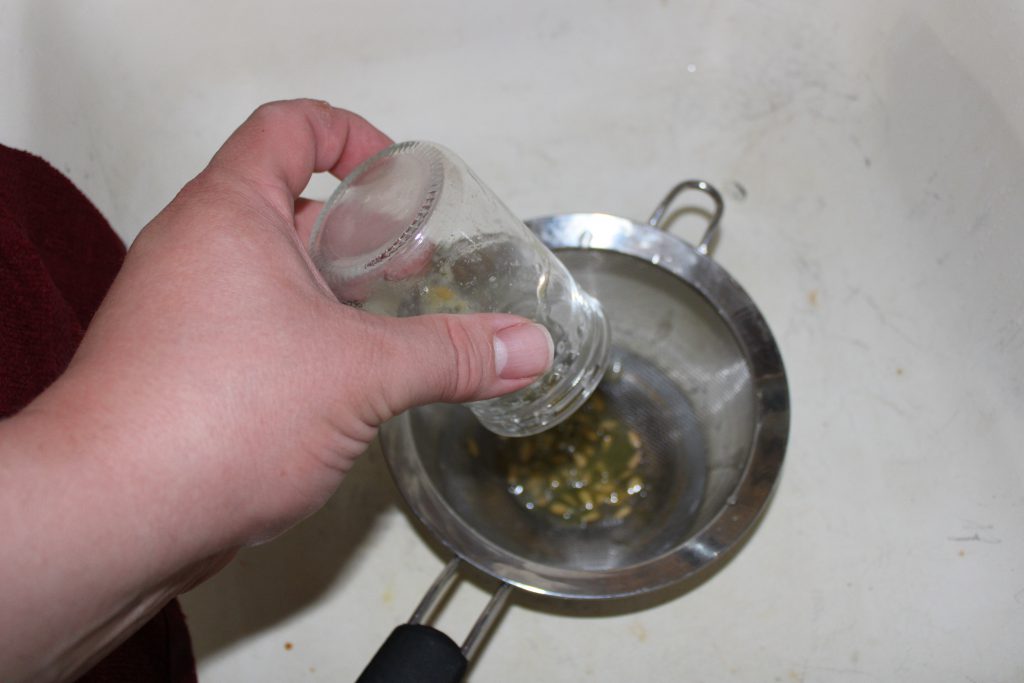
Here is where there might be some controversy. The picture makes this look moldy but it was an optical illusion.
Still they were sitting rotting for three days so there might be some bad stuff lurking. I chose to use my tap water which is chlorinated. I did not feel the seed was at risk as nothing had sprouted so I was ok with the risk.
Future me will tell past me that everything was great no differences in the germination rate between seed exposed to it and seed that was not.
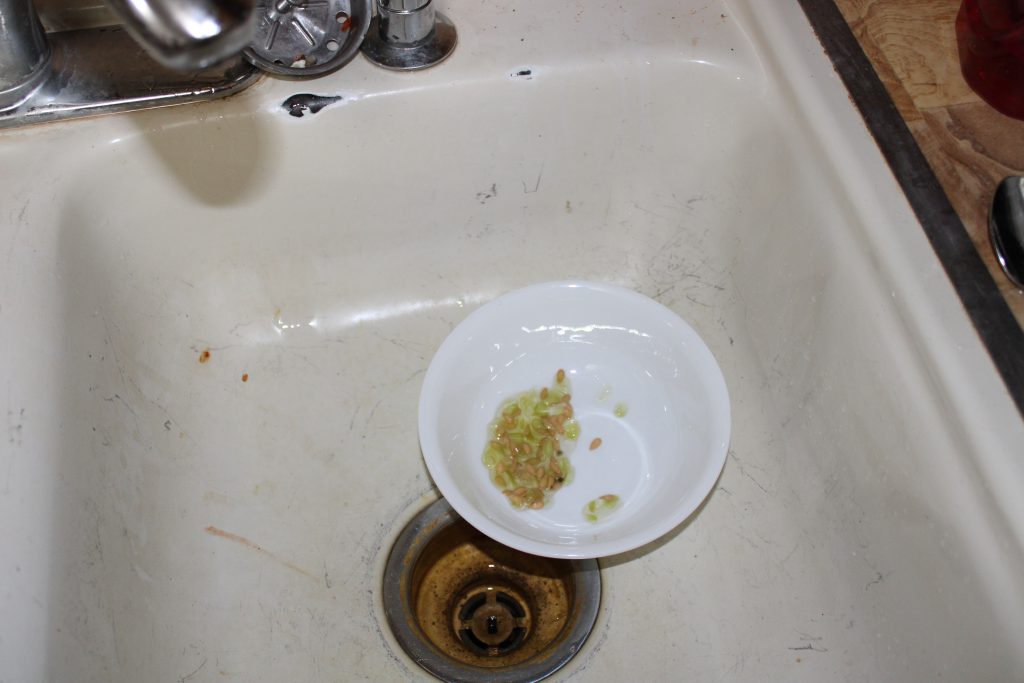
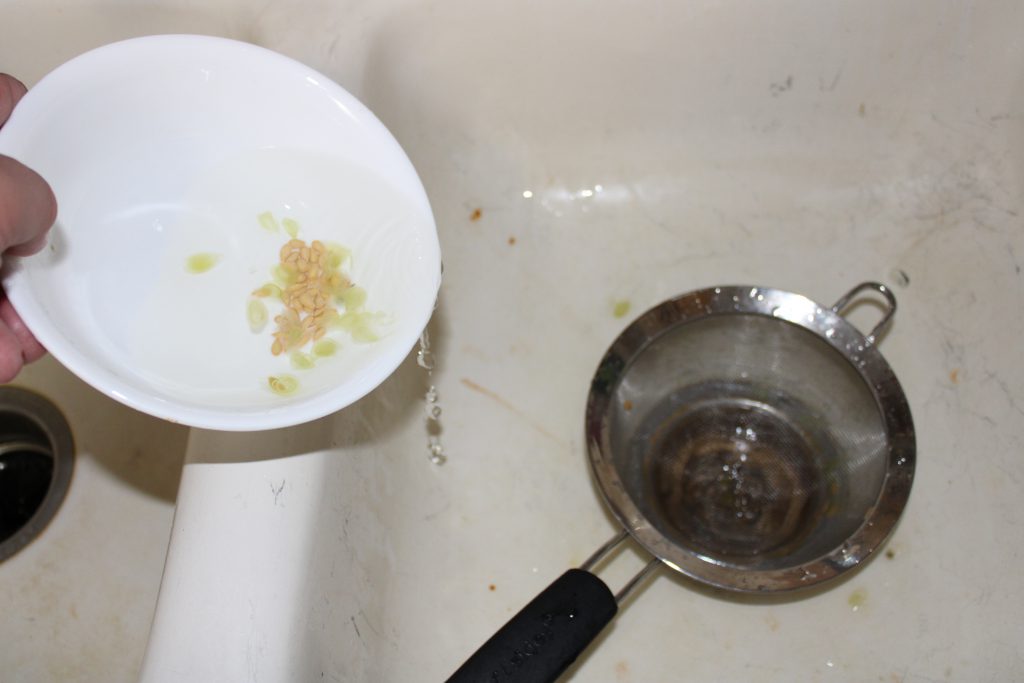
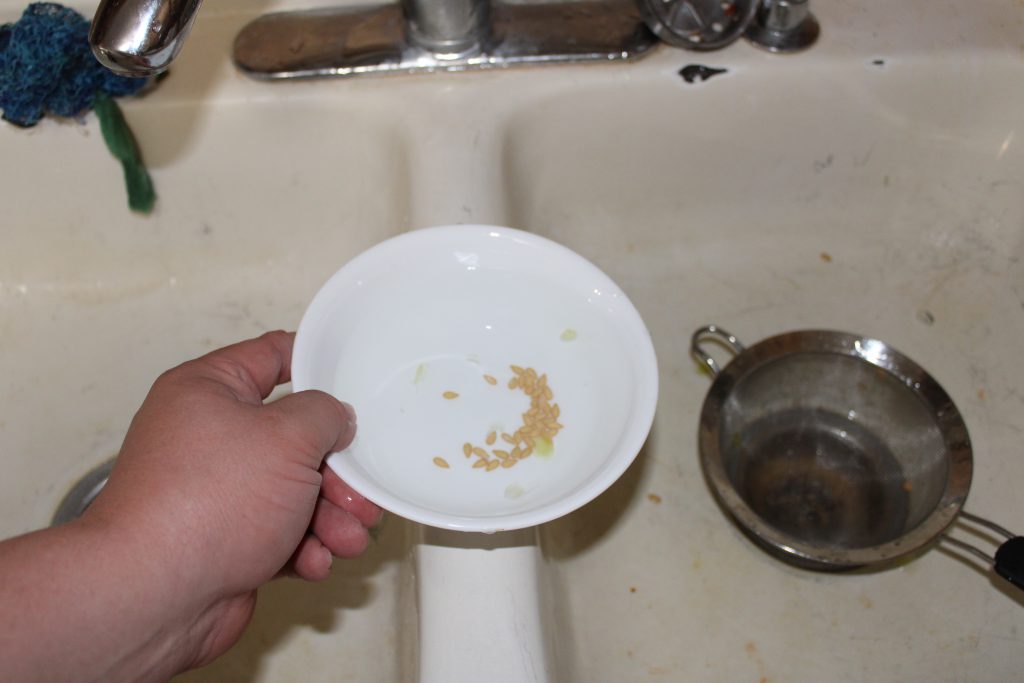
Either way, wash the seed.
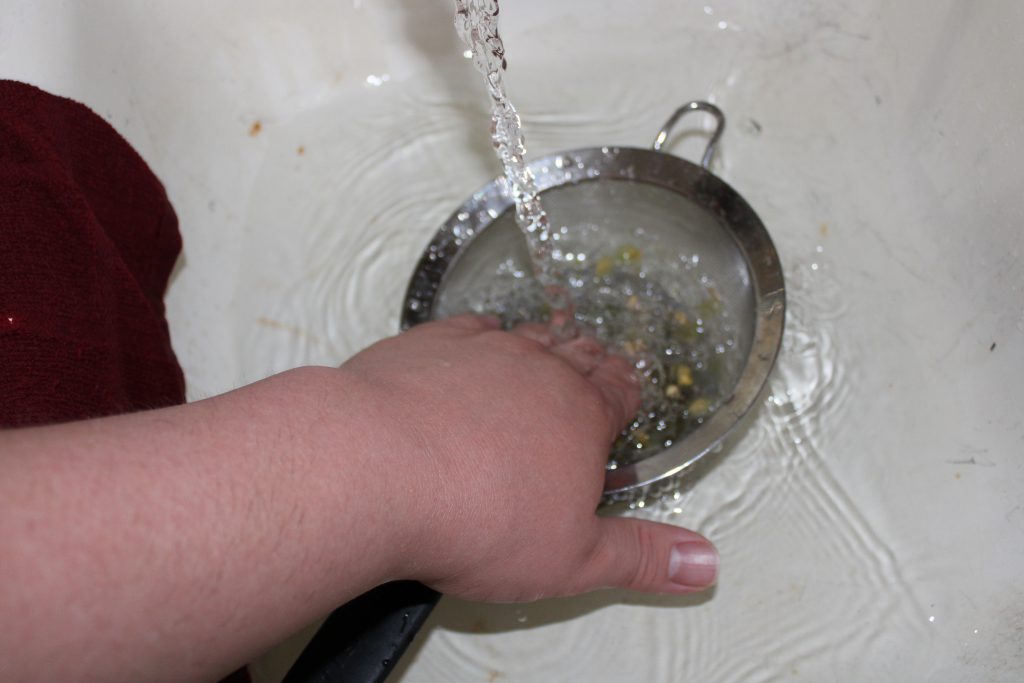
Make sure to agitate it so that you can get the jelly sacs off. You will get something that looks like this.
Now it is time to transfer to a bowl. We are not done with the strainer yet so don’t go and stick it in the dishwasher.
Fill the bowl with water and remember to comment on how I need to get some Barkeeper’s Friend working on that sink.
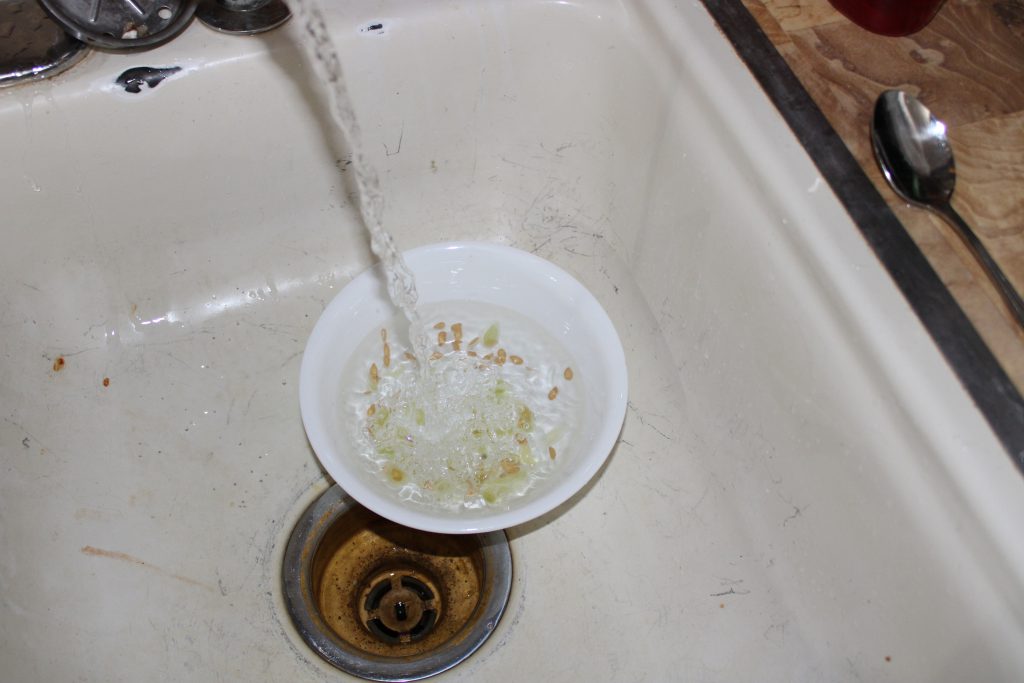
Now move the bowl in circles a bit to try to get the seed and the cells to separate.
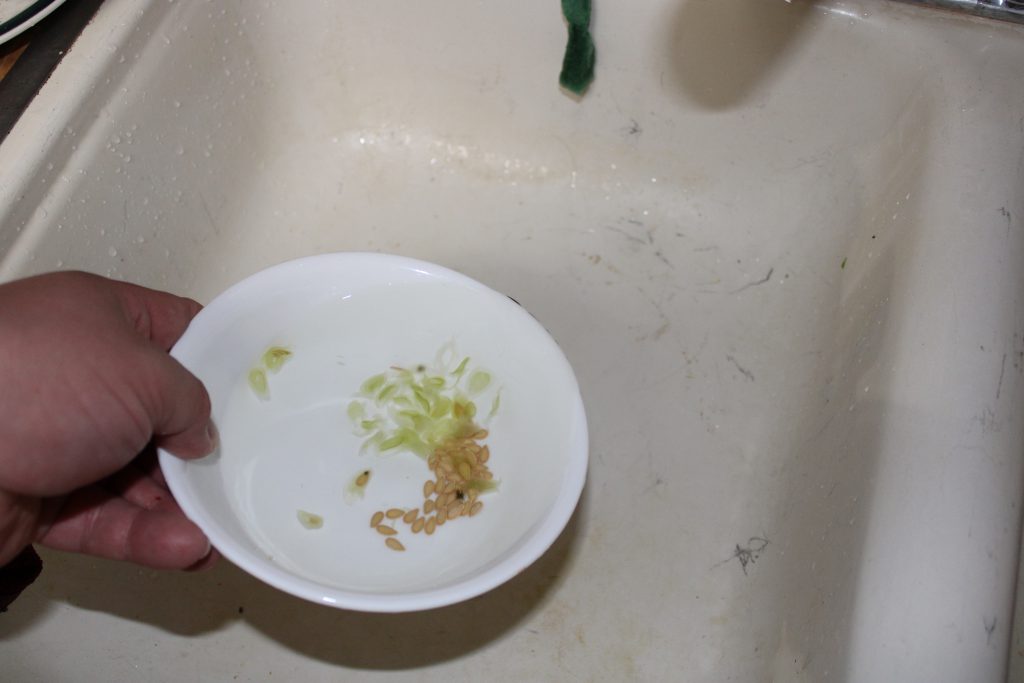
When you have a big enough grouping, pour out the seed cells. The seeds should be heavier. Then do it again.
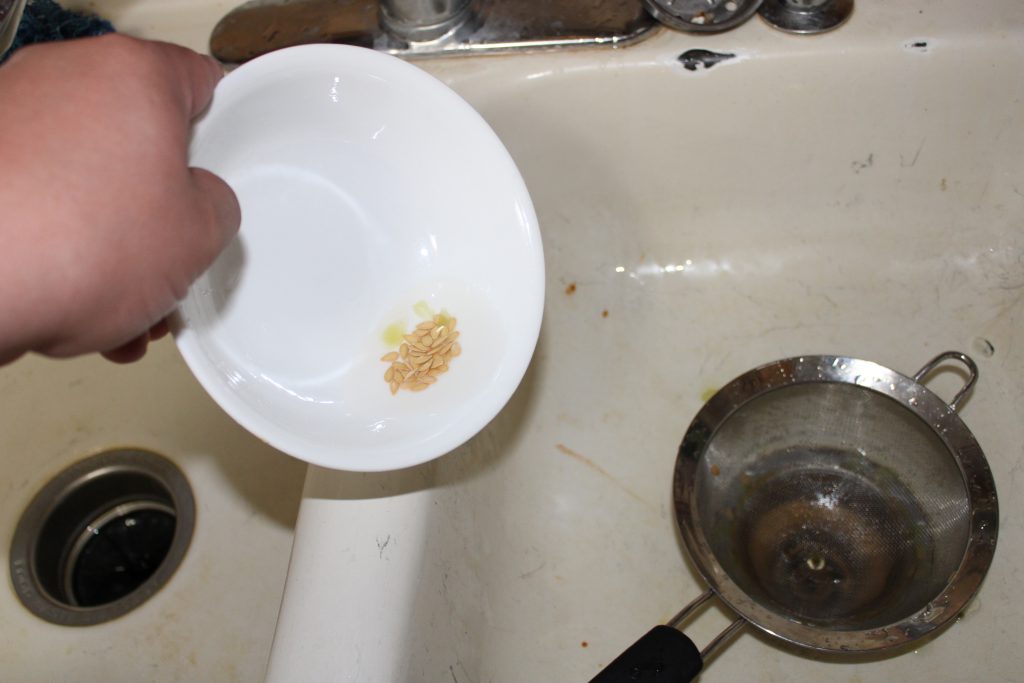
After all that work, your reward is to get to do it again.
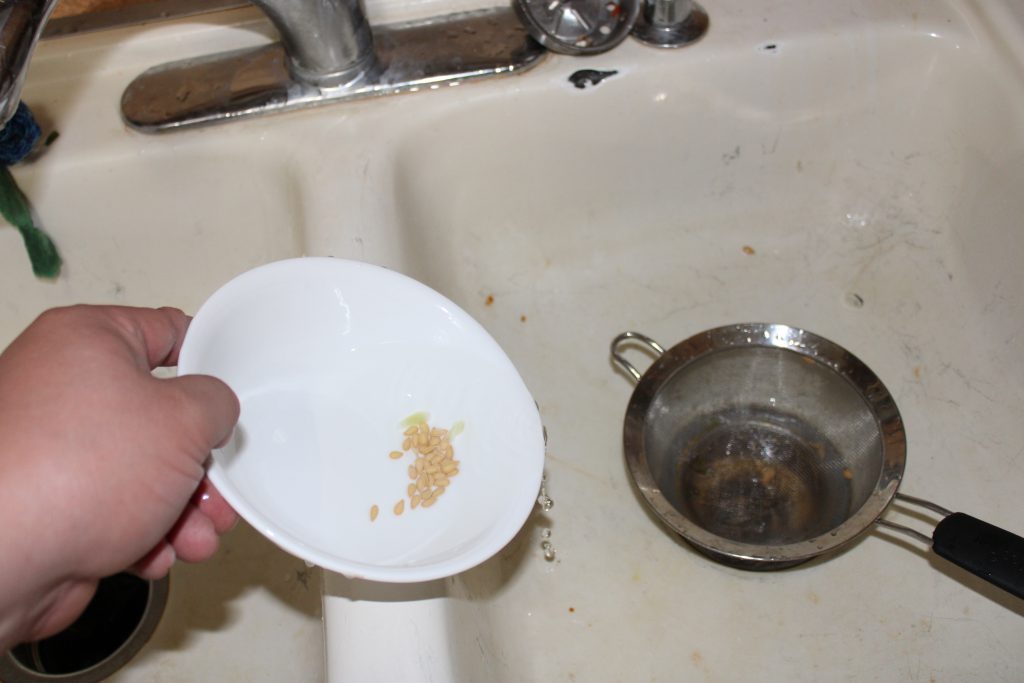
Then do it again until you get something like this in your bowl.

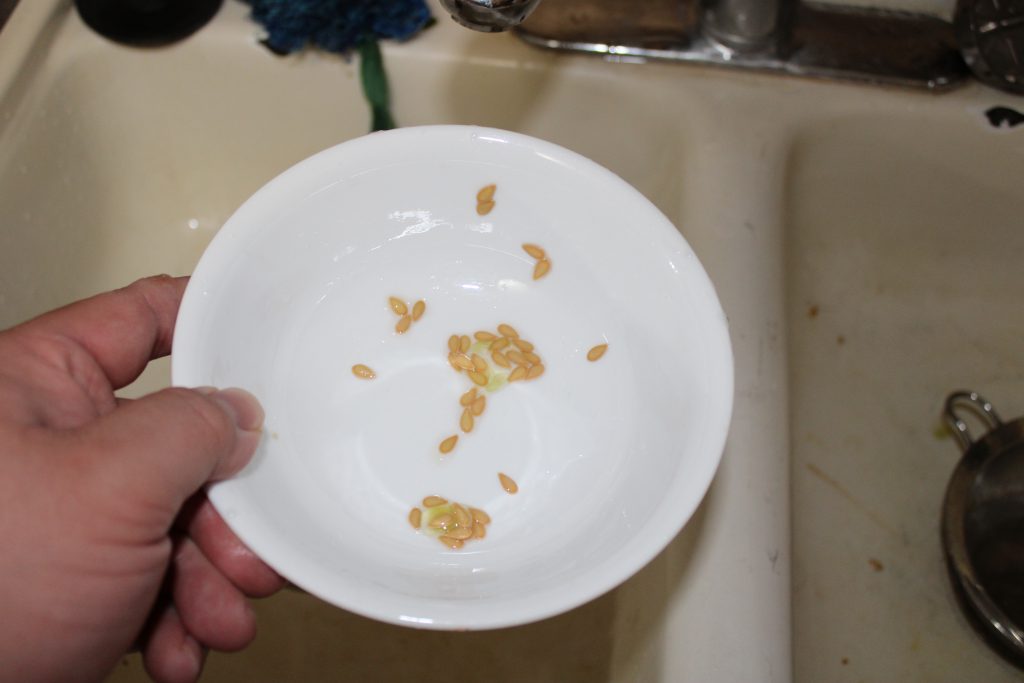
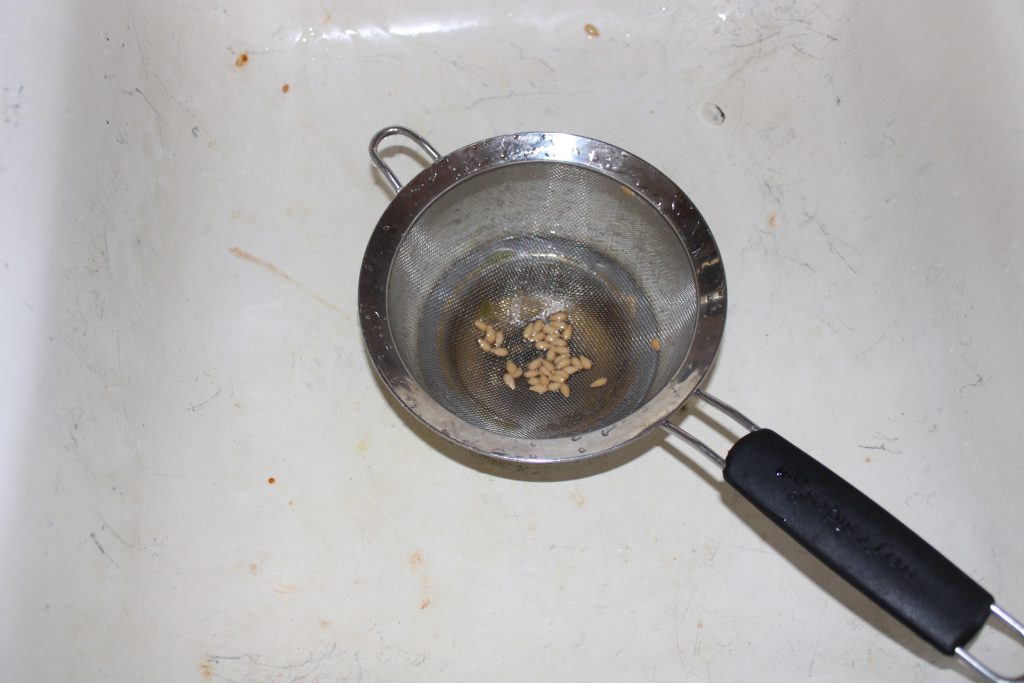
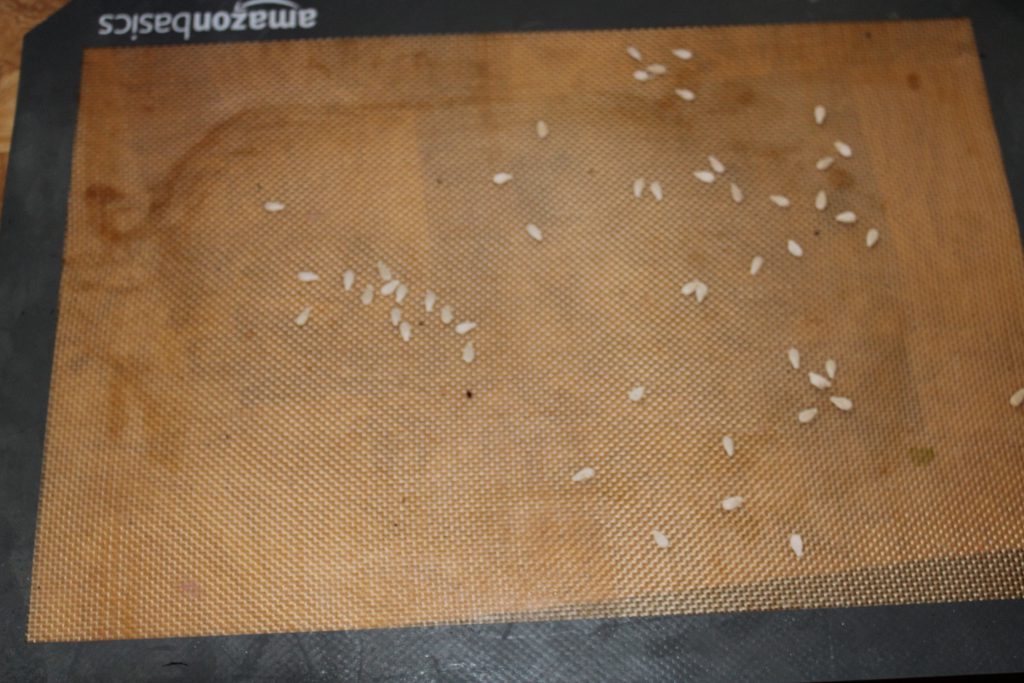
Dump them back into the strainer to drain them really well.
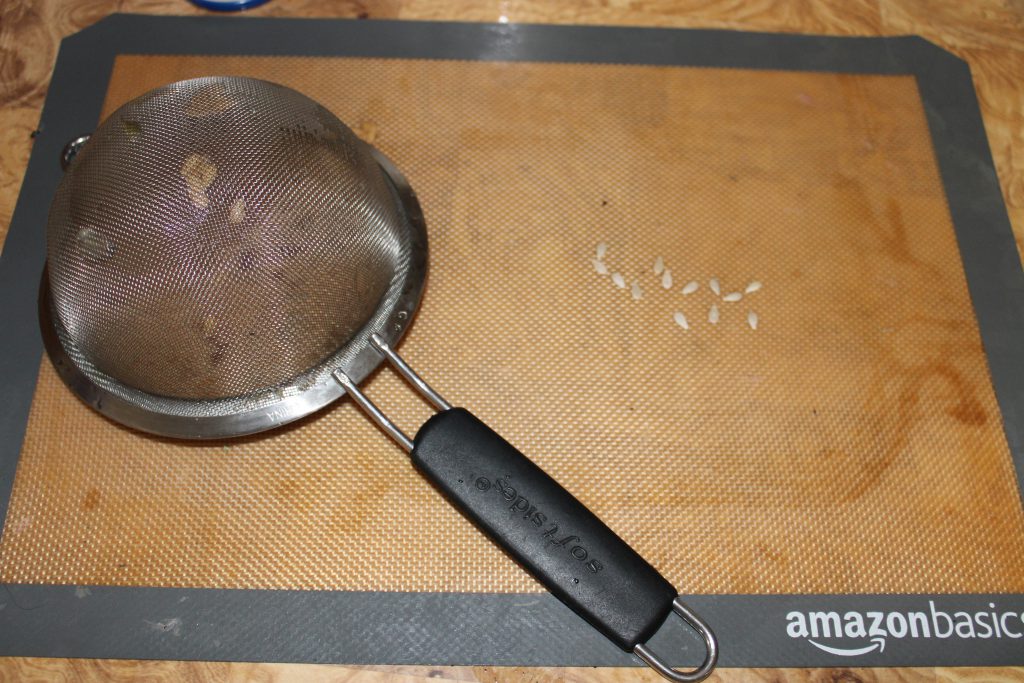
Like my dragon fruit seed. I am going to use my knock off Sil-Pad to let them dry.
Method Two – The Human Touch
Remember how I said that the seed protected it from animals and their digestive systems? Well, humans are an animal and we have a digestive system. Before I lose you, there will be no potty involved in this particular method. I promise.
Take each seed and eat them.
Do not chew.
Do not swallow.
Let your saliva do its job. Remember your spit is the first step in digestion. This is a mostly-natural way of doing it. The coating will dissolve in a few minutes and you can spit out nice clean seed. It is fast, easy and if I was to do this again with a small number of seed, I would do it this way. Just spit them out on the Sil-Pad next to their fermented cousins.
A few days later everything will dry to this.
That was much less step filled than Method 1. That brings me to Method 3.
Method 3 – As God Intended
If you want to do the most natural, the most organic way of stripping those seeds of their coats. You can swallow them whole.
Now, I am not going to do this. I refused. The risk of being psychoanalyzed for weird mommy issues and the actual risk to my health prevents me from doing it and should prevent you from doing this too. This is a nice way of saying do not, under any circumstances do this at home. I have two safe, mostly clean, mostly hygienic ways of doing this. Do it one of those two ways. Do not do it this way.
With the health warning and the sanity warning out of the way, we can get on with this. After you swallow them whole. Wait for a day or two. Poop and then dive in and find those seeds. It will likely be easier than finding Waldo but you ain’t going to catch me doing it or putting it on my Sil-Pad to let them dry off.
I assume this will provide functional seed but since I have not tried it, I can’t say for certain. If anyone has a million bucks they are willing to part with then we can talk. Otherwise, it will remain one of life’s mysteries.
How Did It Turn Out?
Well, I tried two sets of Jelly Melon seeds. I used 6 seeds from Method 1 and 6 from Method 2.

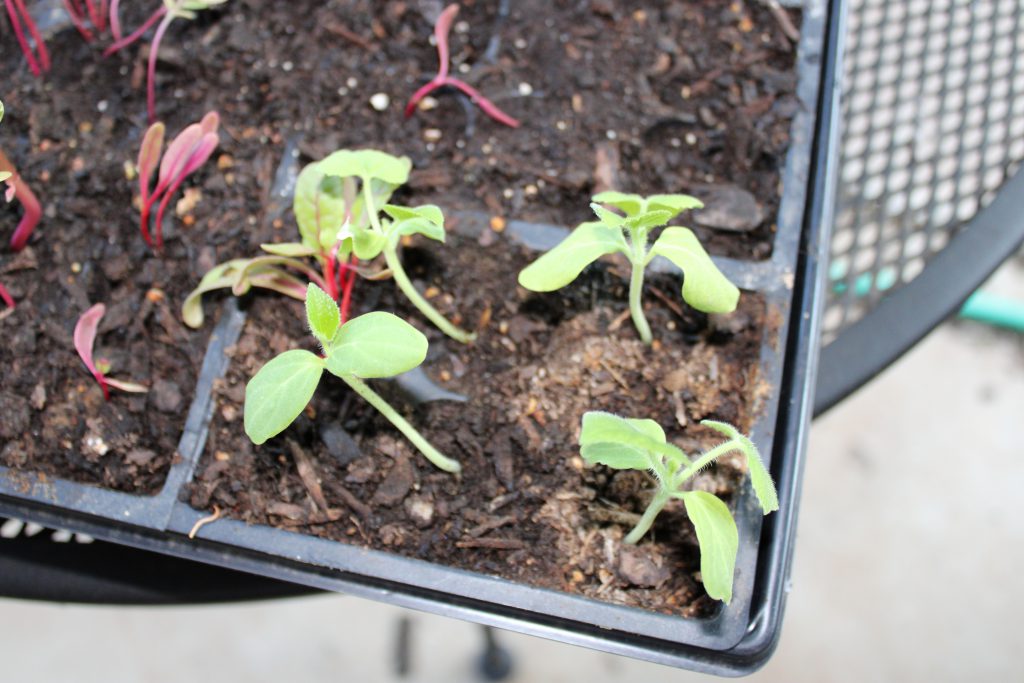
While the picture does not show it well. The Method 1 plants seemed stronger. Because the fermentation weakened their seed coating, I suspect they got to spent more energy growing. Both gave me two plants and 4 duds. It could be environmental as all successes were in the first 2 rows.
I have planted them out in the garden. We will see how they do in the next few weeks. Either way, I have been very happy with my experiment. I got to practice some seed saving techniques and verify that they work. The plants seem strong and I am excited to see what comes from this.
I consider this to be a successful experiment. I just wonder if i am going to get fruit.